Quick onboard
Deployment
Data Modeling
Connecting
Migration
Query
Operations and Maintenance
Common Maintenance
Partition
Backup and Restore
Expansion
Mirroring
Resource Groups
Security
Monitoring
Performance Tuning
Troubleshooting
Reference Guide
Tool guide
Data type
Storage Engine
Executor
Stream
DR (Disaster Recovery)
Configuration
Index
Extension
SQL Reference
This document describes how to connect to YMatrix and run queries using clients other than psql. Both high-availability (HA) and non-high-availability connection methods are covered.
The term high availability in this document refers to YMatrix's automatic failover mechanism. When the primary master node fails, service is automatically taken over by the standby master node.
A high-availability connection means that after a failover event in YMatrix, the application automatically reconnects to the new active master node.
High-availability connection strings (Connection URLs / DSN) provide a standardized format for use across different applications without re-entering full connection details.
A typical connection string consists of multiple fields, each representing specific connection information, for example:
postgres://username:password@master_ip:master_port,standby_ip:standby_port/database
Where:
username and password are the username and password used to log in to the database.master_ip:master_port and standby_ip:standby_port contain connection information for the Master and Standby nodes.database specifies the target database name.Download and install the DBeaver Community or Enterprise edition from the links in the table below.
| Operating System | CPU Architecture | Client Version |
|---|---|---|
| Mac | x86_64 | 23.0.2 |
| Mac | AArch64 | 23.0.2 |
| Linux Linux(nojdk) |
x86_64 | 23.0.2 |
| Linux(nojdk) | AArch64 | 23.0.2 |
| Windows | x86_64 | 23.0.2 |
| Operating System | CPU Architecture | Client Version |
|---|---|---|
| Mac | x86_64 | 24.0 |
| Mac | AArch64 | 24.0 |
| Linux | x86_64 | 24.0 |
| Windows | x86_64 | 24.0 |
Example environment used in this document:
Launch the DBeaver client.

Create a sample database (optional).

Click the top menu: File → New.

Select "New Database Connection".

Choose PostgreSQL.

Download required drivers.

When configuring the connection, you can choose to enable high availability as described in Enable High Availability, or not:
High-Availability Connection:
Select Connect by URL. In the URL field, enter jdbc:postgresql://<master_ip>:<master_port>,<standby_ip>:<standby_port>/<database> (replace content within < >). Enter the database administrator username mxadmin and the admin password set during YMatrix initialization to complete the setup.

Non-High-Availability Connection:
Select Connect by Host. Enter the Master node IP address, port number, administrator username mxadmin, and the password set during initialization to complete the setup.

Connection successful.
Create a new SQL script.

Write a SQL statement and click Run.

Download and install DbVisualizer from the links in the table below.
| Operating System | CPU Architecture | Client Version |
|---|---|---|
| Mac | x86_64 | 23.1 |
| Mac | AArch64 | 23.1 |
| Linux | x86_64 | 23.1 |
| Windows | x86_64 | 23.1 |
| Windows | AArch64 | 23.1 |
Example environment used in this document:
Launch the DbVisualizer client.
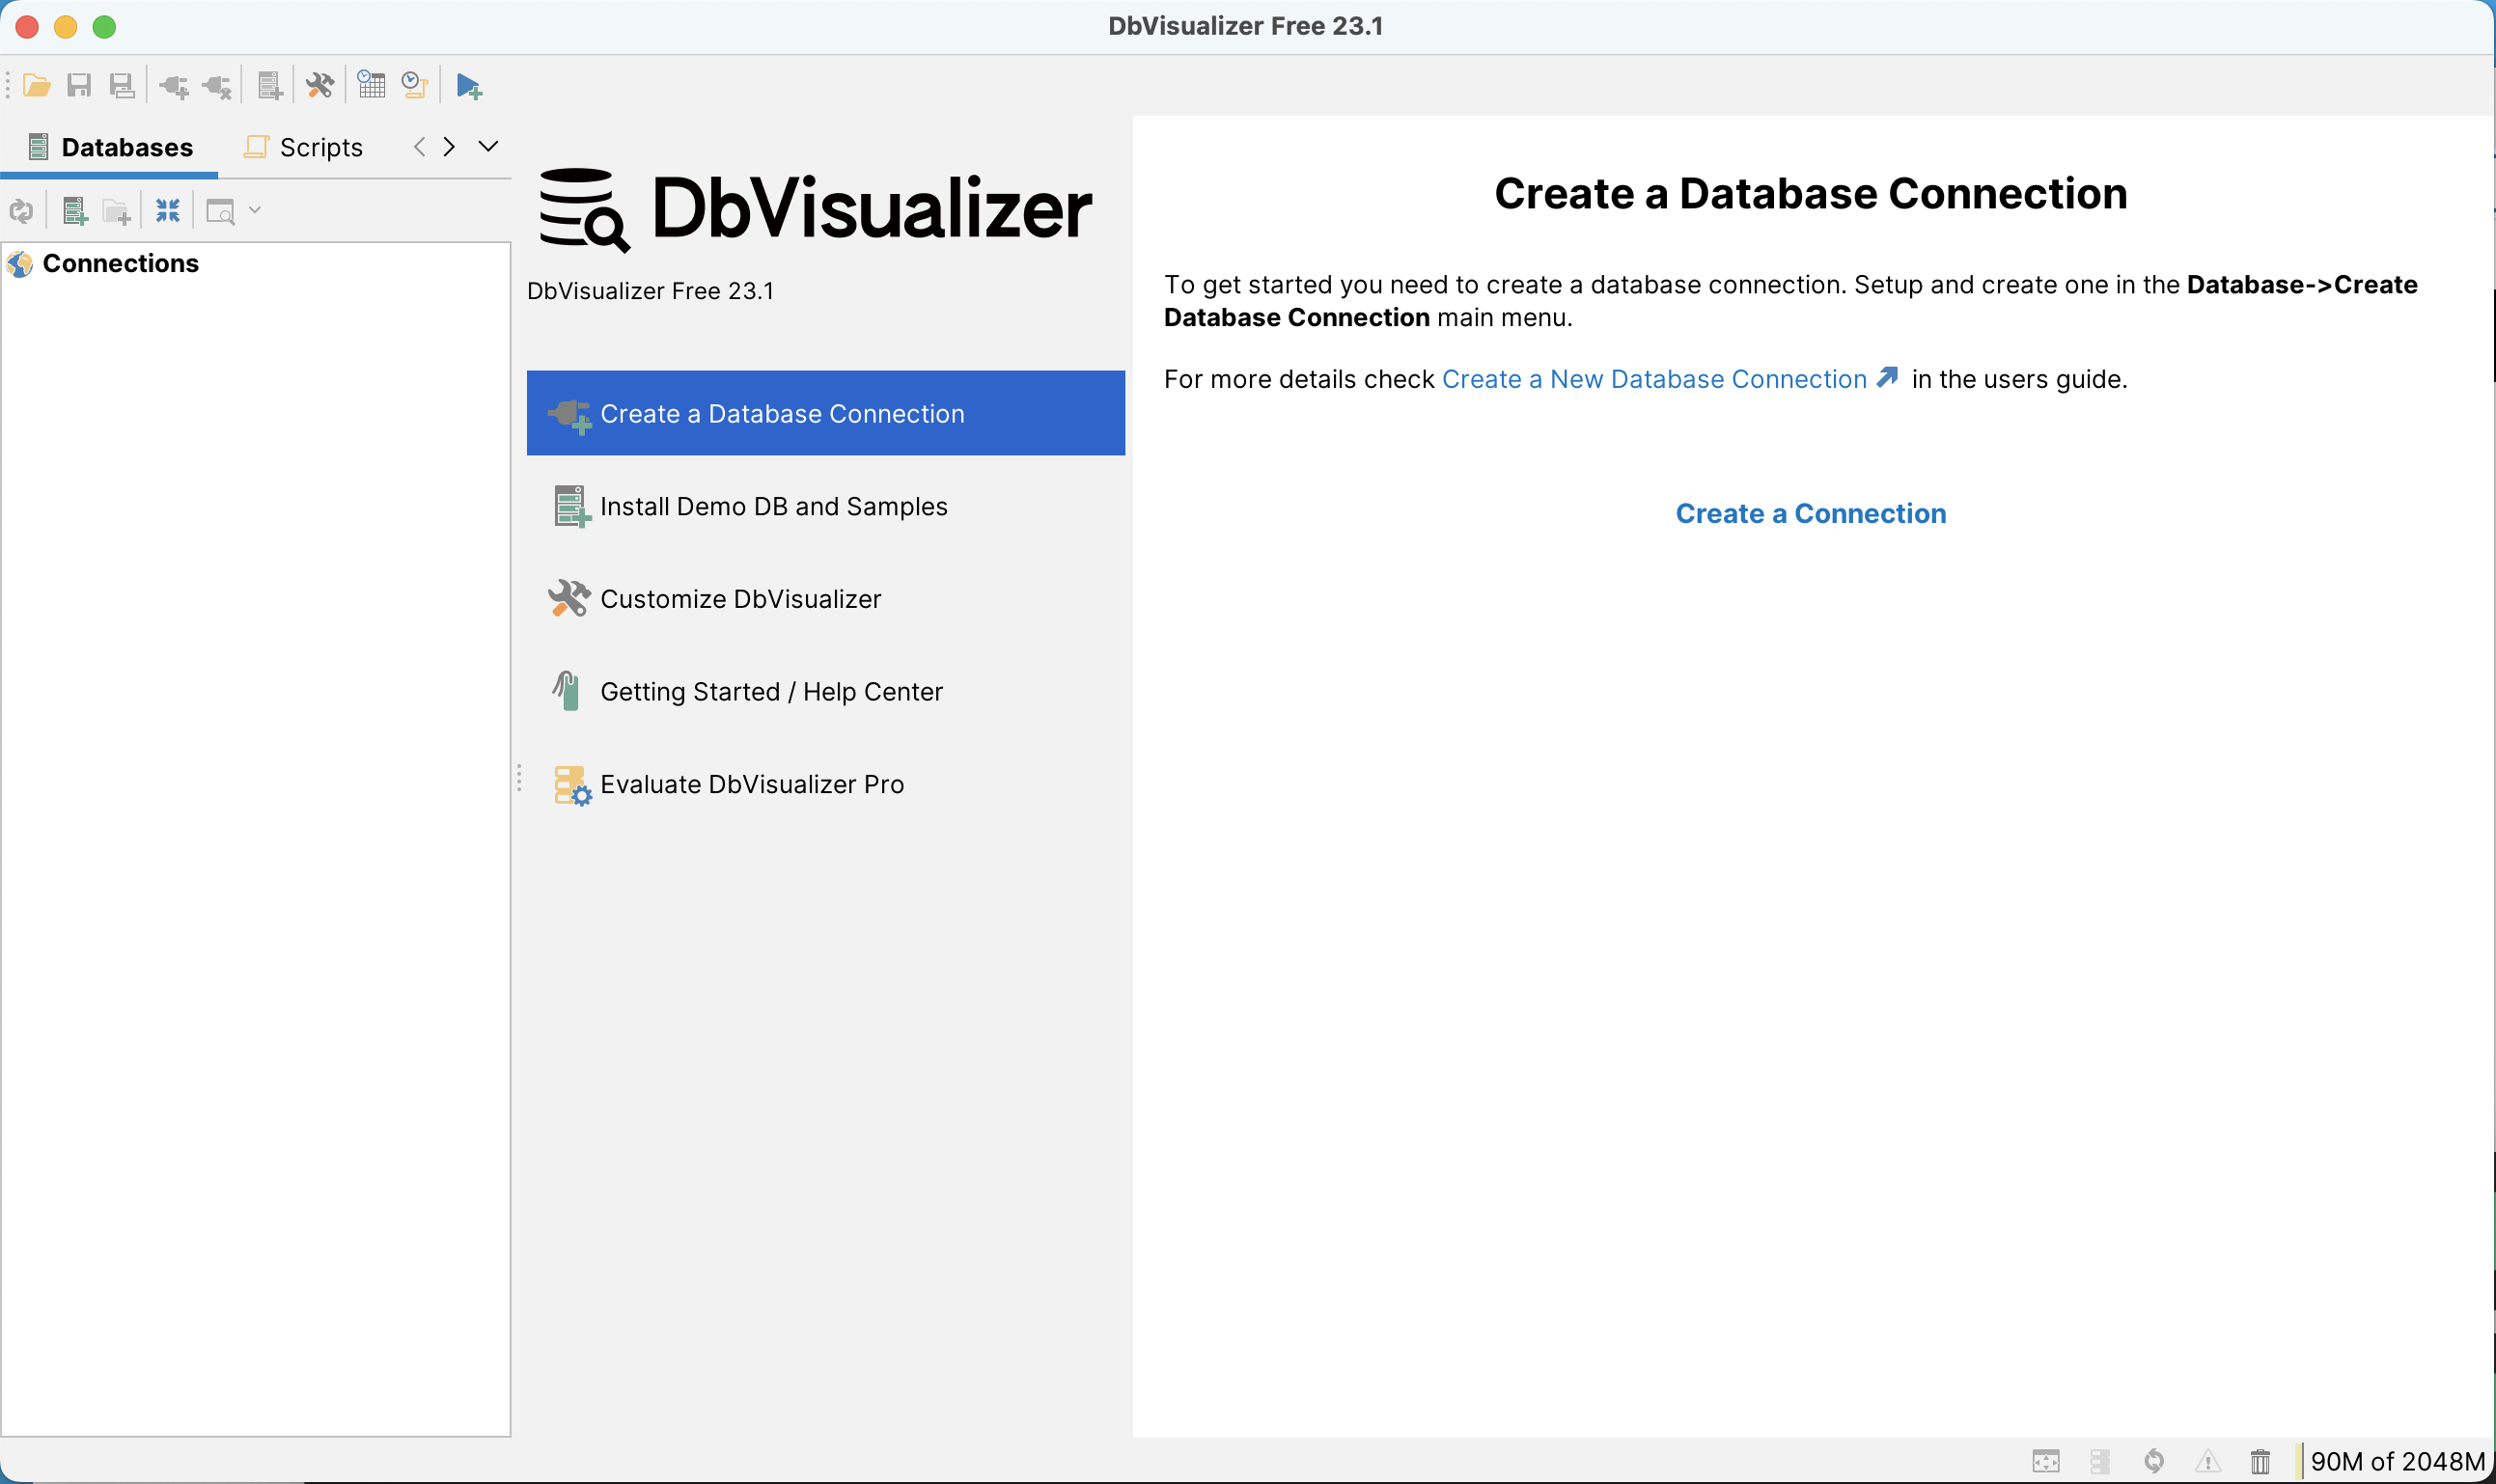
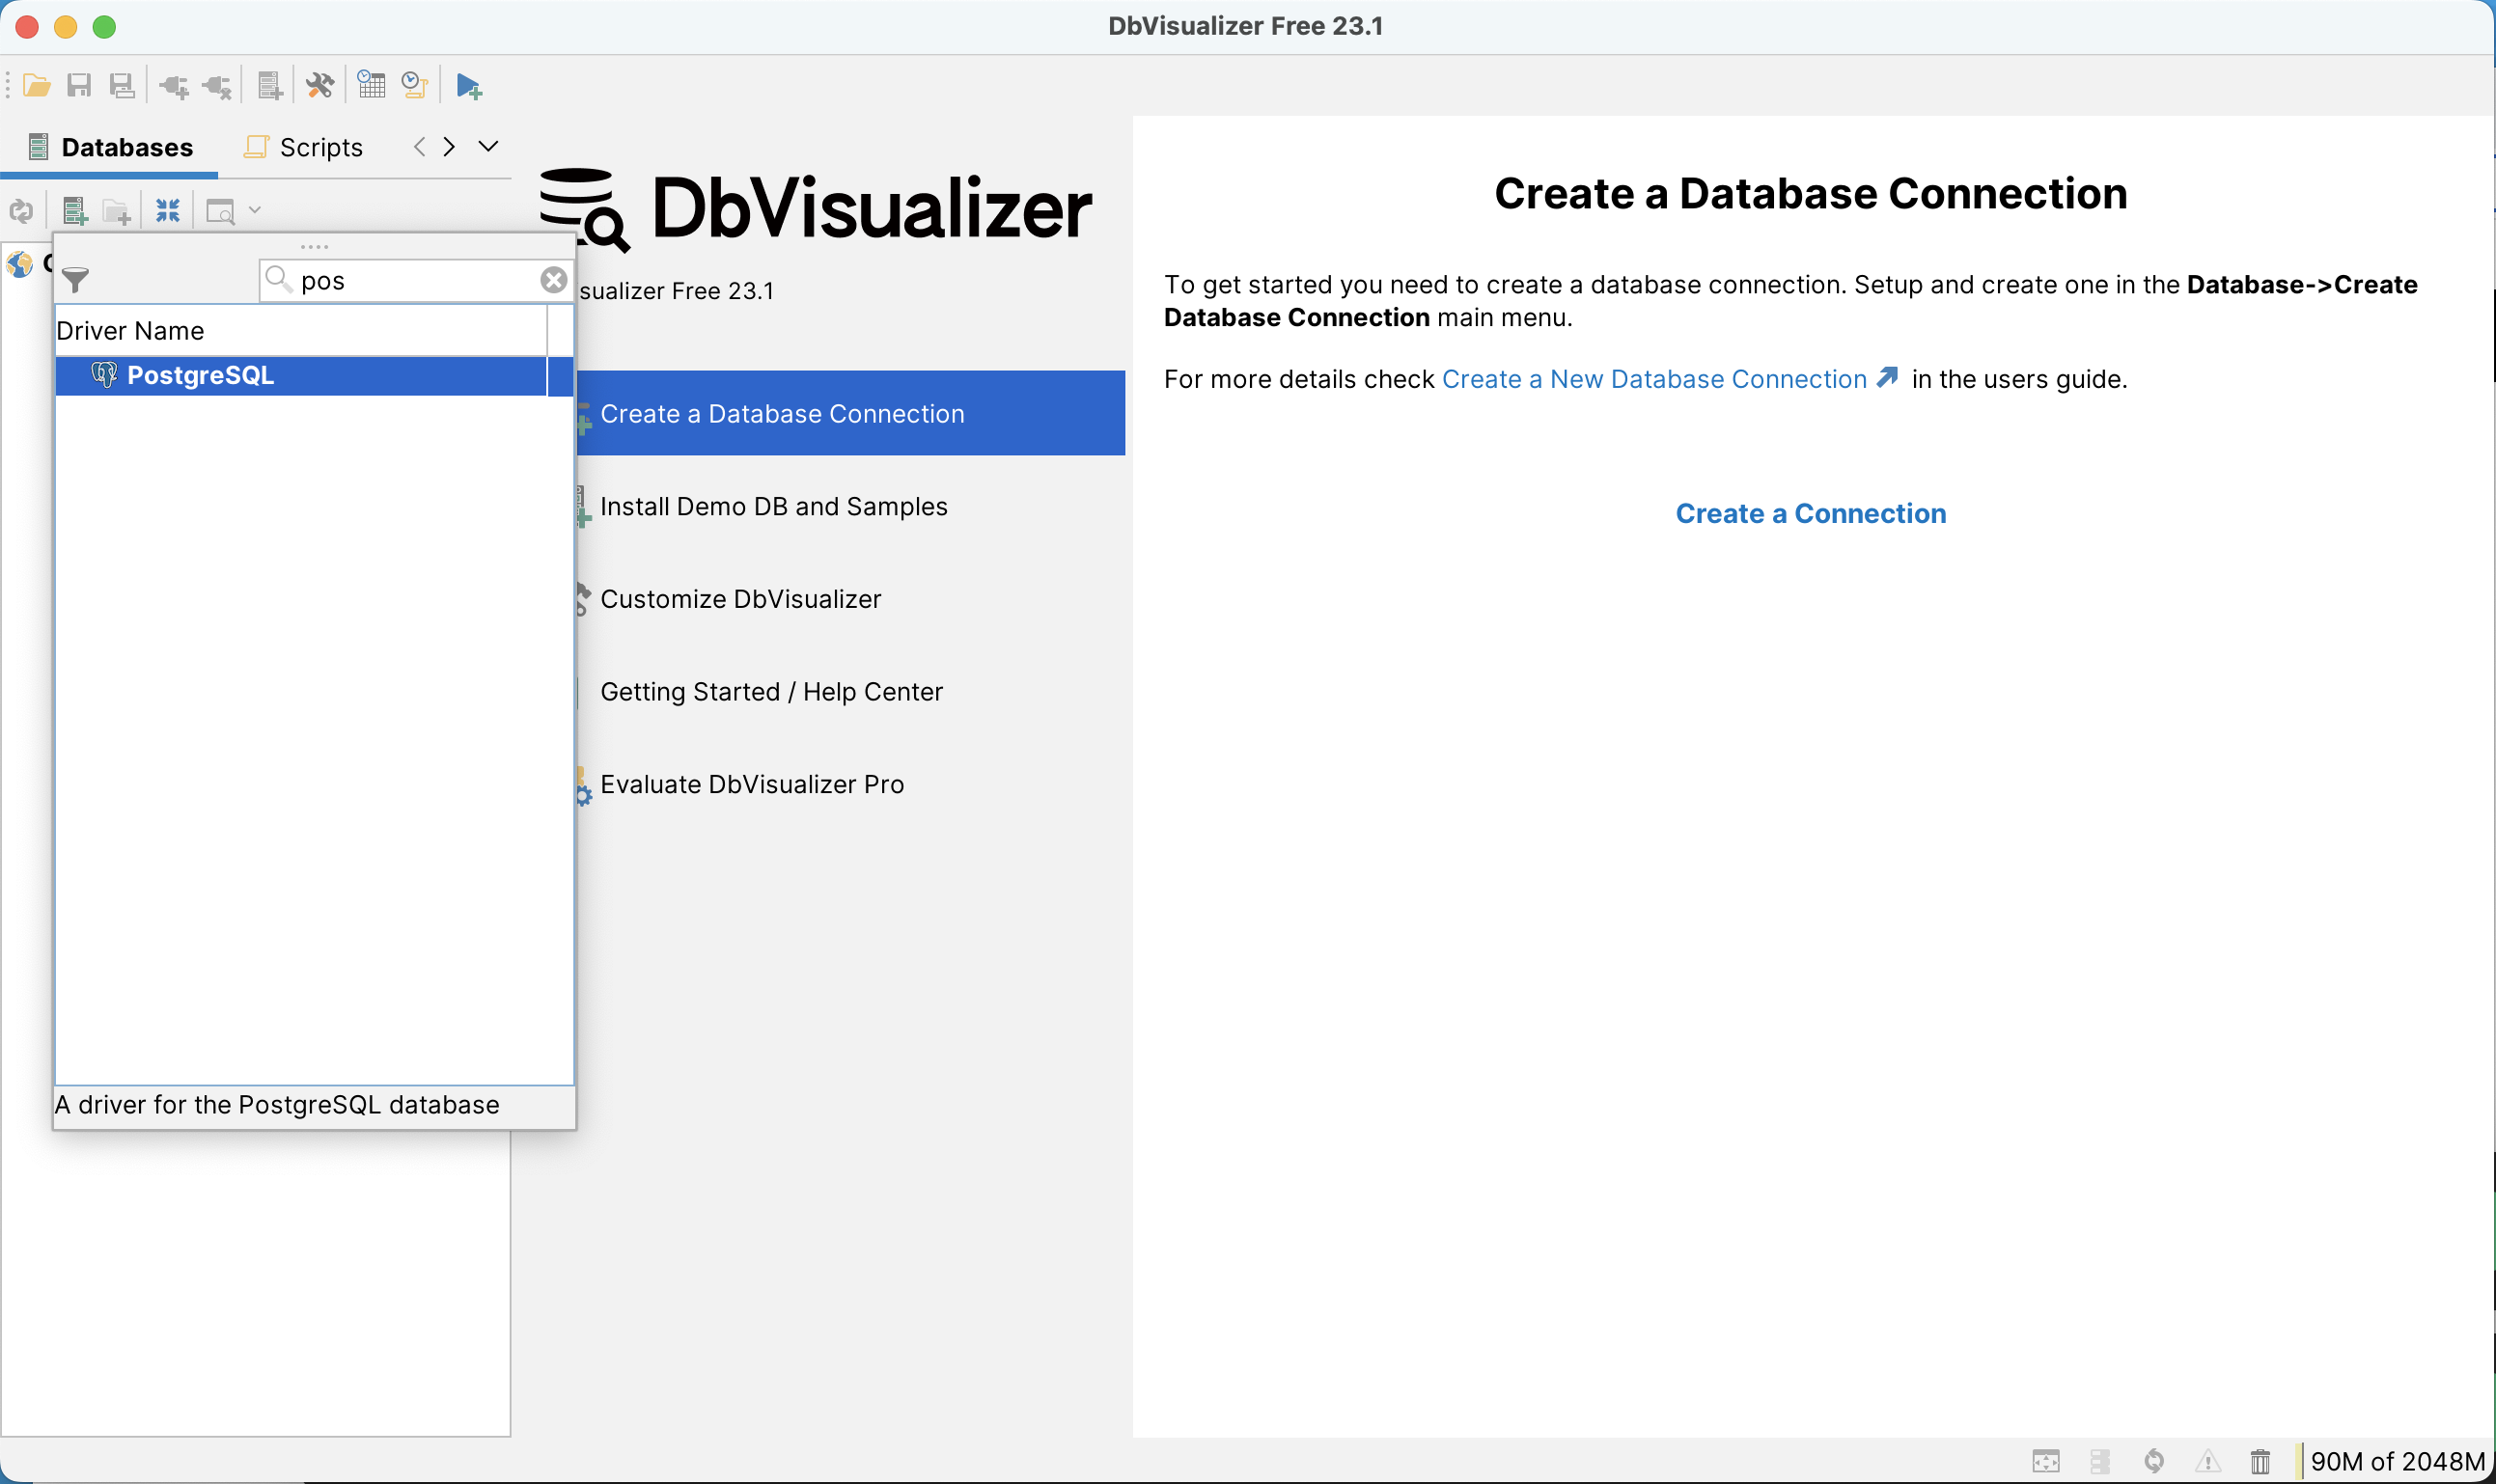
Create a PostgreSQL connection.
During connection setup, choose whether to enable high availability:
High-Availability Connection:
First, set Settings Format to Database URL.
1_1681889776.png)
In Database URL, enter jdbc:postgresql://<master_ip>:<master_port>,<standby_ip>:<standby_port>/<database> (replace content within < >). Provide the database administrator username mxadmin and the password set during YMatrix initialization.
2_1681889987.png)
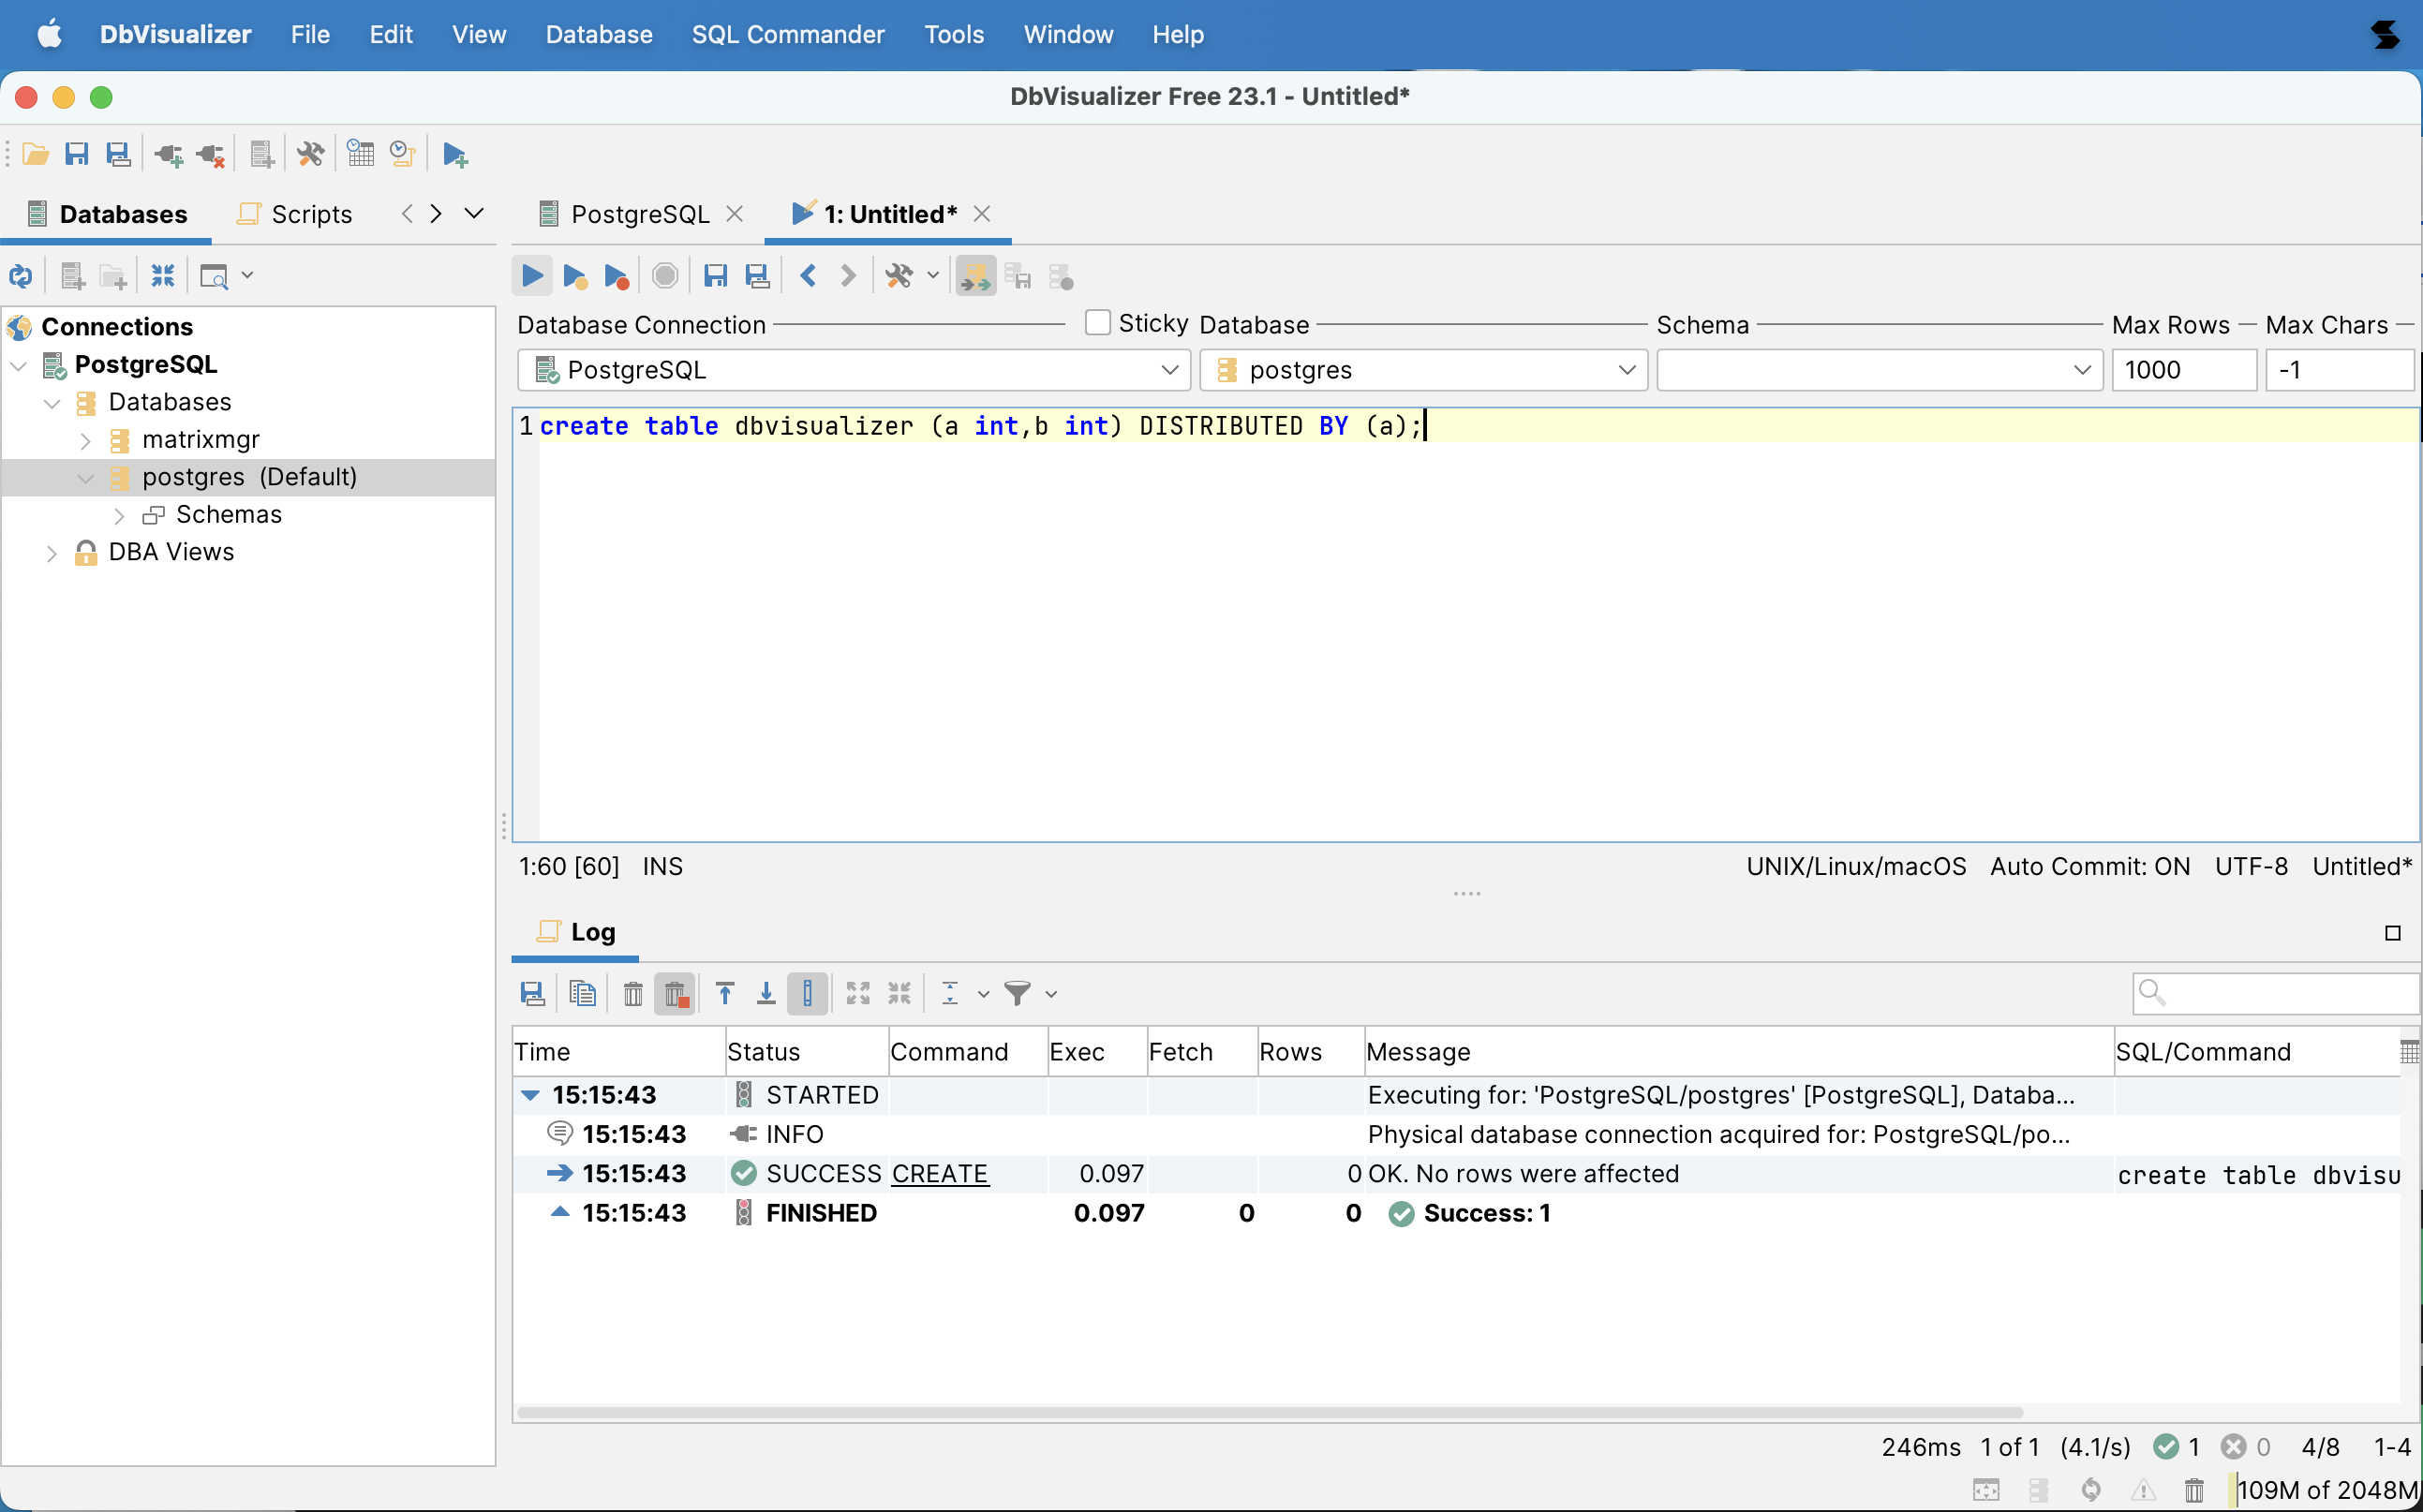
Click Connect to complete the connection.
_1681890448.png)
Non-High-Availability Connection:
Enter the Master node IP, port number, administrator username mxadmin, and the password set during initialization.
_1681890488.png)
Test network connectivity.
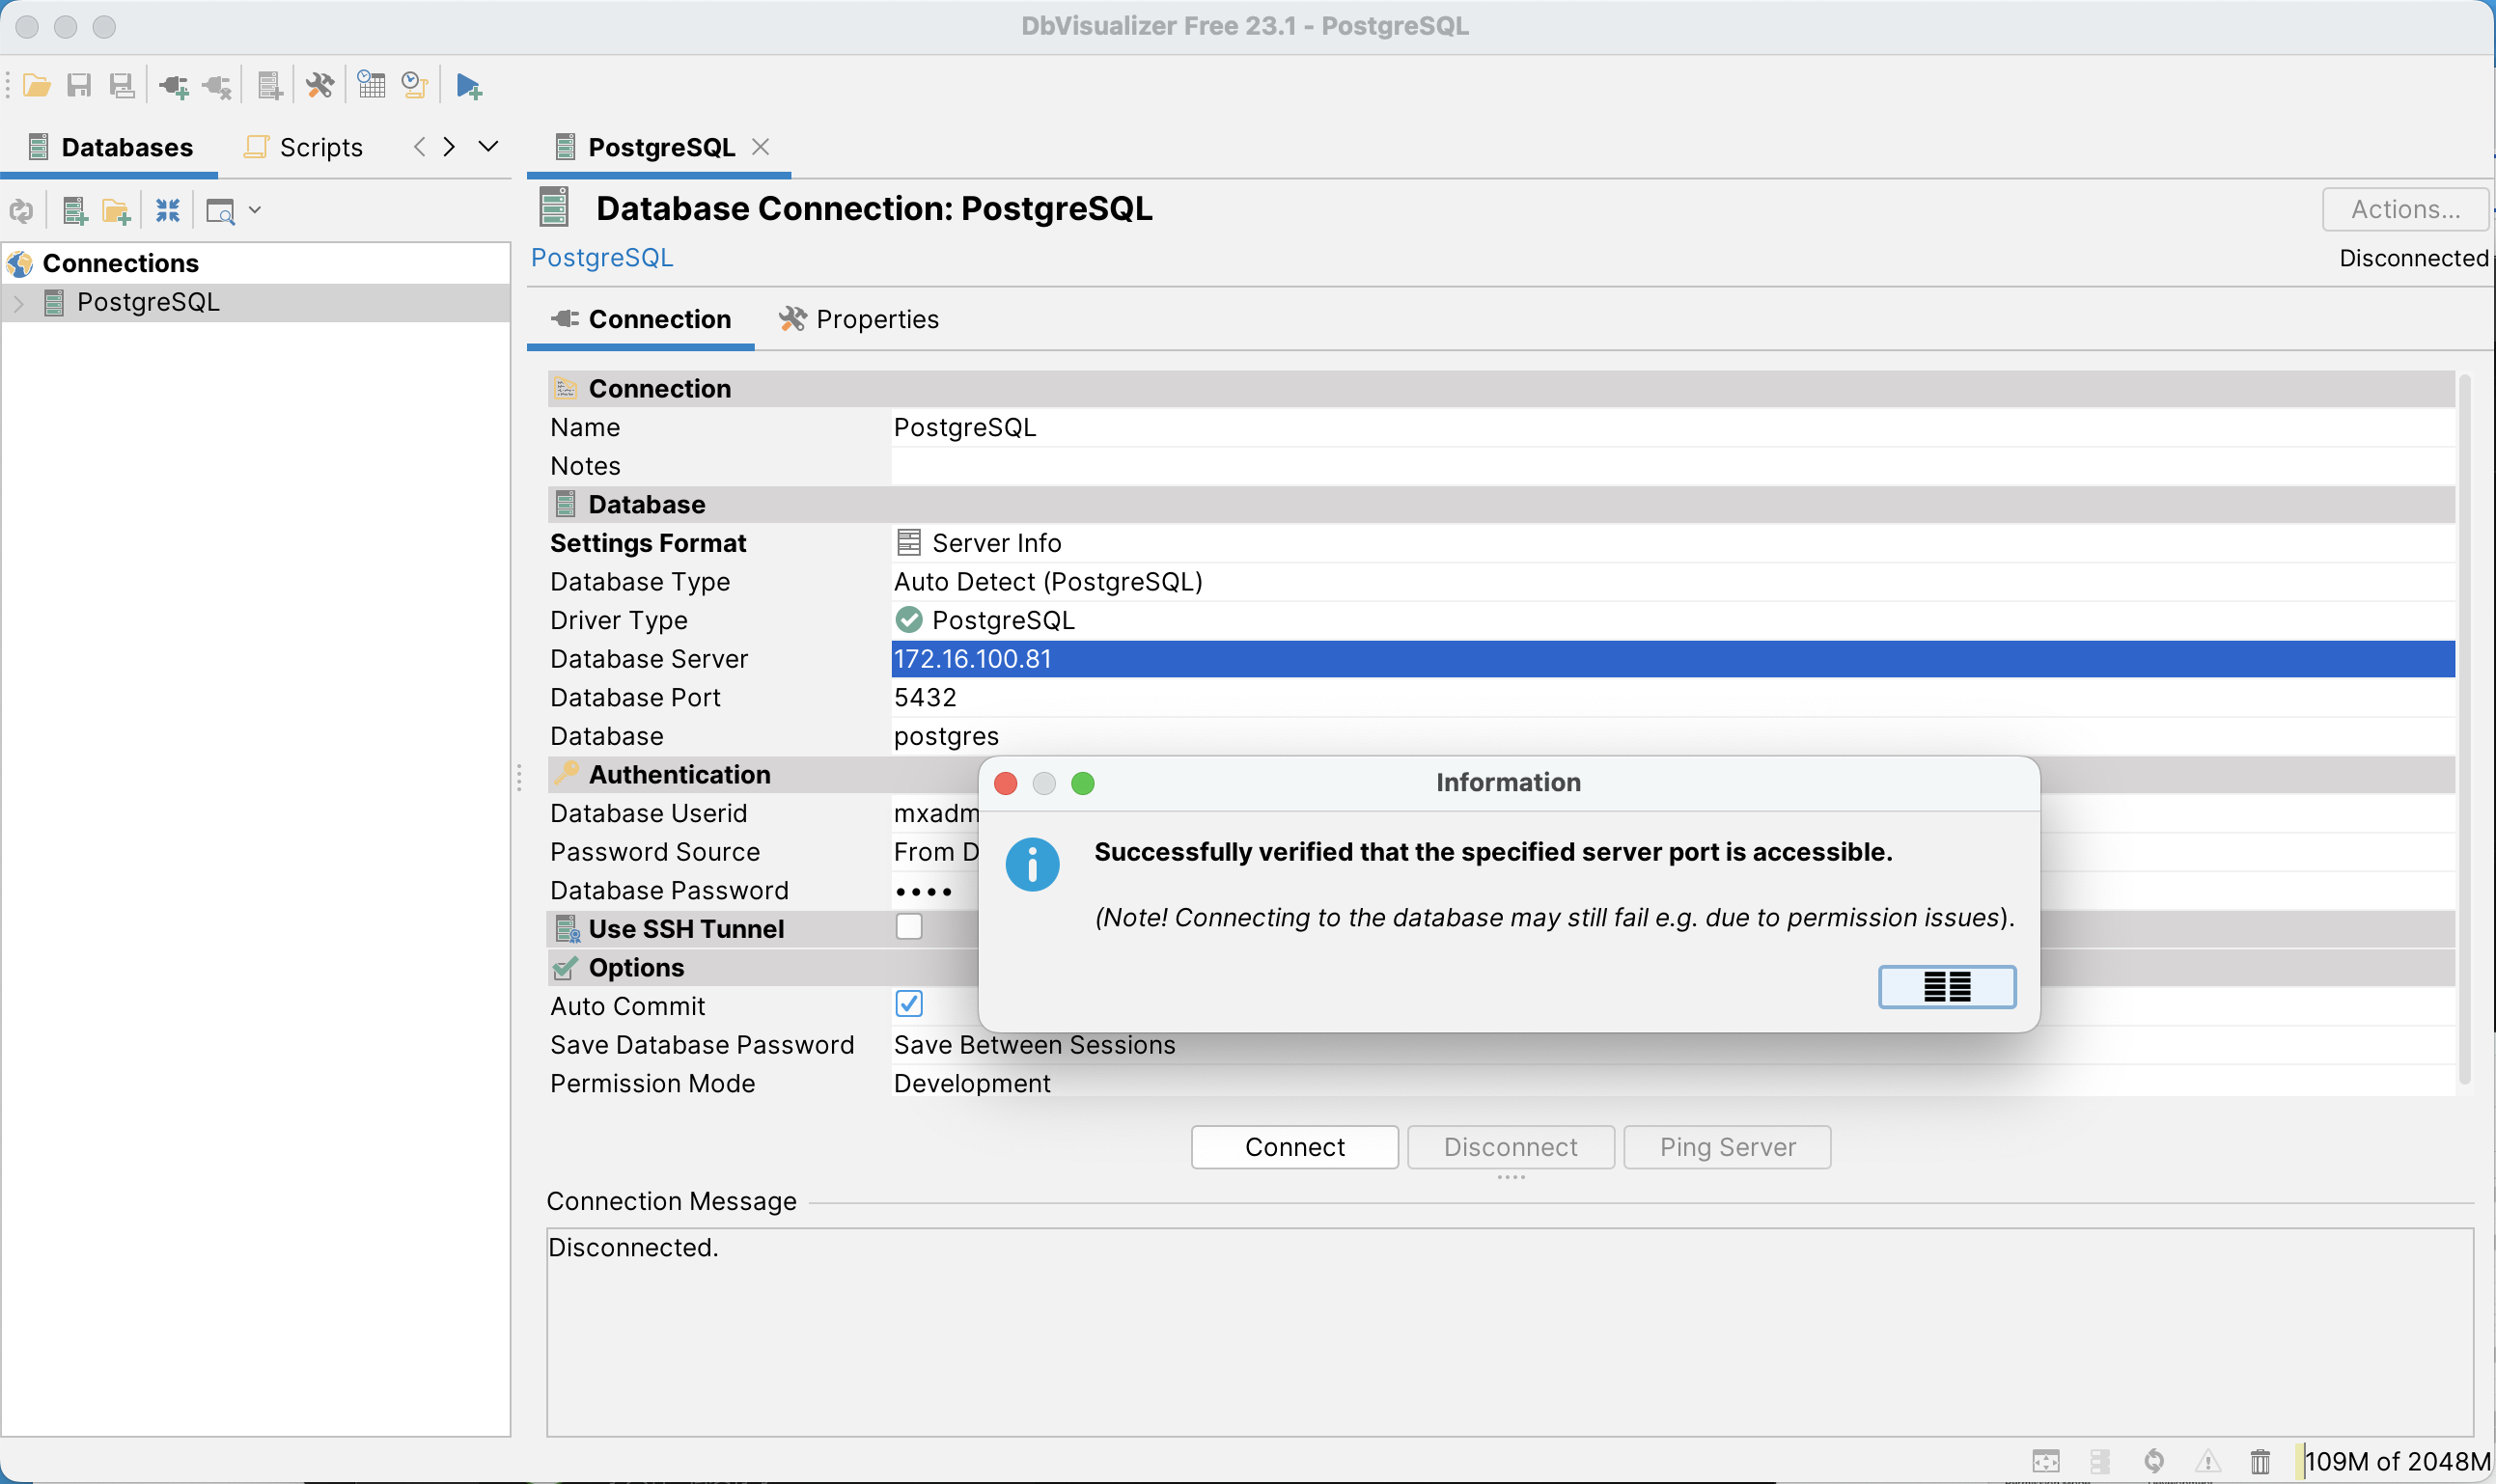
Connection successful.
_1681890737.png)
Create an SQL editor.
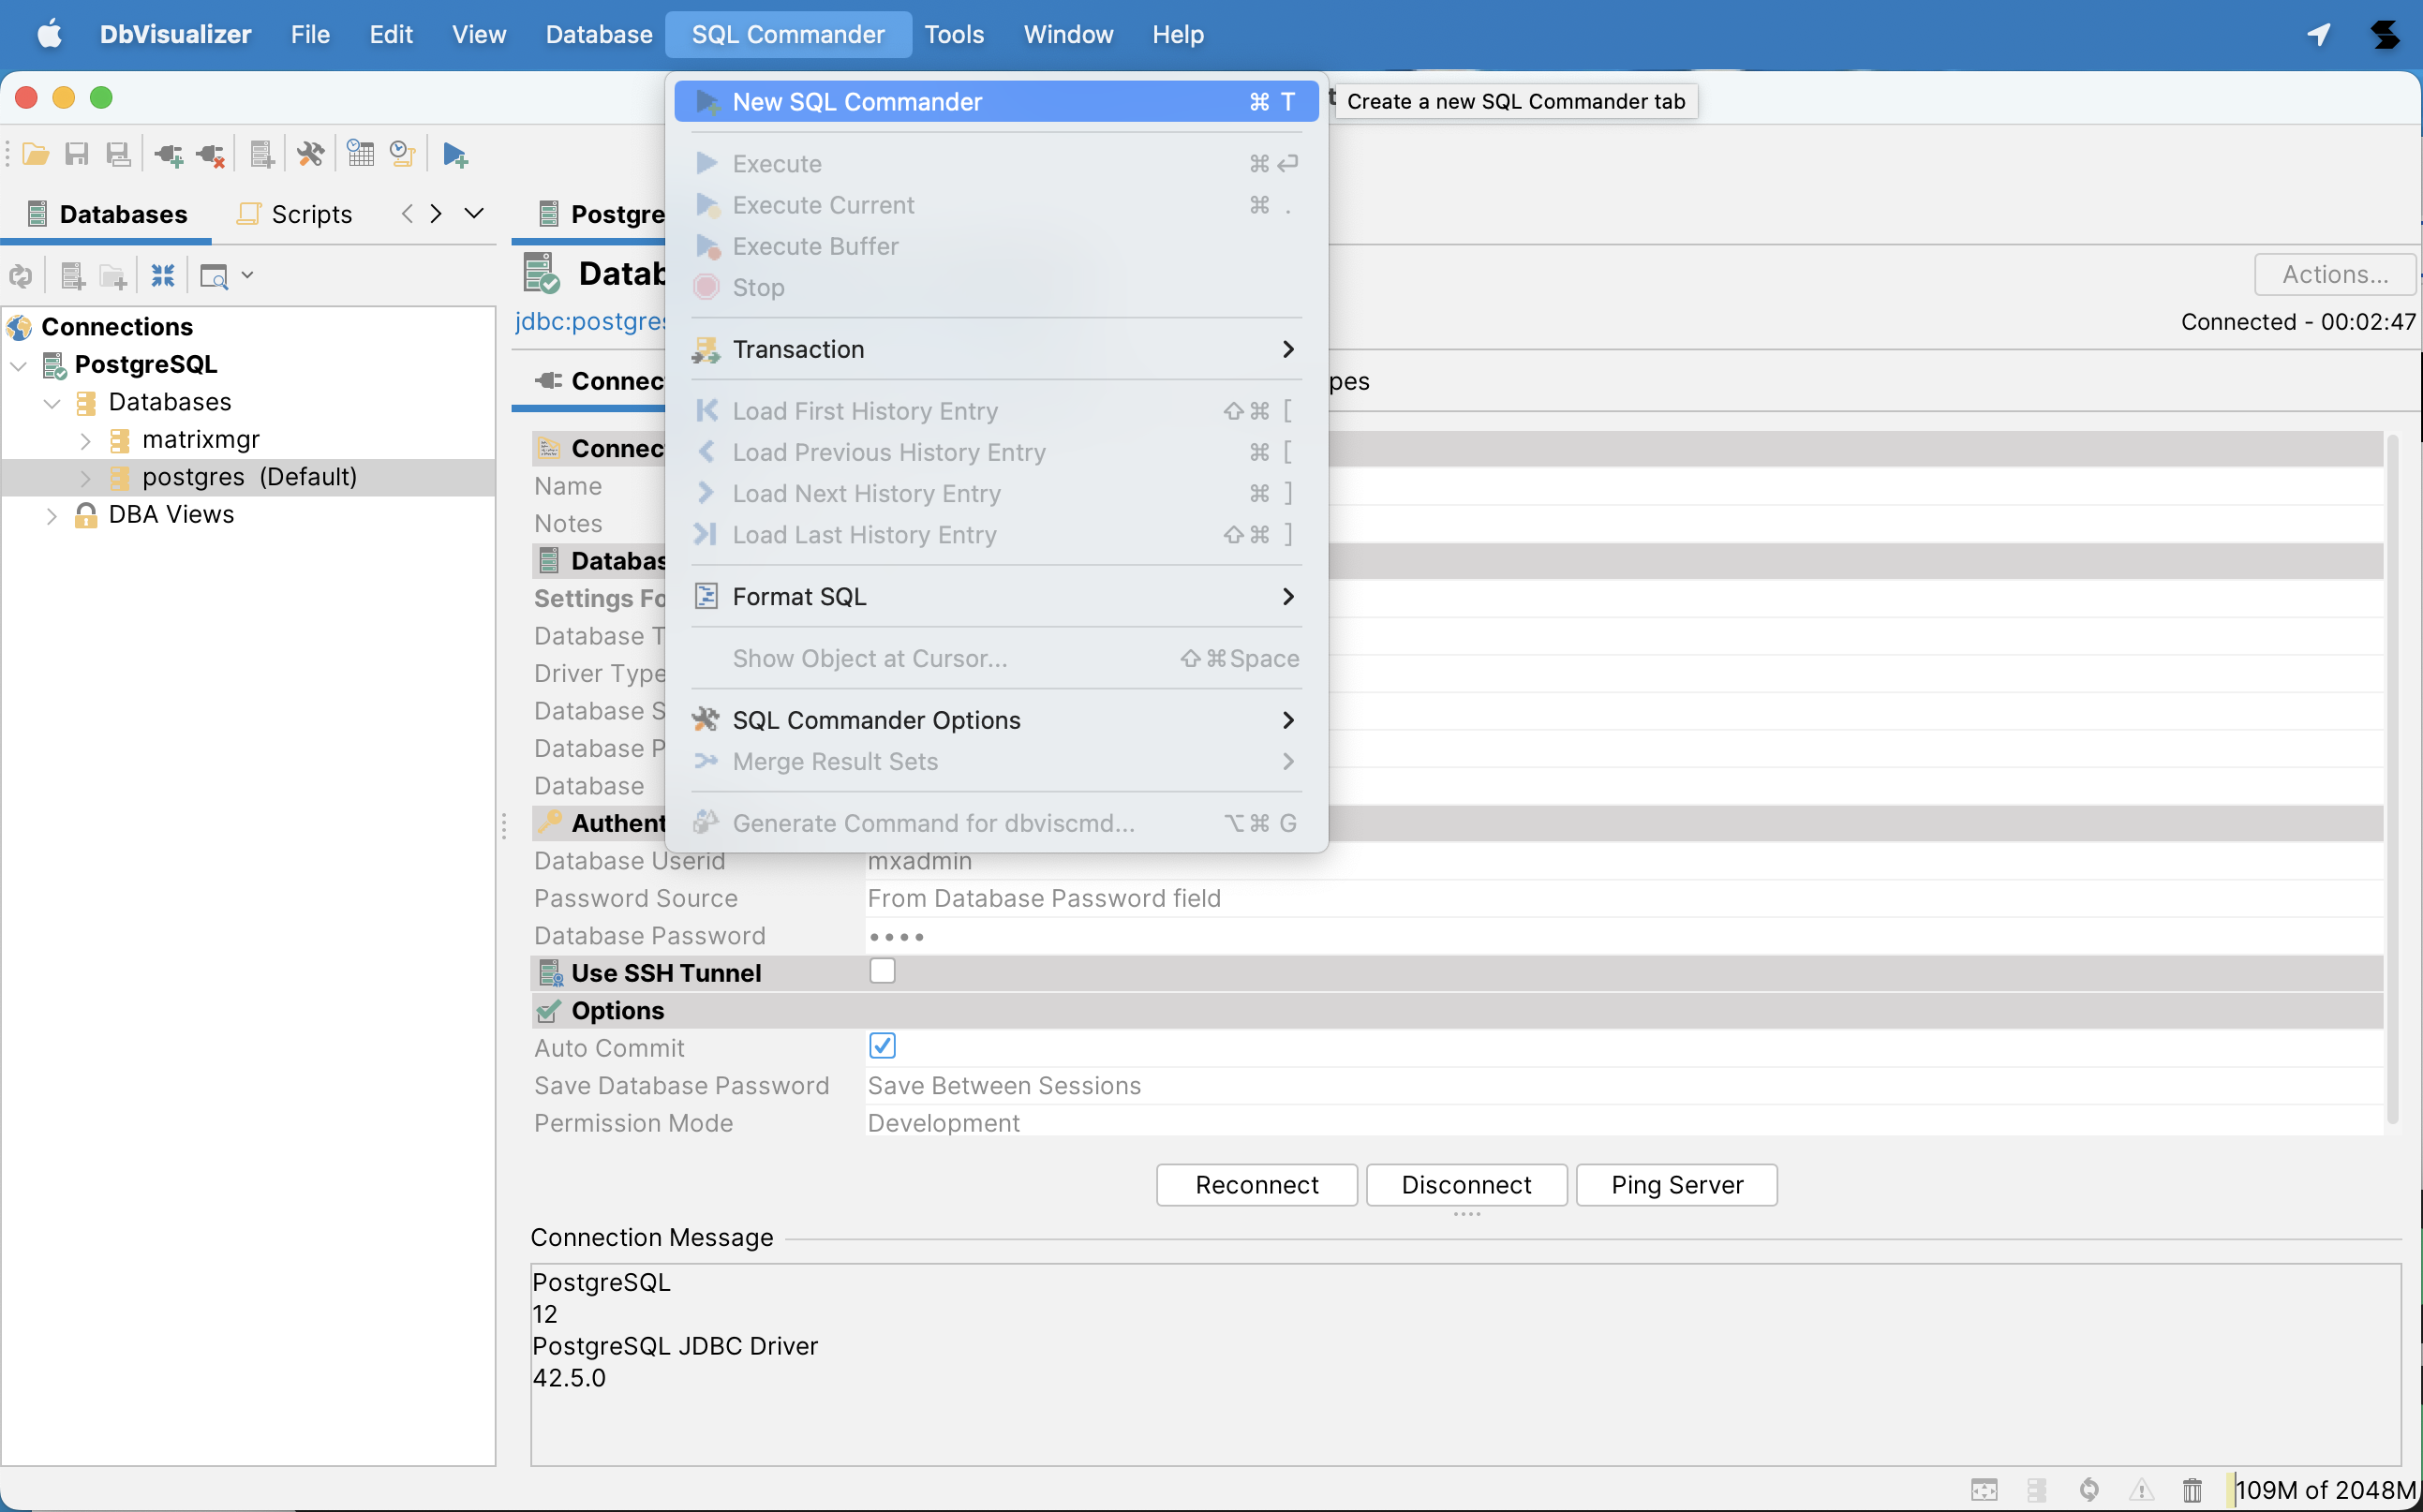
Write and execute SQL statements successfully.
Download and install DataGrip from the links in the table below.
| Operating System | CPU Architecture | Client Version |
|---|---|---|
| Mac | x86_64 | 2023.1.1 |
| Mac | AArch64 | 2023.1.1 |
| Linux | x86_64 | 2023.1.1 |
| Linux | AArch64 | 2023.1.1 |
| Windows | x86_64 | 2023.1.1 |
| Windows | AArch64 | 2023.1.1 |
Example environment used in this document:
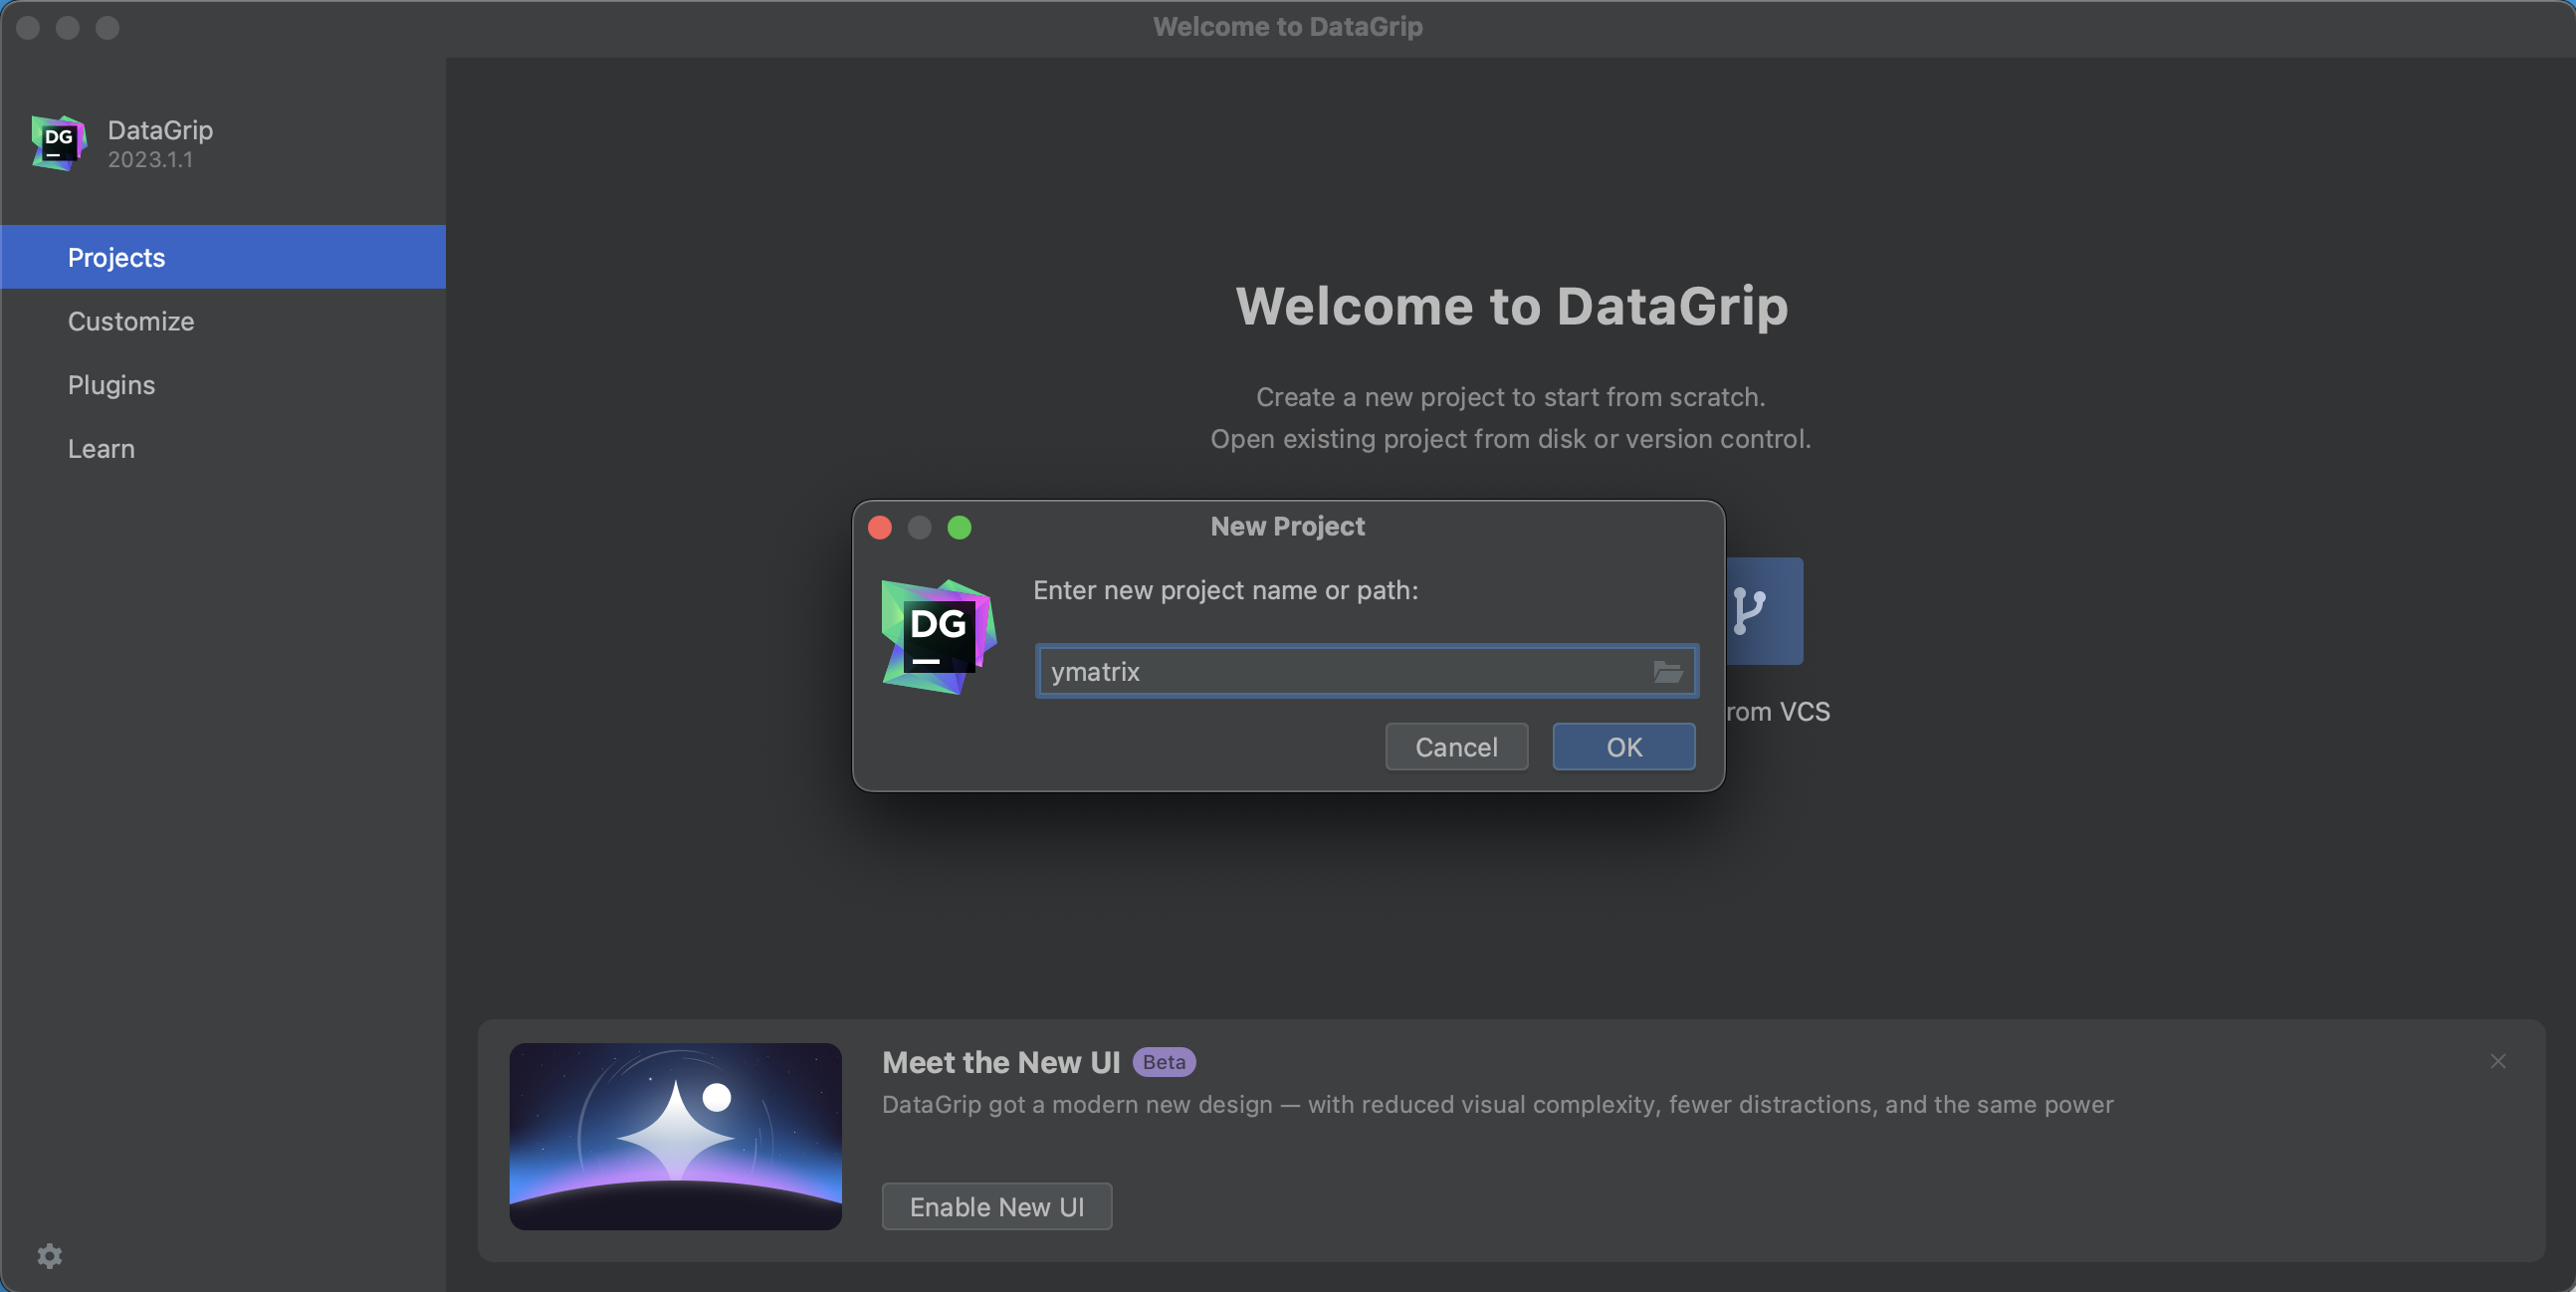
Launch the DataGrip client.
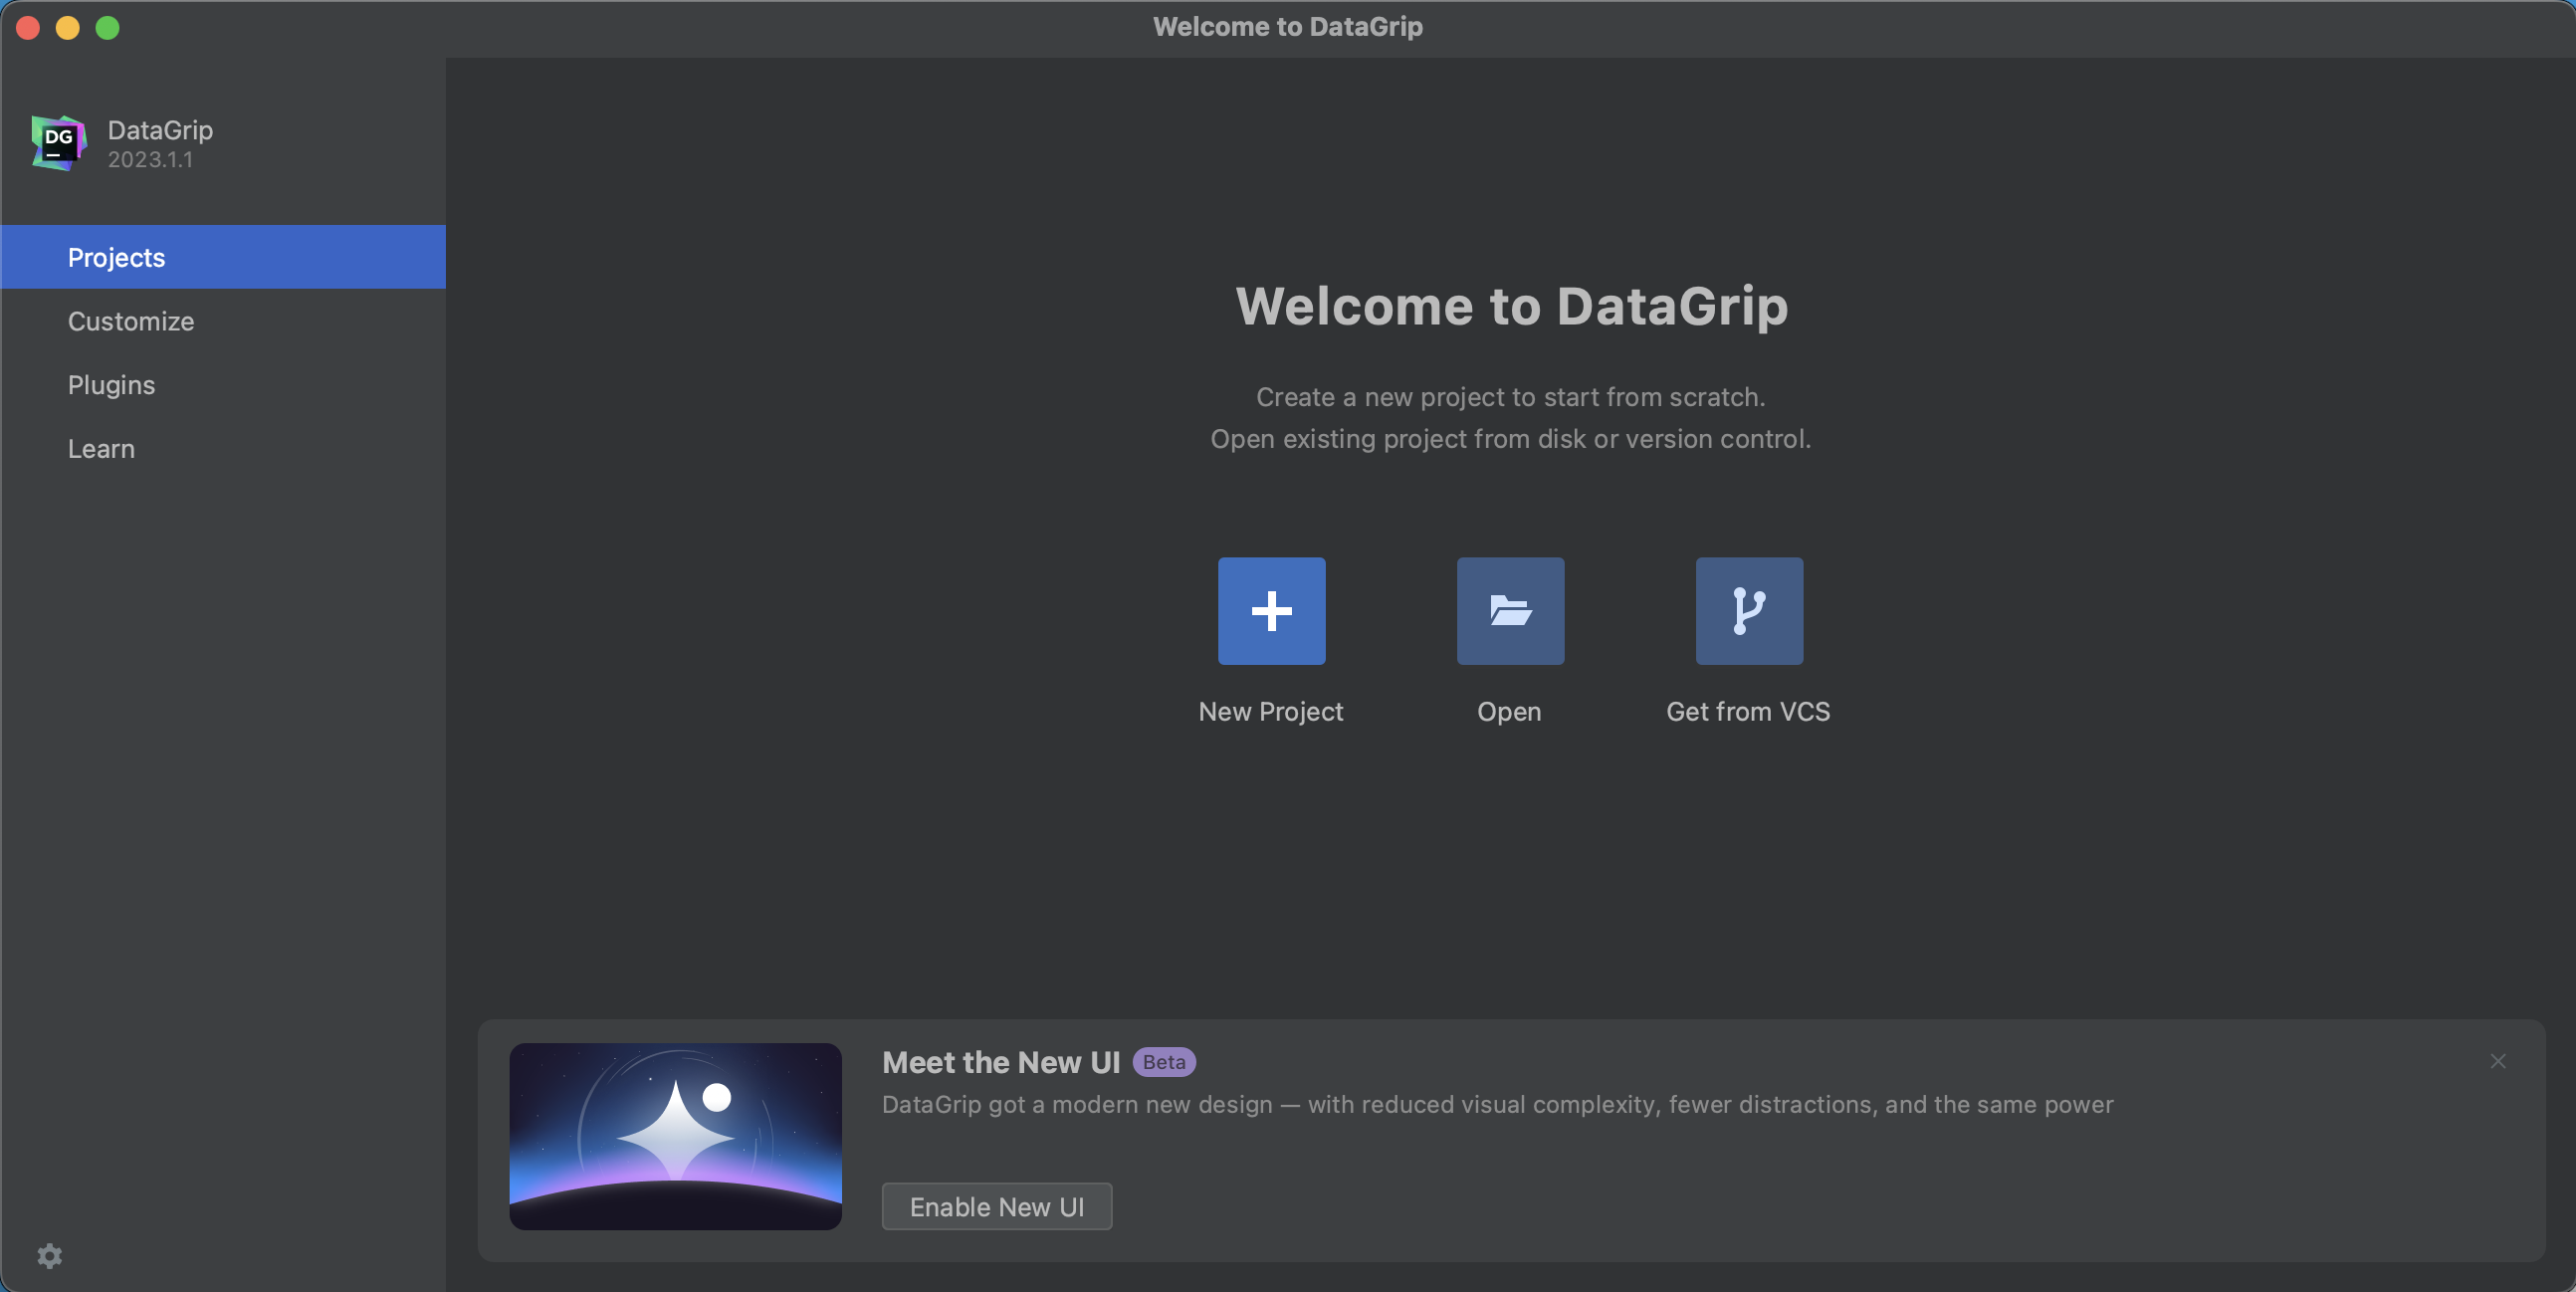
Create a new project.
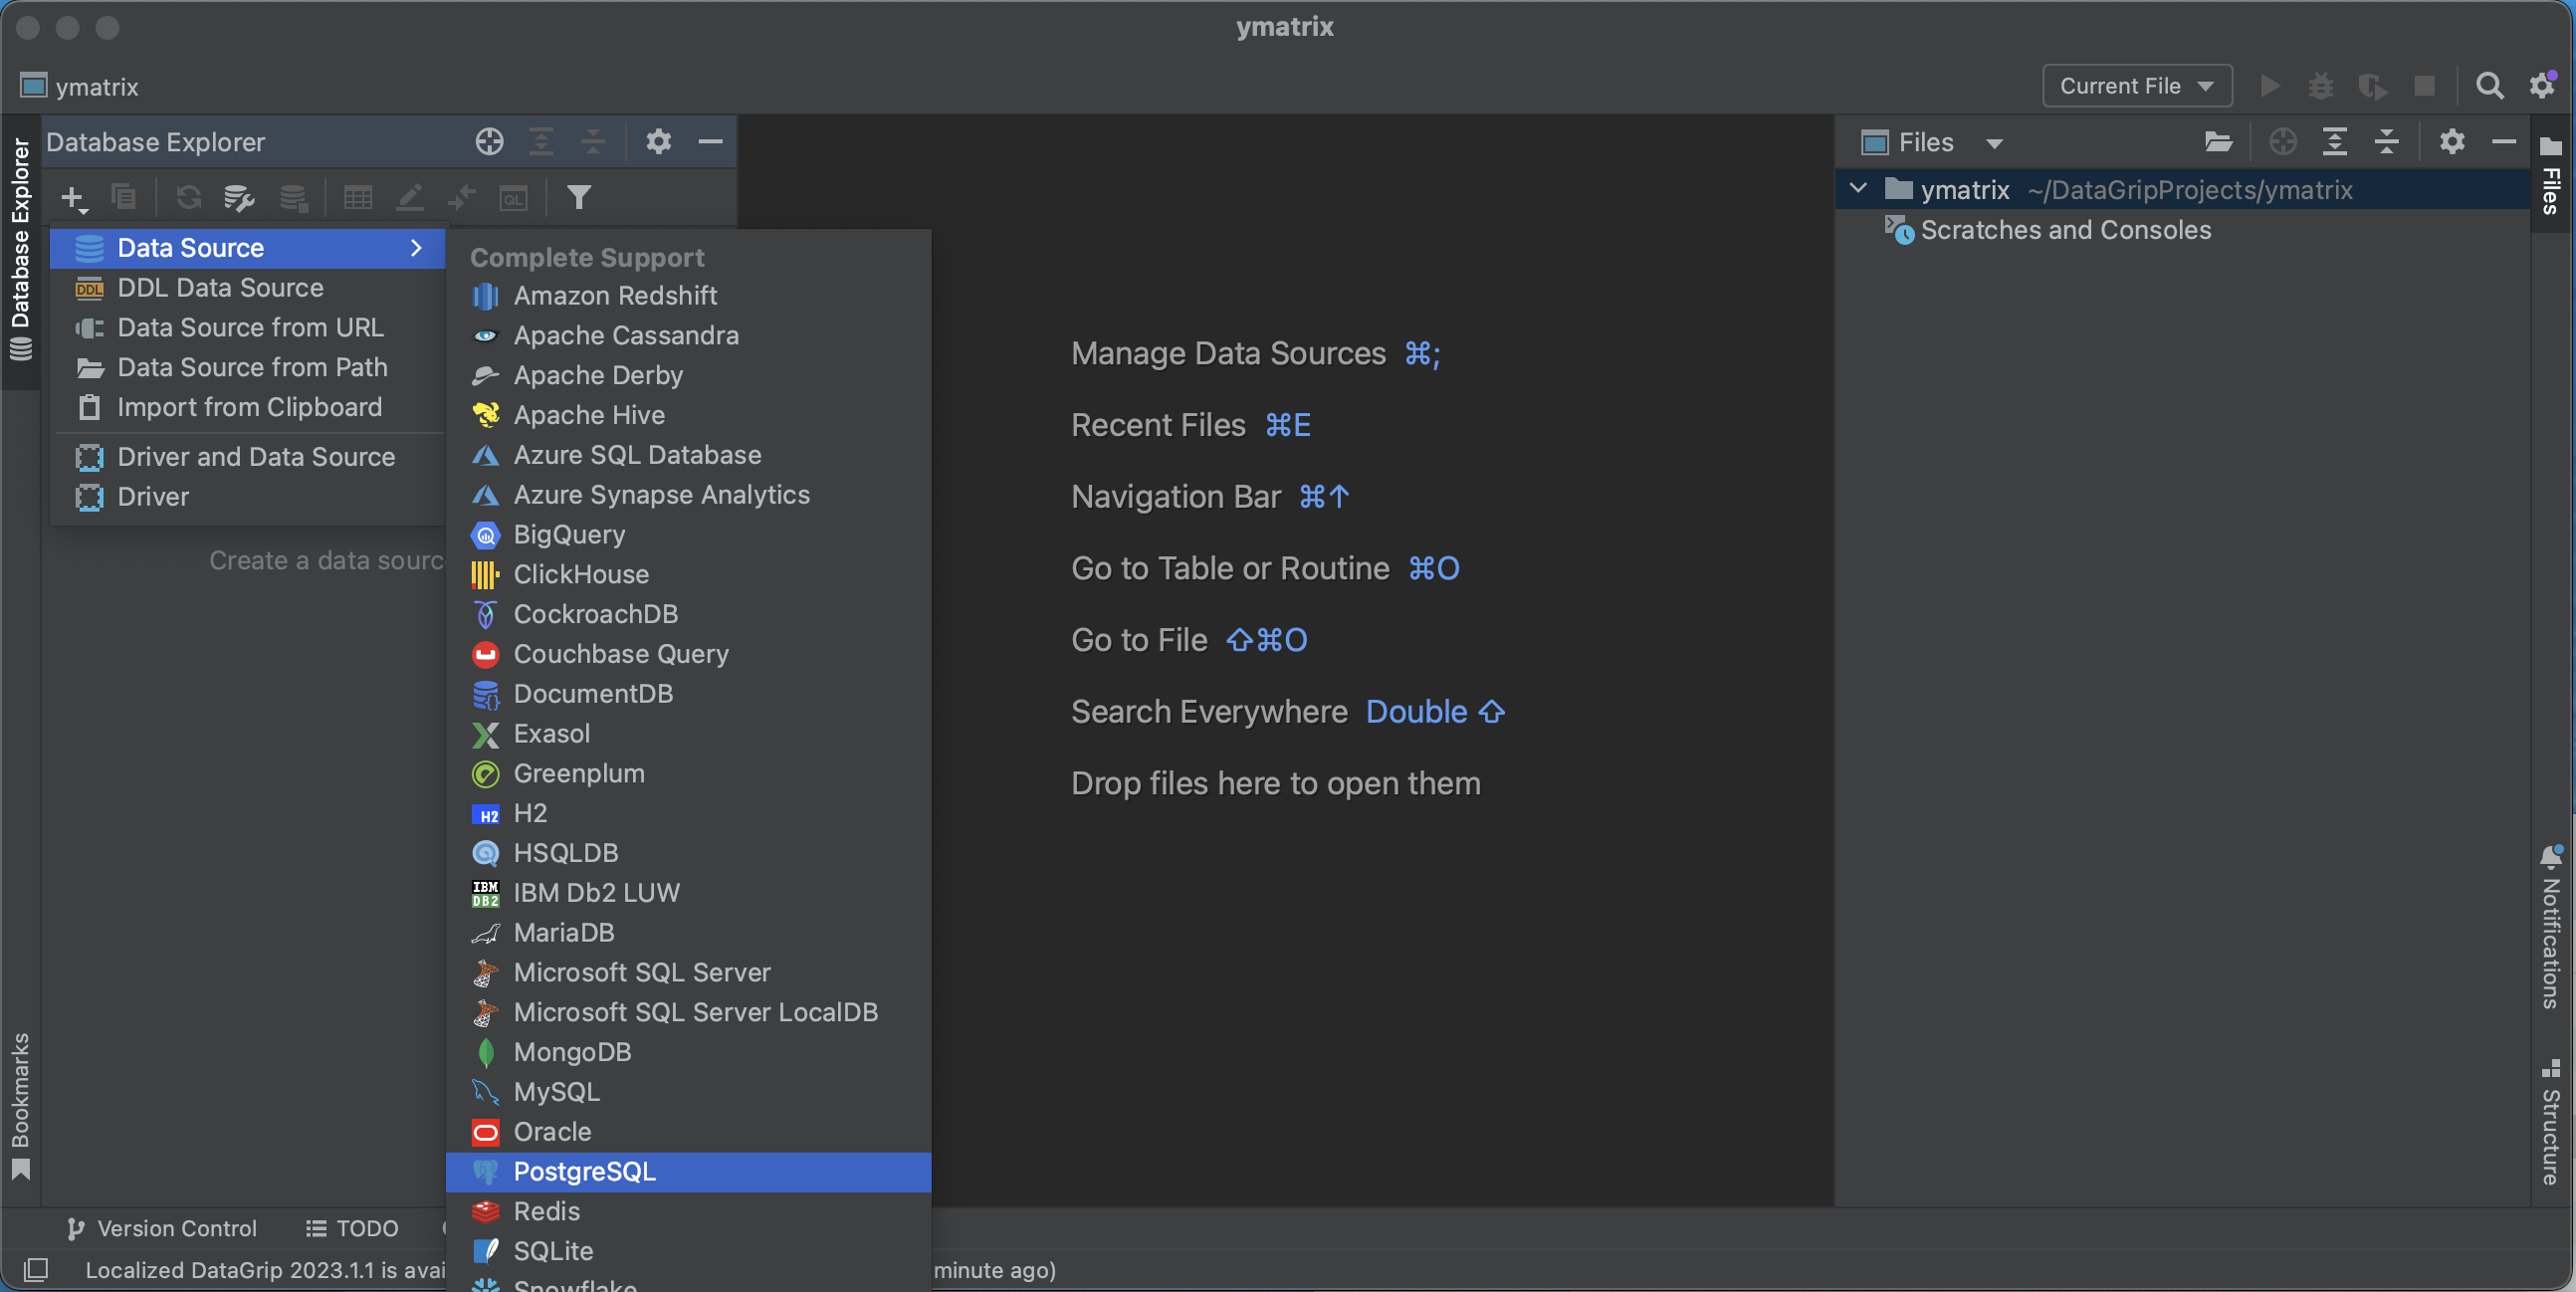
Select PostgreSQL as the data source.
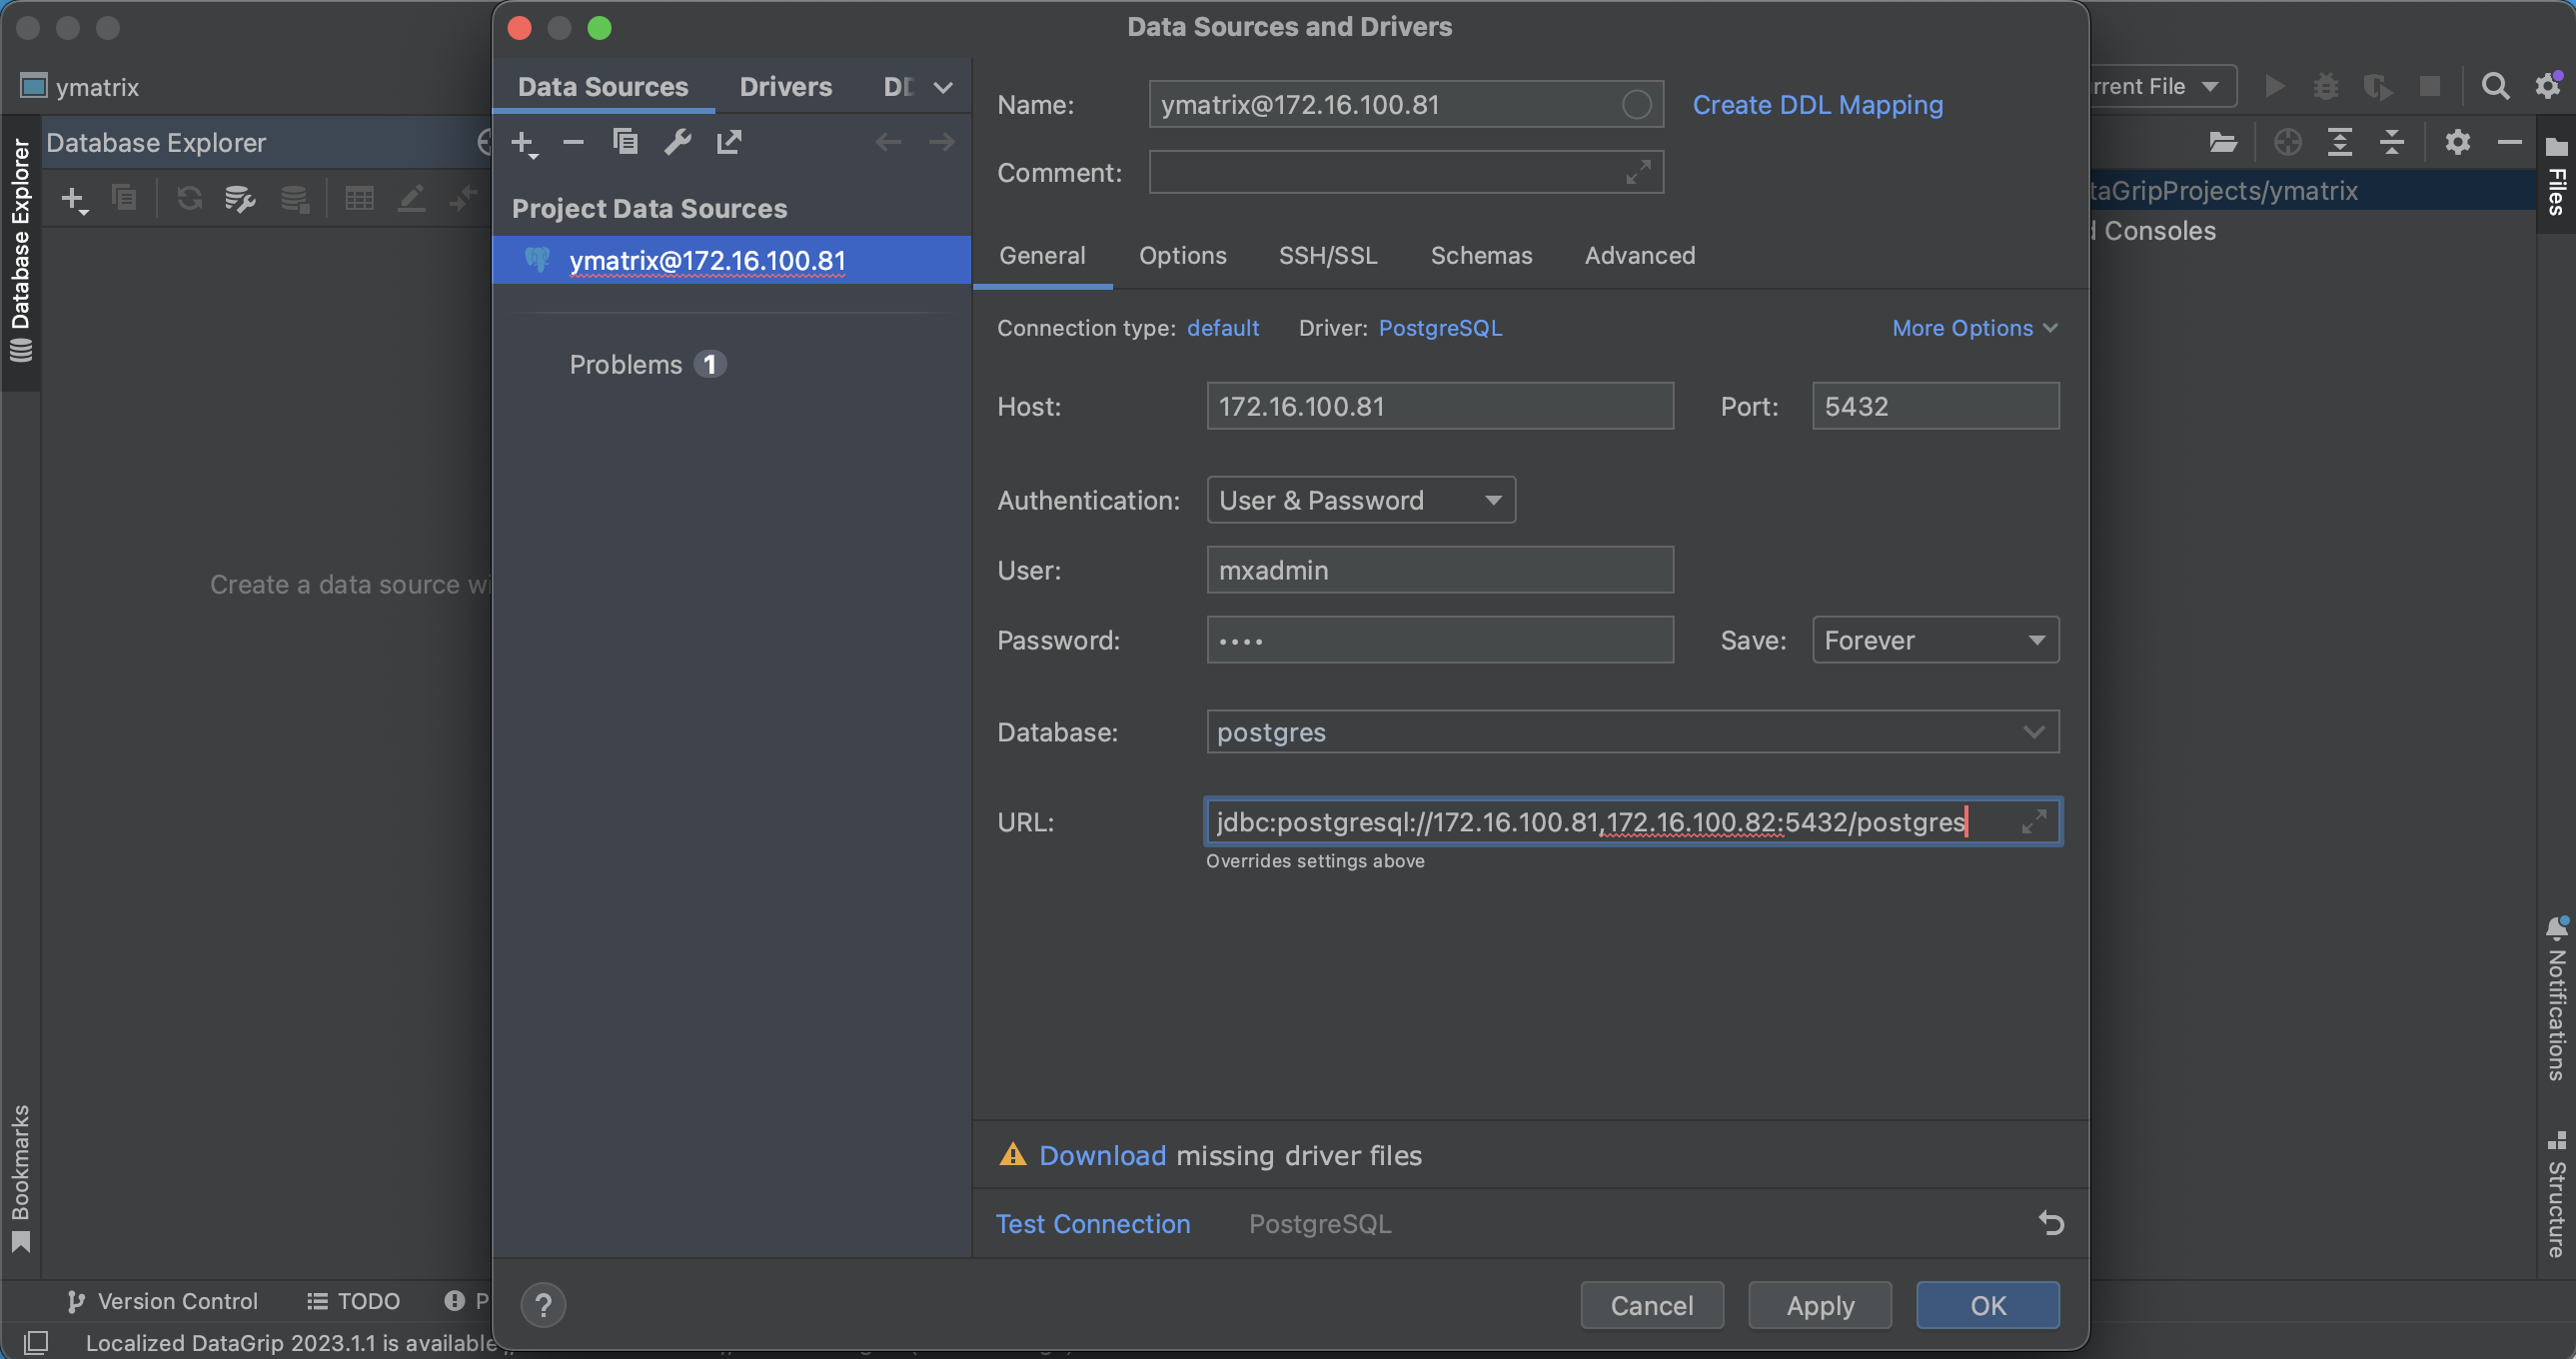
During connection setup, choose whether to enable high availability:
High-Availability Connection:
In URL, enter jdbc:postgresql://<master_ip>:<master_port>,<standby_ip>:<standby_port>/<database> (replace content within < >). Enter the Master node IP, port number, administrator username mxadmin, and the password set during initialization to complete the setup.
Non-High-Availability Connection:
Fill in all required fields except URL, leaving it unmodified.
Connection successful. Write and run SQL statements.

Note!
pgAdmin does not support high-availability connections.
Download and install pgAdmin from the links below, or visit the official download page.
| Operating System | CPU Architecture | Client Version |
|---|---|---|
| Mac | x86_64 | 7.8 |
| Mac | AArch64 | 7.8 |
| Linux | x86_64 | 7.8 |
| Windows | x86_64 | 7.8 |
Example environment used in this document:
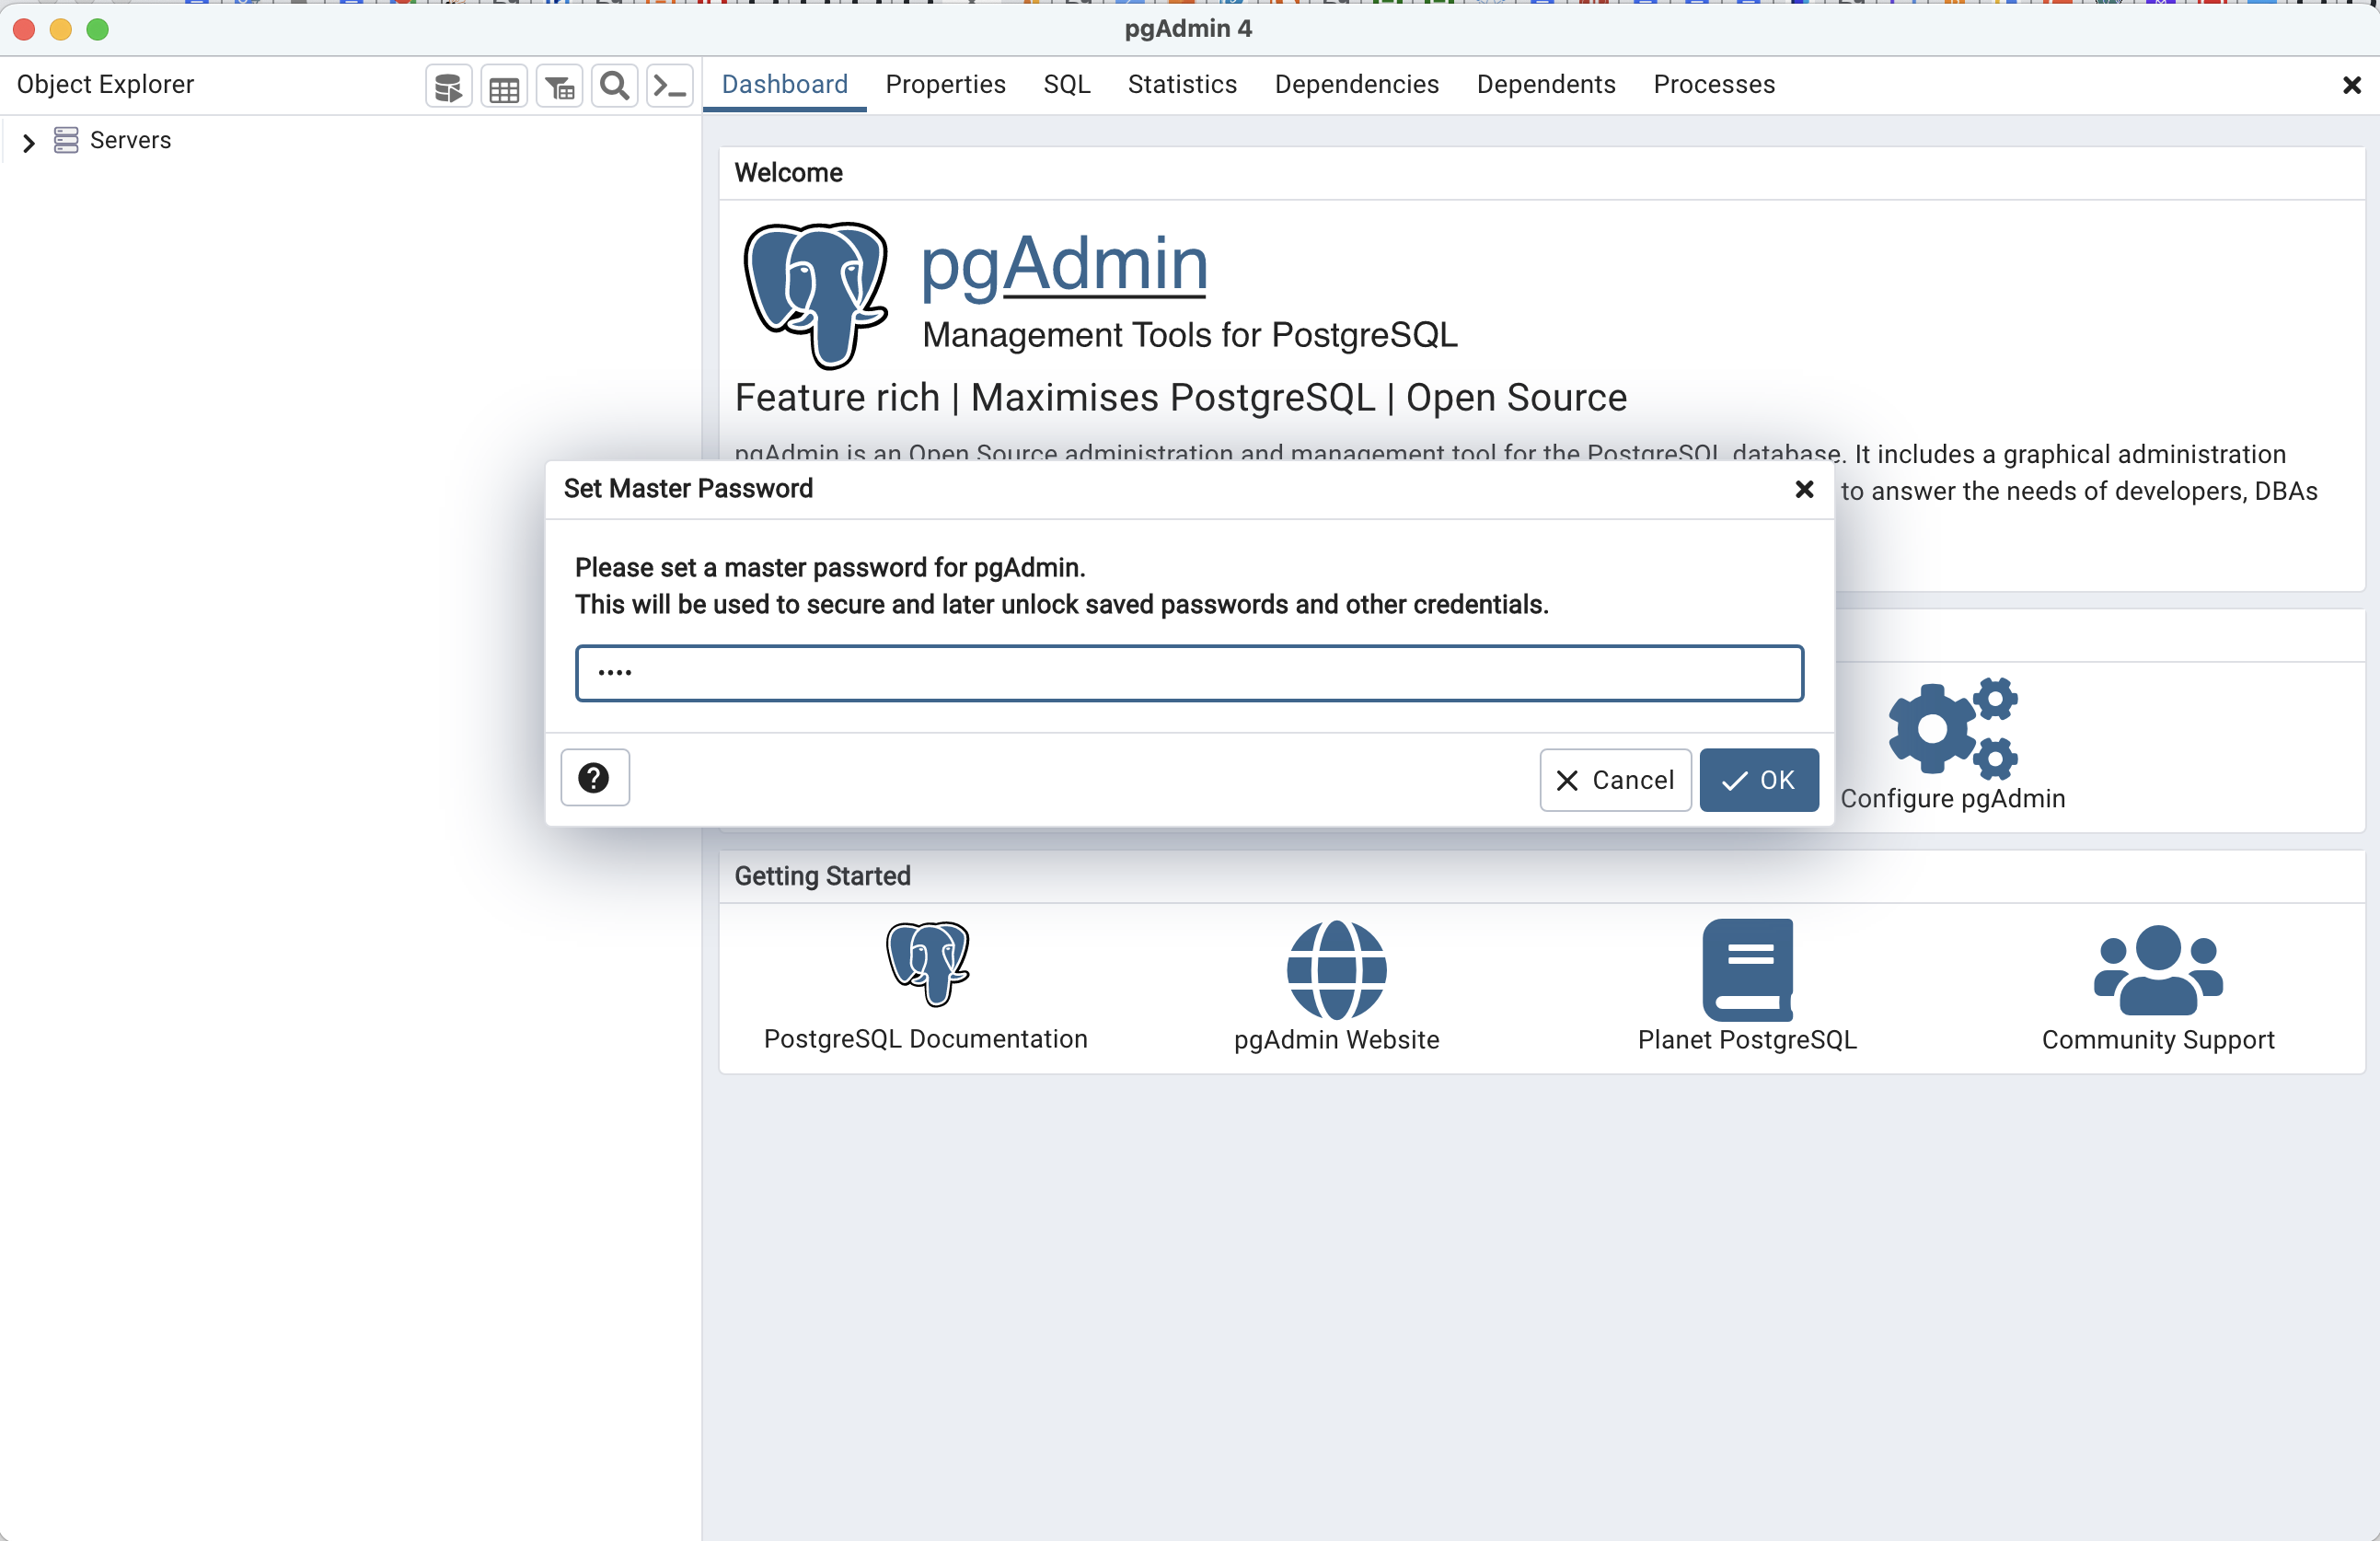
Launch pgAdmin and set a password for pgAdmin.
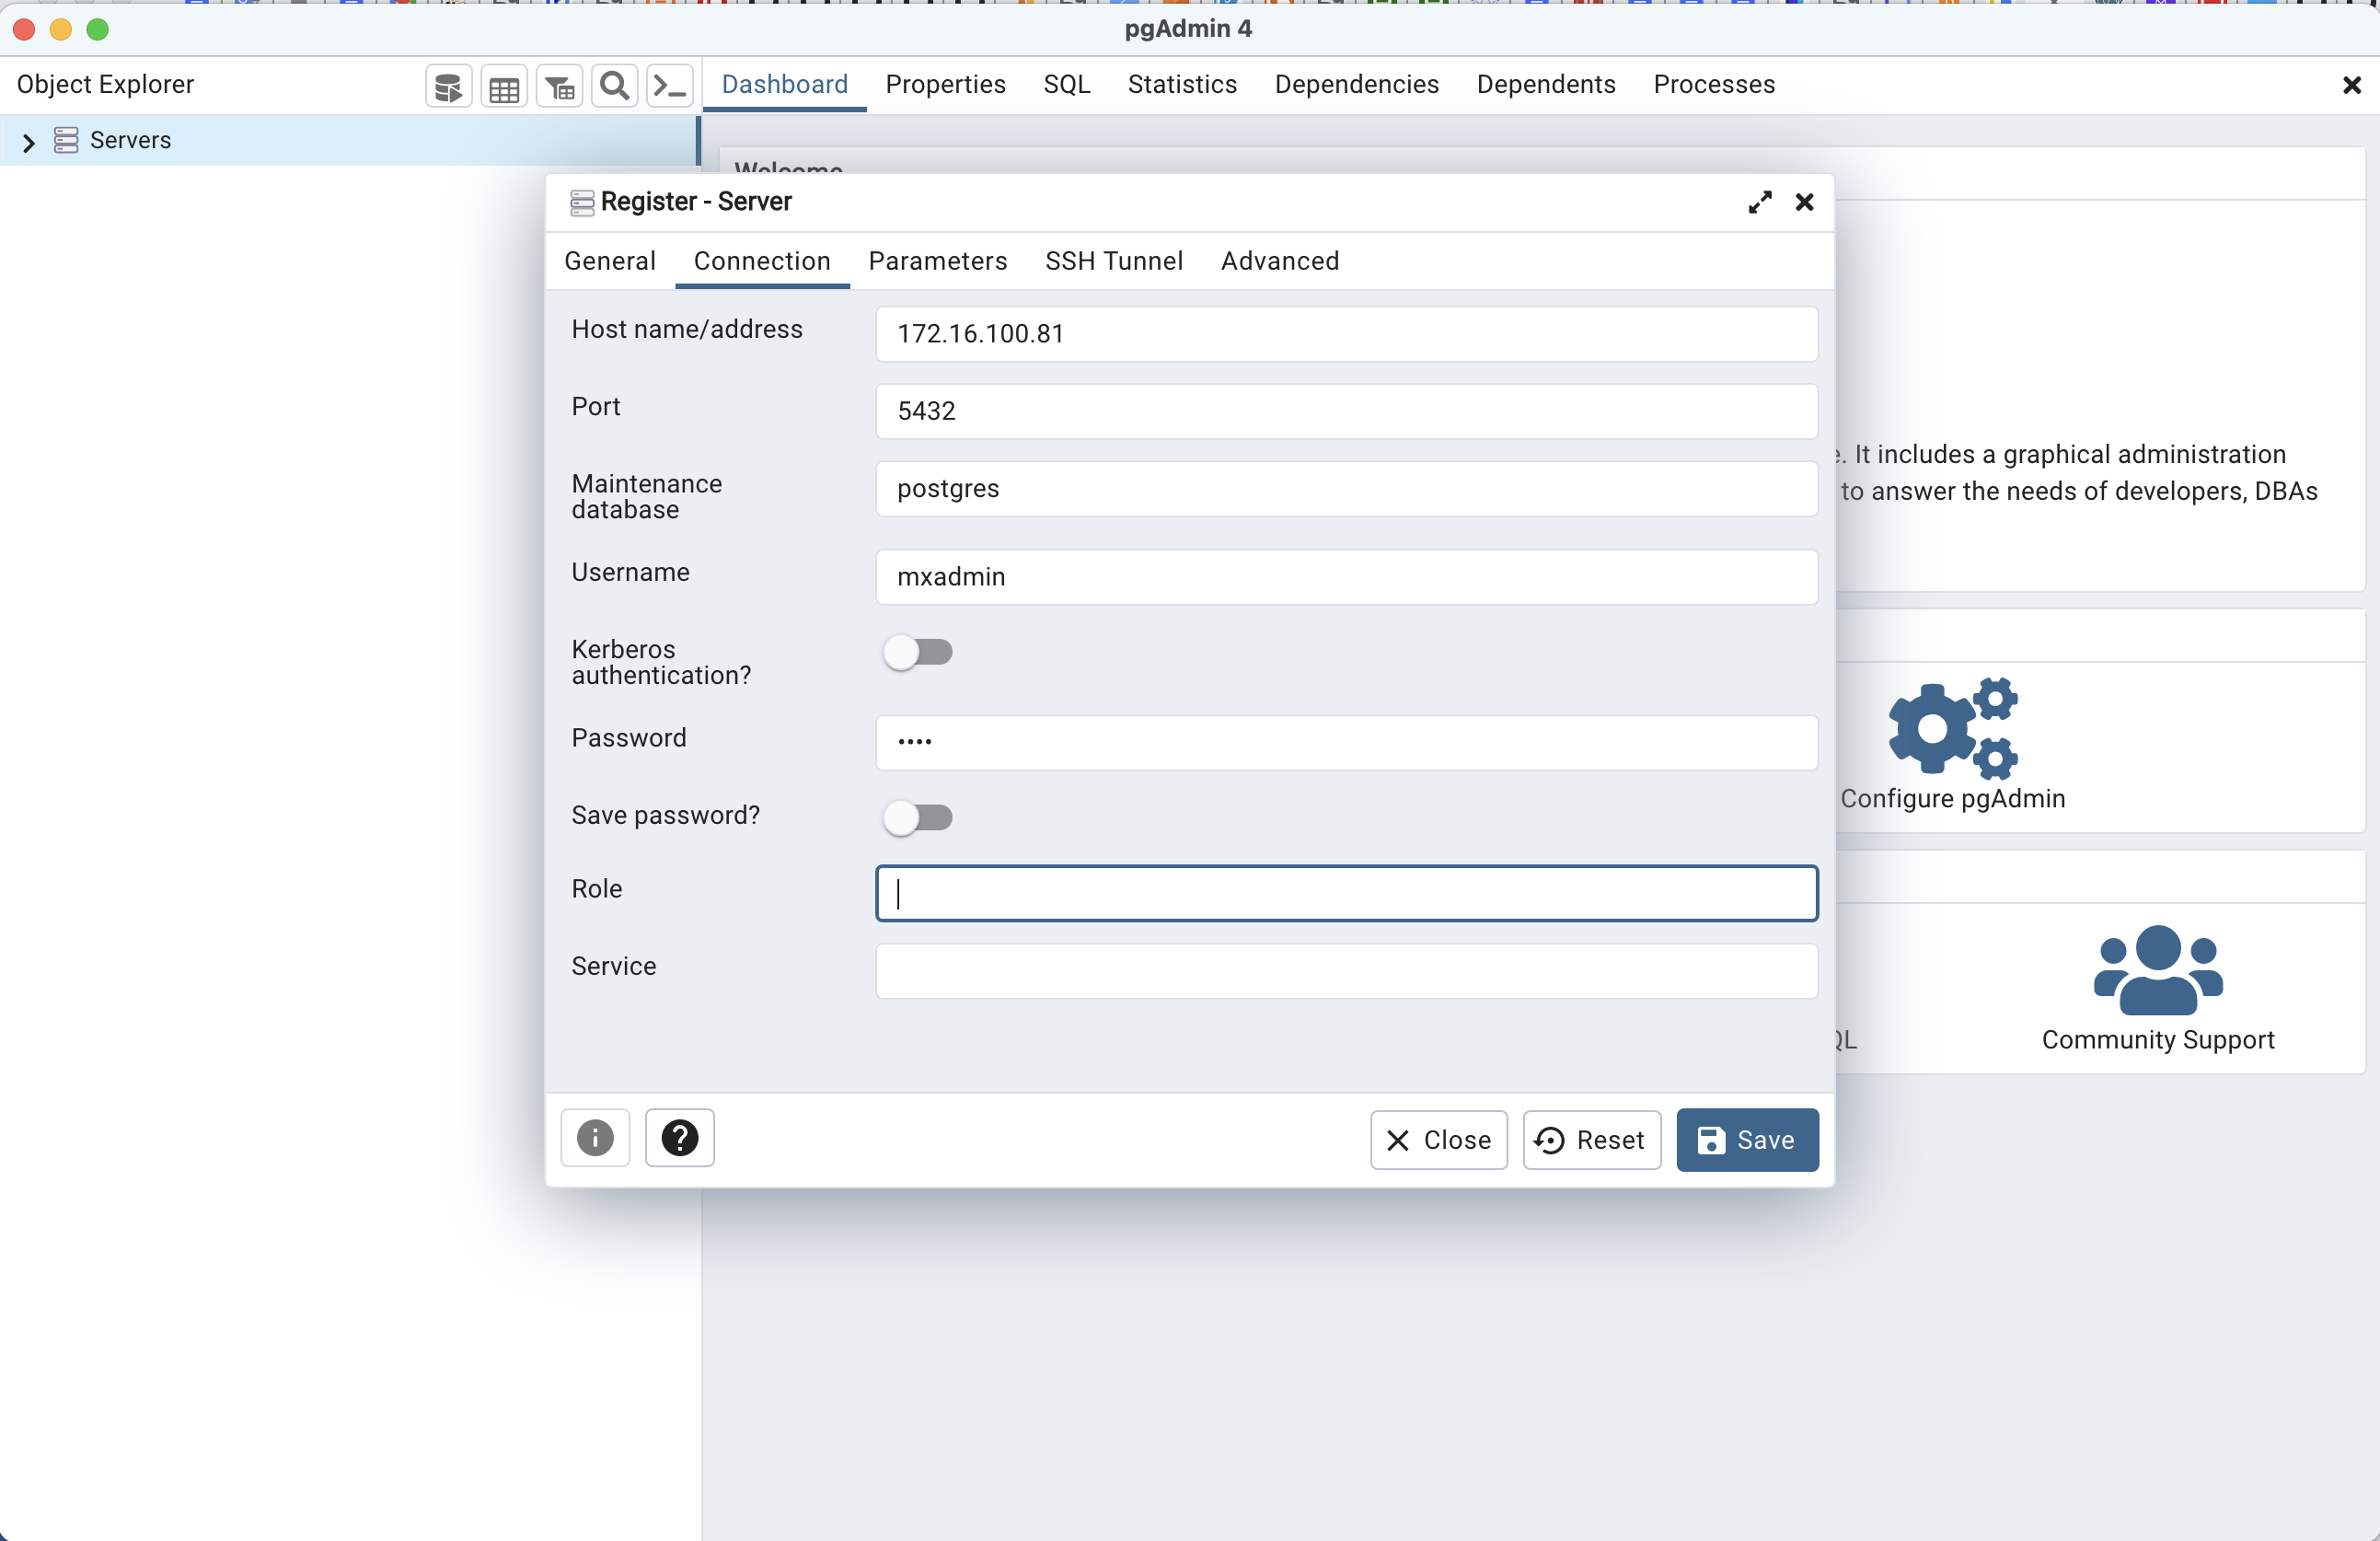
Click "Add New Server".
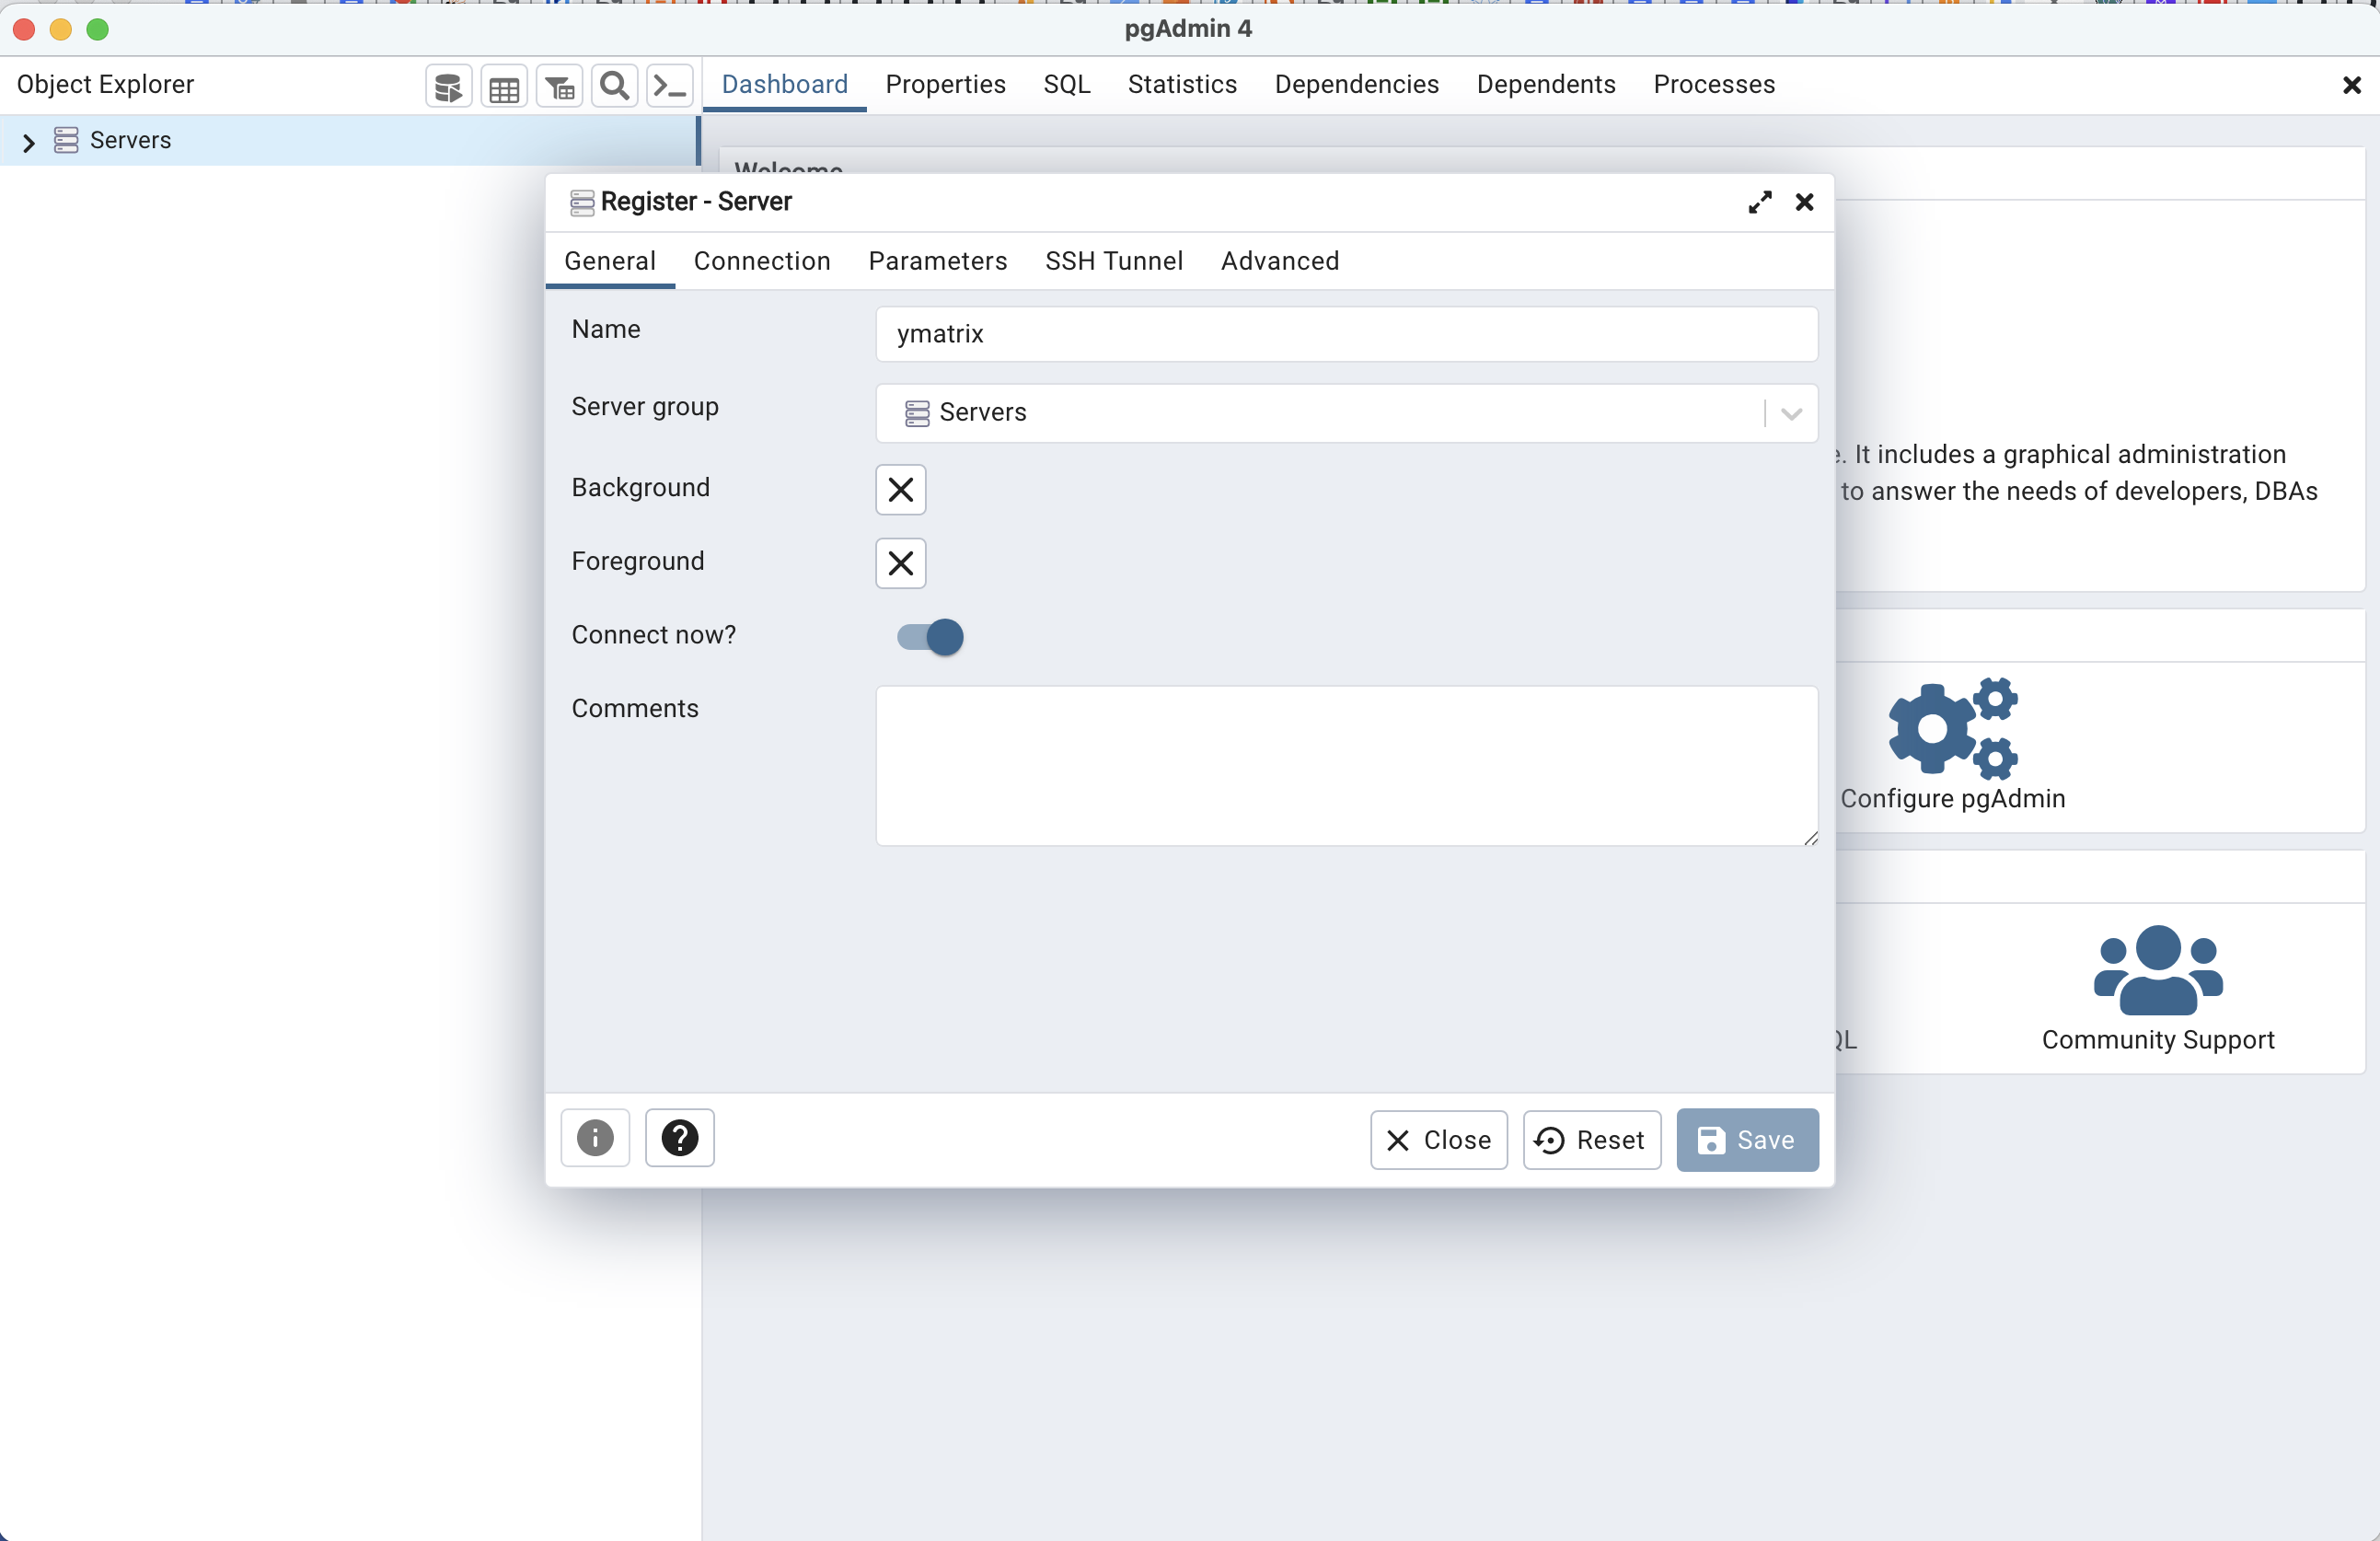
Enter the Master node IP, port number, administrator username mxadmin, and the password set during initialization to complete the setup.
Connection successful.
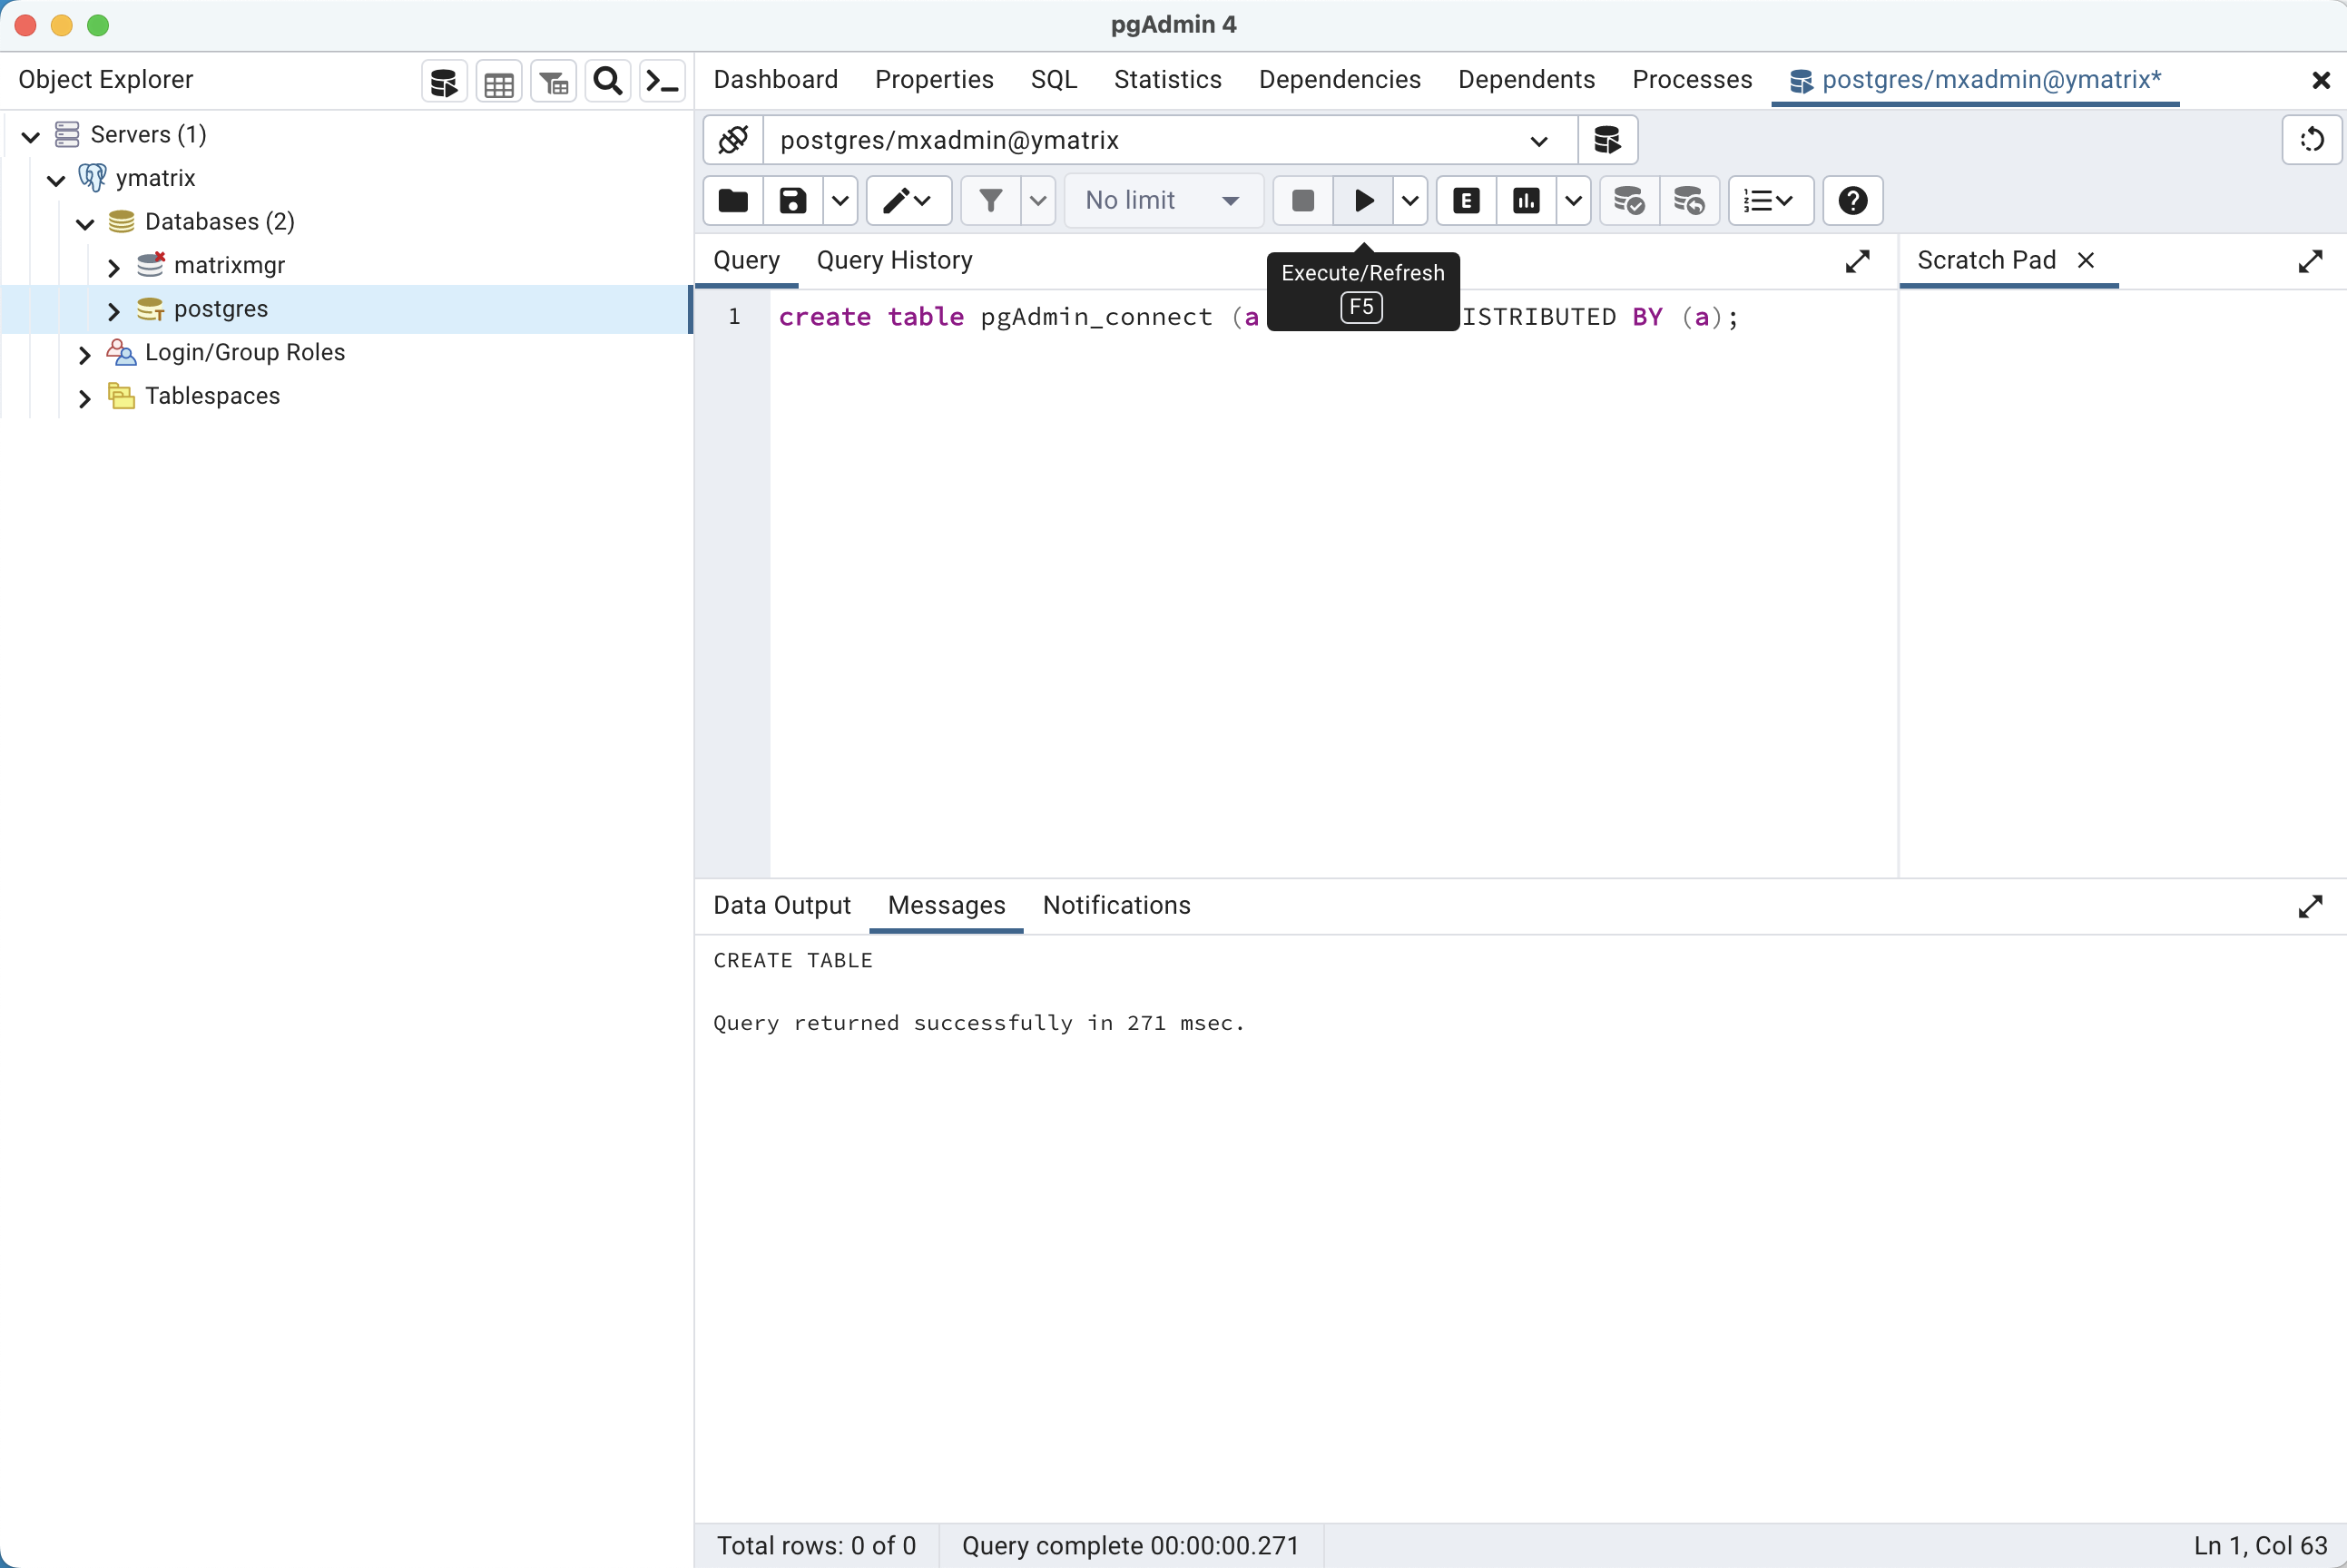
In the left-hand object browser, select any database node, then go to "Tools" → "Query Tool" to open the query editor.

Write a SQL statement and click Run.
Note!
Navicat does not support high-availability connections.
Visit Navicat to download and install the Navicat for PostgreSQL client package for your operating system.
Example environment used in this document:
Launch the Navicat client.

Create a PostgreSQL connection.

Enter the Master node IP, port number, administrator username mxadmin, and the password set during initialization to complete the setup.

Click "Test Connection".

If the test succeeds, click Save.
