| Operating System | Supported CPU Architecture |
|---|---|
| CentOS 7 | x86_64 |
| Red Hat 7 | x86_64 |
Notes!
This tutorial is limited to 64-bit installation packages. If you need a 32-bit installation package, please prepare it yourself.
The server installation process includes 6 steps: viewing server basic information, installation preparation, database RPM package installation, Python dependency package installation, database deployment and post-installation settings.
Before performing the installation operation, check the basic server information first. Unfortunately, this is a good habit, and understanding a server will help you plan and deploy the cluster better.
| Step | *Commands** | *Purpose** |
|---|---|---|
| 1 | free -h | View operating system memory information |
| 2 | df -h | View disk space |
| 3 | lscpu | View CPU quantity |
| 4 | cat /etc/system-release | View operating system version information |
| 5 | uname -a | Out all kernel information in the following order (where the detection results of -p and -i are omitted if they are agnostic): kernel name; host name on network node; kernel issue number; kernel version; host hardware architecture name; processor type (not portable); hardware platform (not portable); operating system name |
| 6 | tail -11 /proc/cpuinfo | View CPU information |
The MatrixDB installer needs to rely on other resource packages and provide dependencies by creating a local yum repository:
First download the offline warehouse compression package from the official website: matrixdb_local_repo.tar. Copy the compressed package locally onto all nodes.
~ scp <本地文件路径> <用户名>@<服务器 IP 地址>:<服务器文件路径>Perform the following actions through the root user or using root permissions. Unzip the installation package and run create_repo.sh:
# tar xf matrixdb_local_repo.tar
# cd matrixdb_local_repo
# sh create_repo.sh
After successful execution, execute yum repolist to view the yum repository and confirm that the installation is successful:
[root@localhost matrixdb_local_repo]# yum repolist
repo id                                  repo name                                   status
base/7/x86_64                            CentOS-7 - Base                             0
extras/7/x86_64                          CentOS-7 - Extras                           0
updates/7/x86_64                         CentOS-7 - Updates                          0
ymatrix                                  ymatrix                                     0
repolist: 95
See that ymatrix has taken effect.
Turn off the firewall:
systemctl stop firewalld.service
systemctl disable firewalld.service
Close SELinux, edit /etc/selinux/config, and set the value of SELINUX to disabled:
sed s/^SELINUX=.*$/SELINUX=disabled/ -i /etc/selinux/config
setenforce 0
Make sure that there are persistent host names on all nodes. If they do not exist, please use the following command to set the host name. For example, you can set it in the master node like this:
hostnamectl set-hostname mdwThe two child nodes also set corresponding host names:
hostnamectl set-hostname sdw1hostnamectl set-hostname sdw2Ensure that all nodes in the cluster can access each other through hostname and IP. Add a record in /etc/hosts and map the host name to a local network card address. For example, /etc/hosts of the three nodes contain something like this:
192.168.100.10 mdw
192.168.100.11 sdw1
192.168.100.12 sdw2On all nodes, use the root user to execute the following yum command to install the database RPM package and specify the local repository. The system dependency library will be installed automatically. By default, it will be installed in the /usr/local/matrixdb directory:
yum install --disablerepo=* --enablerepo=ymatrix matrixdb-4.0.0-1.el7.x86_64.rpmNotes!
During the actual installation process, please replace the file name with the latest downloaded RPM package name.
After the installation is successful, the supervisor and MXUI processes will be automatically started. These background processes are used to provide graphic operation interfaces and process management services. If you have the requirement to configure ports, manually create the /etc/matrixdb/defaults.conf file for configuration after installing the RPM package. This operation is only done on the Master. Examples are as follows:
# vim /etc/matrixdb/defaults.confAdd the following content and modify the port number as needed.
MasterPortBase = 5438
StandbyPortBase = 5439
PrimaryPortBase = 6500
MirrorPortBase = 7500Download Python offline dependency package from the official website: pip.dep.tar
Likewise, copy the compressed package locally onto all nodes.
~ scp <本地文件路径> <用户名>@<服务器 IP 地址>:<服务器文件路径>On all nodes, use the root user or execute the following command to install the Python package that MatrixDB depends on. Note that source greenplum_path.sh must be executed so that the correct version of the dependency package can be installed:
source /usr/local/matrixdb/greenplum_path.sh
yum install --disablerepo=* --enablerepo=ymatrix python3-devel
tar xf pip.dep.tar
pip3 install pip.dep/*.whlThe graphic deployment provided by MatrixDB is still used here. Remote graphic deployment requires server ports 8240 and 4617 to be accessible. After the installation is complete, these ports of all nodes will be opened by default.
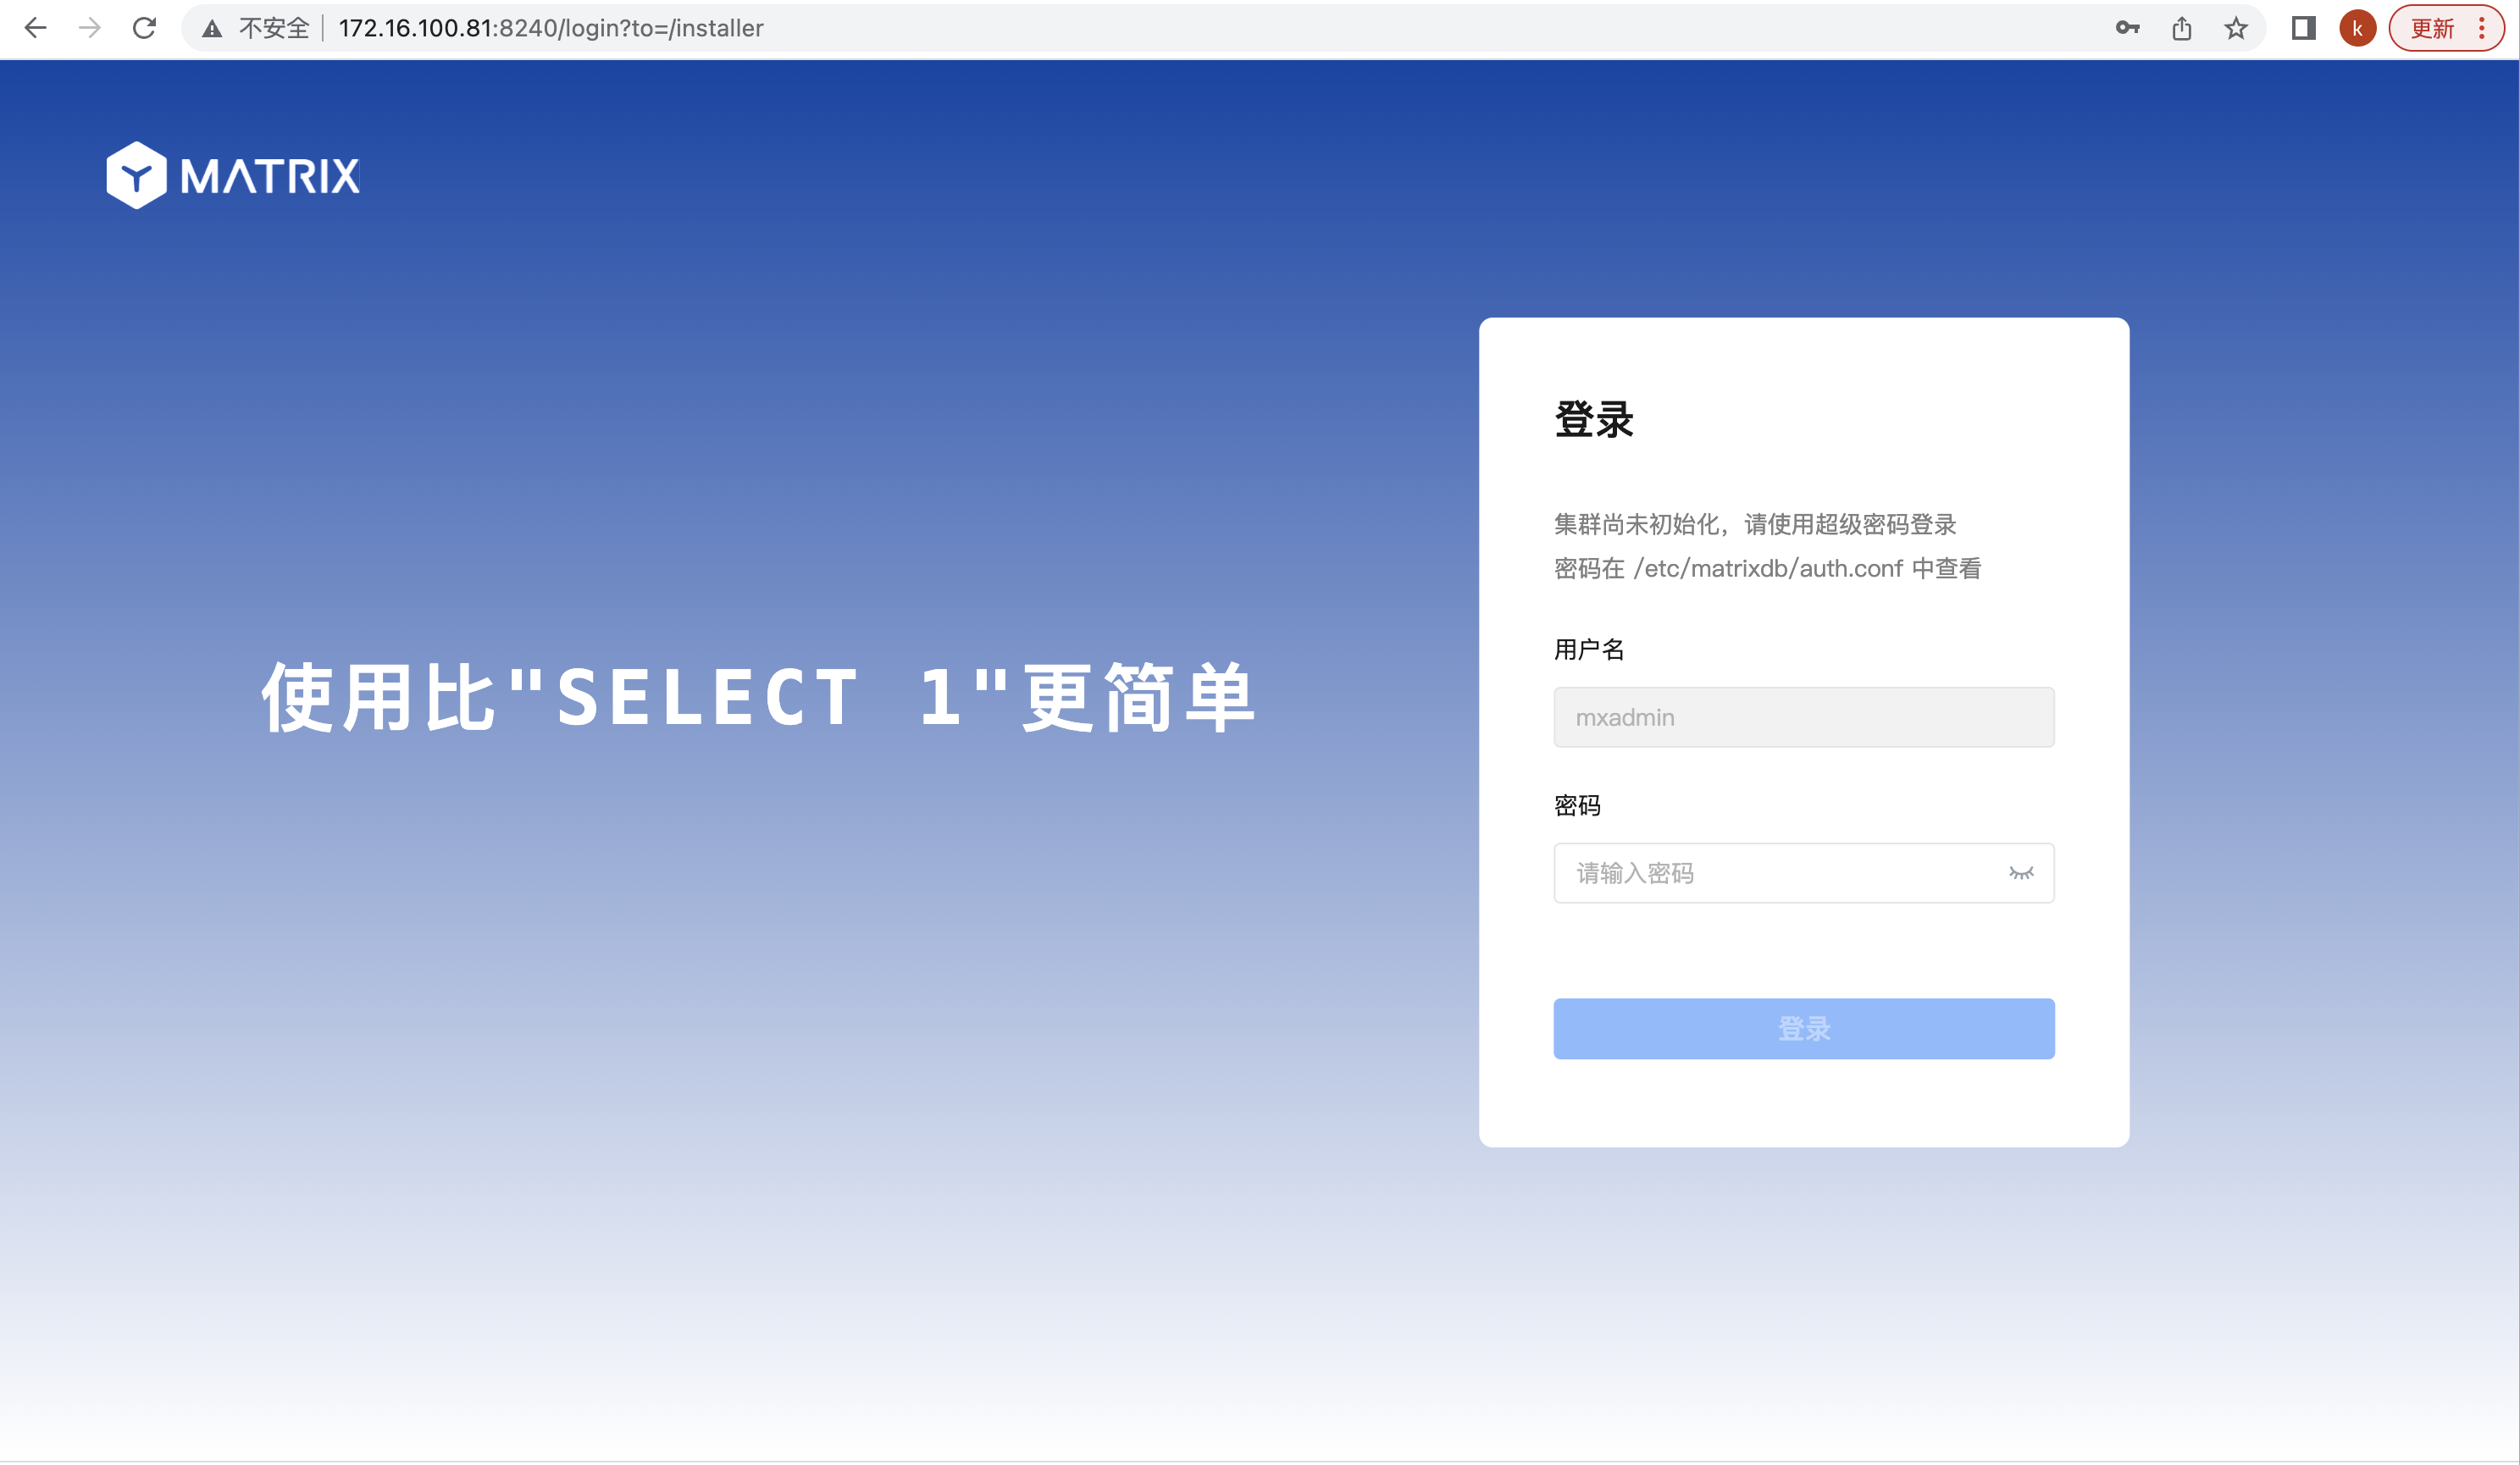
Use your browser to access the following graphic installation wizard URL, which is the IP of the mdw server:
http://<IP>:8240/On the first page of the installation wizard, you need to fill in the super user password and use the sudo more /etc/matrixdb/auth.conf command to view it.
Select "Multi-node deployment" on the second page and click Next. 
Next, start the four steps of multi-machine deployment.
The first step is to add a node and click the "Add Node" button. 
Enter the IP addresses or hostname or FQDN of sdw1 and sdw2 in the text box, click "OK", and click "Next". 
The second step is to configure cluster parameters. "Data mirroring" determines whether the cluster data node contains backup images. It is recommended to enable it in the production environment so that the cluster is highly available. The system automatically recommends the largest space of disks and the number of segments matching the system resources, which can be adjusted according to the specific usage scenario. The configured cluster structure can be viewed through the schematic diagram. After confirming, click "Next". 
The third step is to set the storage path. 
Step 4: Execute deployment. This step will list the configuration parameters for the previous operation. After confirming that it is correct, click "Execute deployment". 
The system will then automatically deploy the cluster and list detailed steps and execution progress. After all the steps are successfully executed, it means that the deployment is completed. 
Complete the deployment. 
MatrixDB default installation supports remote connections. If "Allow remote connection to database" is not checked during the installation process, please manually modify the $MASTER_DATA_DIRECTORY/pg_hba.conf file to add a line like this, indicating that users from any IP who access all databases are allowed to connect through password authentication. The IP range or database name can be limited according to actual needs to be used to reduce security risks:
# host all all 0.0.0.0/0 md5After completing these modifications, you need to execute the following command to reload the pg_hba.conf configuration file:
# gpstop -uMatrixDB start, stop, restart and status viewing can be completed by the following commands:
| Command | Purpose |
|---|---|
| gpstop -a | Stop the cluster. (In this mode, if there is a session link, closing the database will be stuck) |
| gpstop -af | Quickly shut down the cluster |
| gpstop -ar | Restart the cluster. Wait for the currently executing SQL statement to end (in this mode, if there is a session link, closing the database will be stuck) |
| gpstate -s | View cluster status |