This document describes the steps to quickly deploy using YMatrix on single-node.
Notes!
If you need to deploy a multi-node cluster, please refer to the Standard Cluster Deployment Chapter.
Notes!
Quick installation is only suitable for installation of operating systems such as CentOS 7, RedHat 7, etc. For Ubuntu 20.04 deployment steps, please click here; for CentOS 8 and RedHat 8 deployment steps, please click here.
Notes!
Please refer to YMatrix Installation and Deployment. If the host cannot connect to the external network, please refer to Offline Cluster Deployment.
Before installation, please Download YMatrix installation file.
The server installation process includes two steps: installation preparation and database deployment. The optional post-installation settings and basic database management commands are also discussed later.
Copy the RPM package from local to the remote server.
~ scp <local path> <username>@<server IP address>: <server path>Notes!
This step begins, all of the following operations need to be performed under the root user or with sudo permissions.
YMatrix requires Python 3.6. Please use the following command to install and set Python 3.6 as the default version:
$ sudo yum install centos-release-scl
$ sudo yum install rh-python36
$ sudo scl enable rh-python36 bashTurn off the firewall:
$ sudo systemctl stop firewalld.service
$ sudo systemctl disable firewalld.service
Close SELinux, edit /etc/selinux/config, and set the value of SELINUX to disabled:
$ sudo sed s/^SELINUX=.*$/SELINUX=disabled/ -i /etc/selinux/config
$ sudo setenforce 0
Make sure there is a persistent host name on the installation node. If it does not exist, please use the following command to set the host name, set to mdw in the example:
$ sudo hostnamectl set-hostname mdwModify the /etc/hosts file. If you use the vim tool for the first time, you can use the sudo yum install vim command to install:
$ sudo vim /etc/hostsMap the host name to a local network card address. After the modification is completed, click the esc key and enter :wq to save and exit
192.168.100.10 mdwNotes!
Do not add the aboveentry repeatedly in /etc/hosts, otherwise an error "Inter-host network connection test failed" will appear when initializing the graphic interface.
When using the root user or sudo permissions to execute the following yum command to install the database RPM package, the system dependency library will be automatically installed together. By default, it will be installed in the /opt/ymatrix/matrixdb5 directory:
$ sudo yum install matrixdb5-5.1.0+enterprise_5.1.0-1.el7.x86_64.rpmNotes!
During the actual installation process, please replace the file name with the latest downloaded RPM package name.
After the installation is successful, the supervisor and MXUI processes will be automatically started. These background processes are used to provide graphic operation interfaces and process management services.
If you have the requirement to configure ports, modify the /etc/matrixdb5/defaults.conf file for configuration after installing the RPM package. This operation is only performed on the master node (Master).
$ vim /etc/matrixdb5/defaults.confYMatrix provides a simple and easy-to-use database deployment method, including graphic deployment and command line deployment. It is recommended to use graphic deployment. Remote graphic deployment requires server ports 8240 and 4617 to be accessible. The graphic interface service is provided by the MXUI process.
Use your browser to access the following graphic installation wizard URL, which is the Master Server IP:
http://<IP>:8240/On the first page of the installation wizard, you need to fill in the superuser password and use the sudo more /etc/matrixdb5/auth.conf command to view:

The second page automatically selects "Single-node deployment", please click on the next step directly:
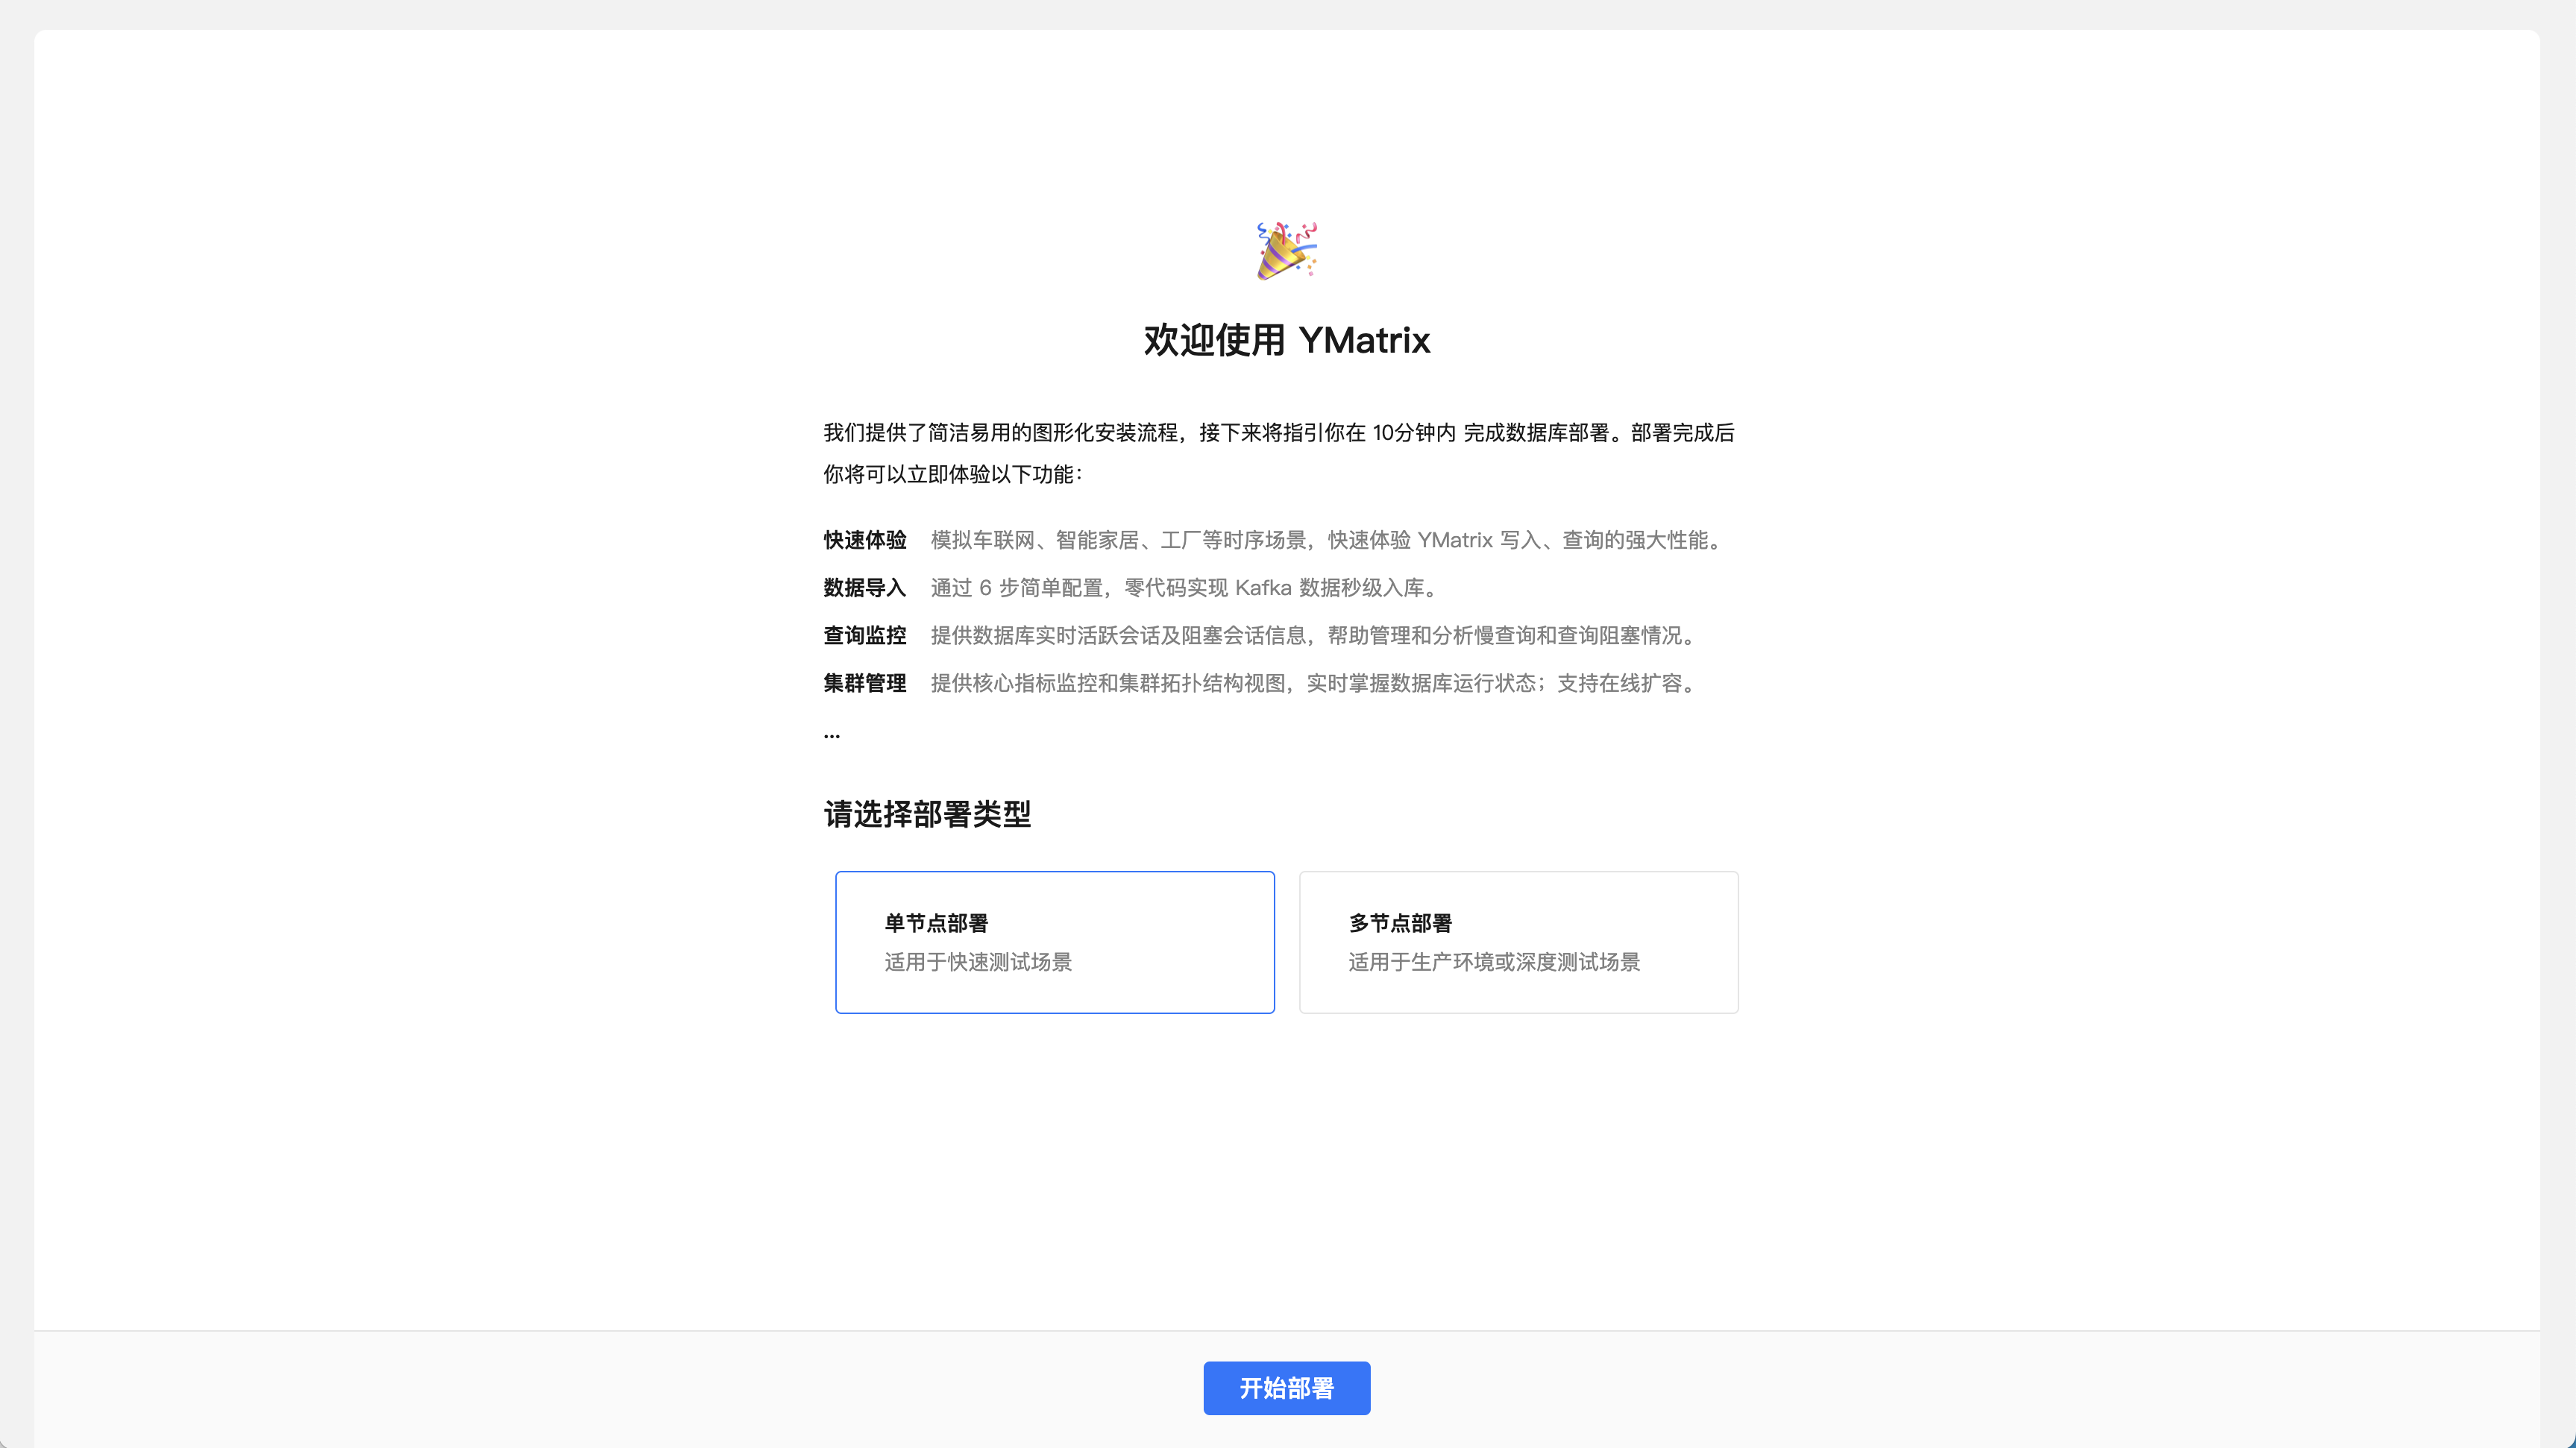
Next, start the three steps of stand-alone deployment.
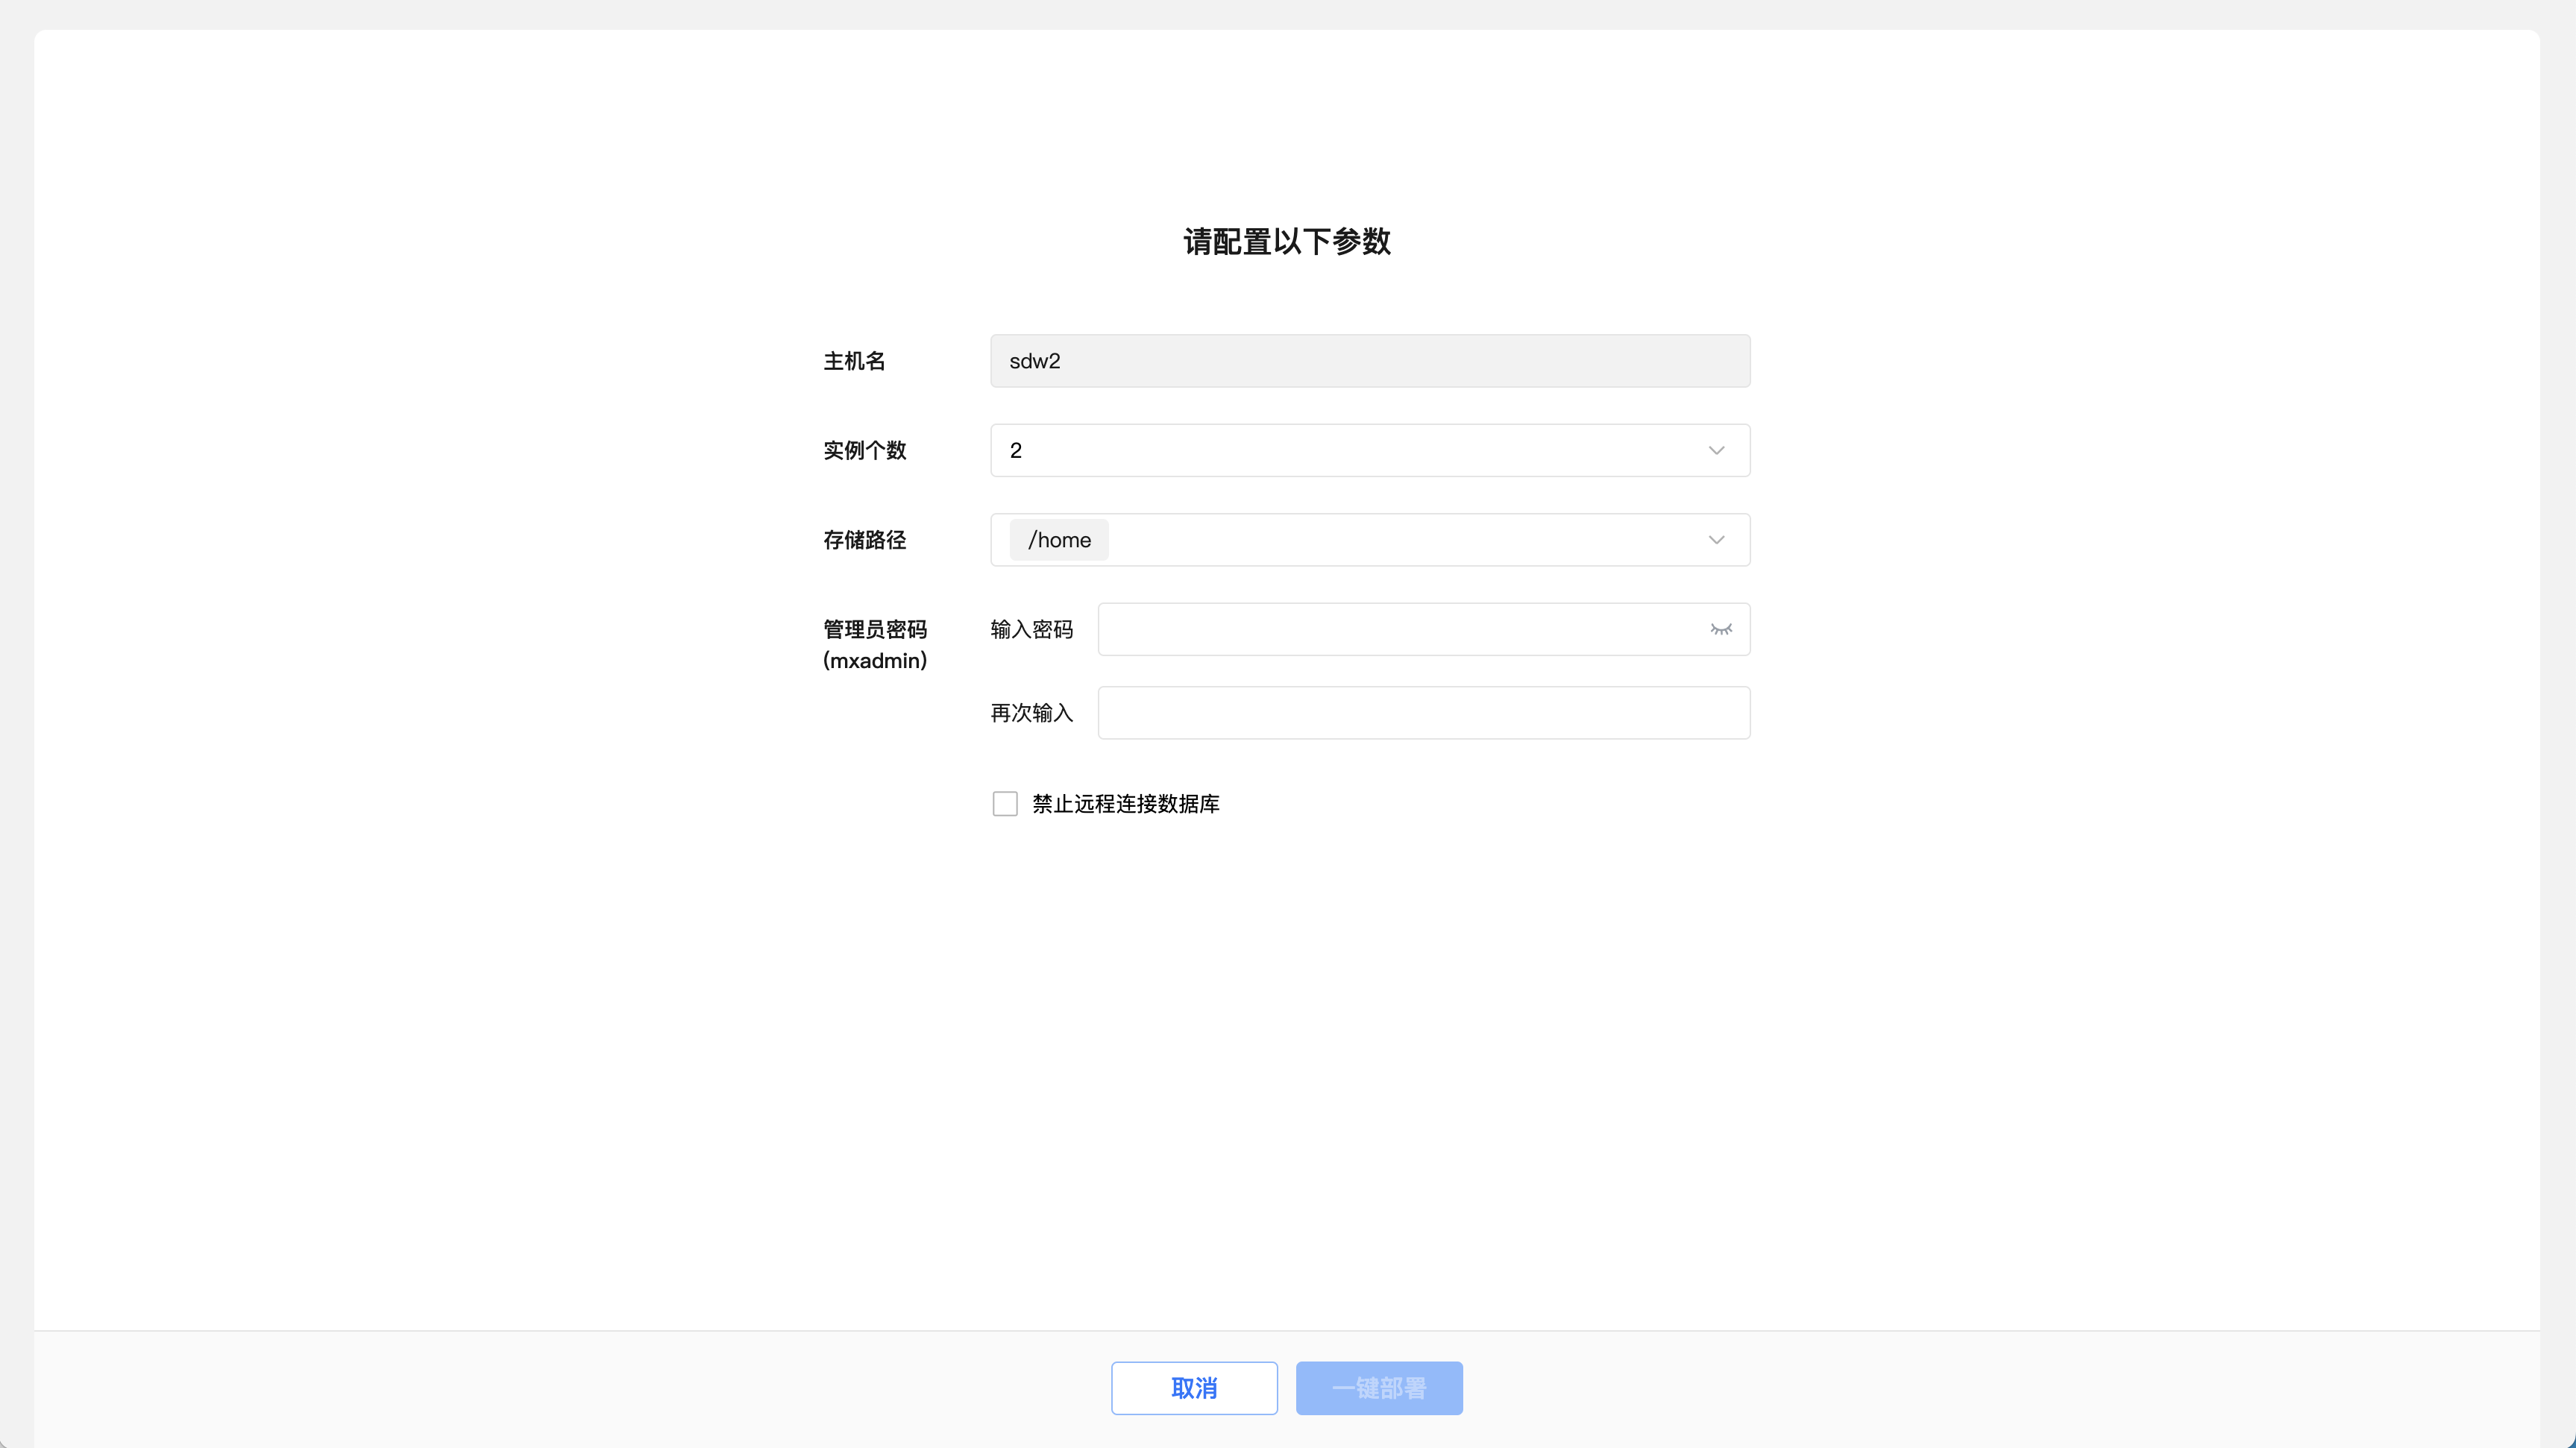
The first step is to set the number of instances, storage path and administrator password, and click one-click deployment after confirmation.
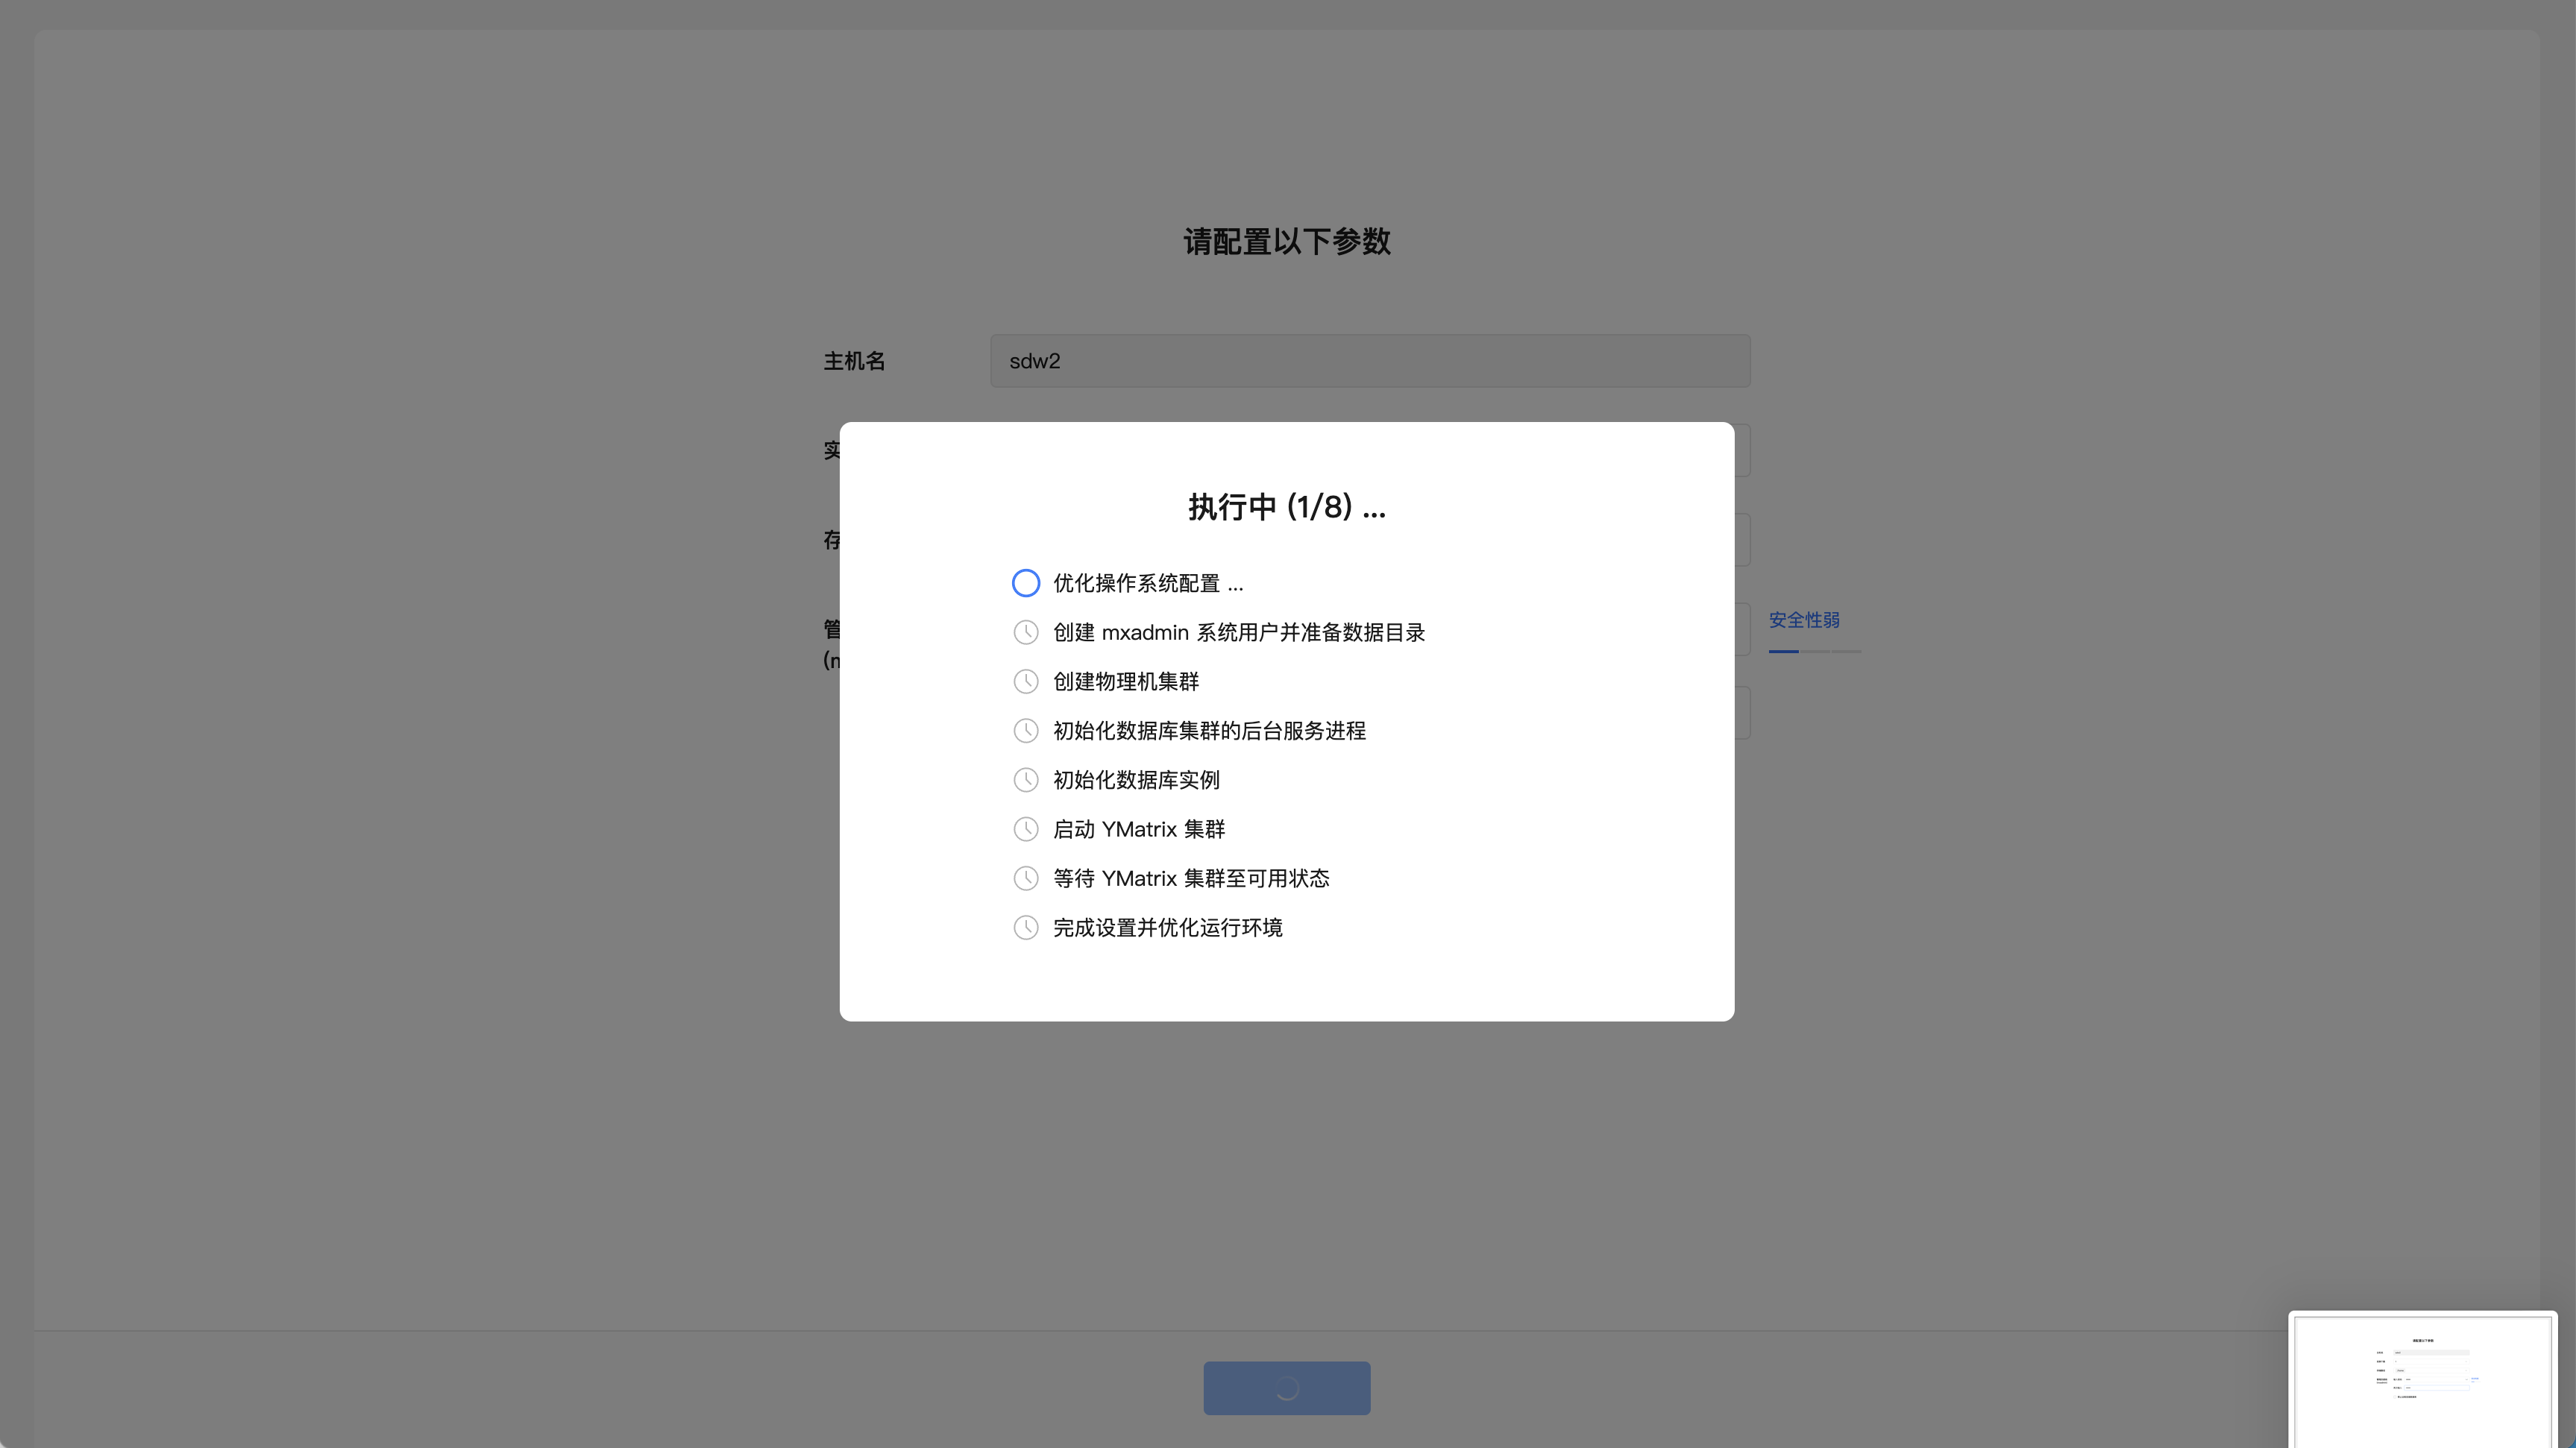
The second step is to start deploying the database. The page displays the progress of task completion in real time.
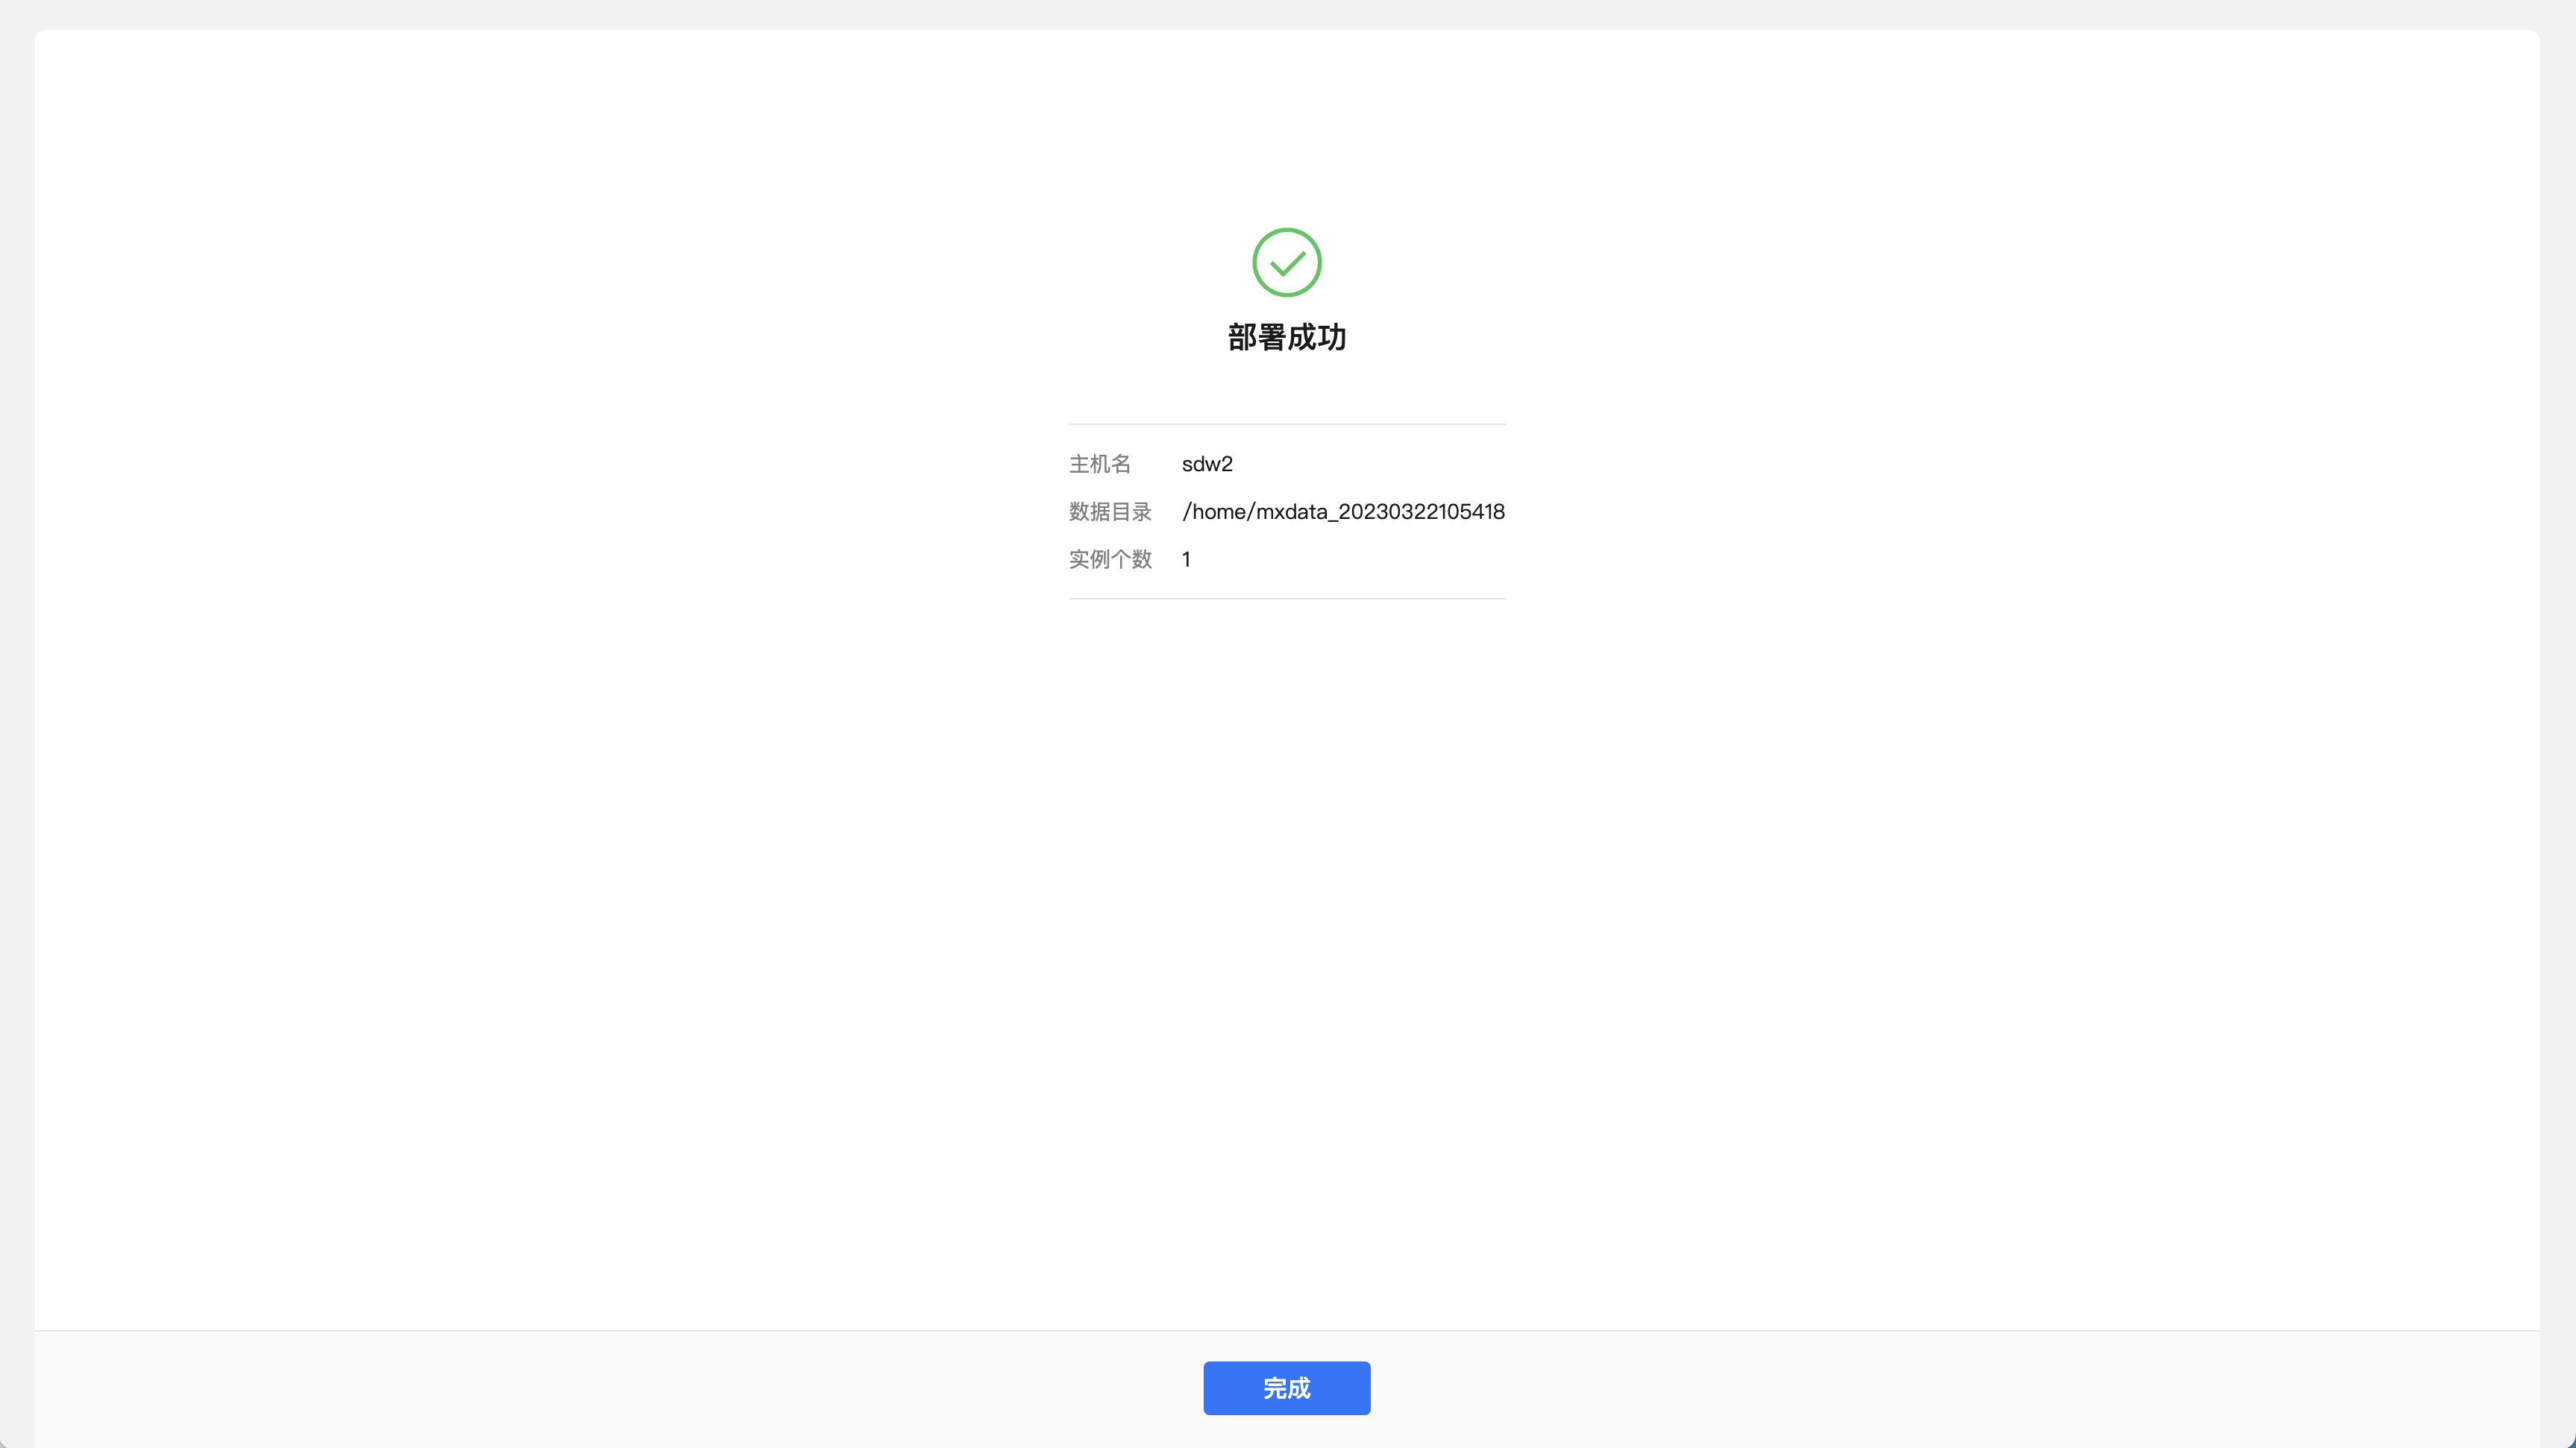
Step 3, complete. After the deployment is successful, you can click the "Finish" button.
YMatrix also provides a one-click stand-alone command line deployment. The command is as follows. After execution, the database can be automatically started and used immediately:
source /opt/ymatrix/matrixdb5/greenplum_path.sh
sudo env "PATH=$PATH" mxsetup
After the deployment is completed, the Cylinder process will be automatically started, which will automatically trigger the function to perform certain timing tasks at a specified time.
SSH log in to the server and switch to YMatrix administrator user mxadmin:
$ sudo su - mxadminYMatrix default installation supports remote connections. If "Allow remote connection to database" is not checked during the installation process, please manually modify the $MASTER_DATA_DIRECTORY/pg_hba.conf file to add a line like this, indicating that users from any IP who access all databases are allowed to connect through password authentication. The IP range or database name can be limited according to actual needs to be used to reduce security risks:
$ host all all 0.0.0.0/0 md5To facilitate remote connections, and to test whether the database is initialized normally, please execute the following command to set the password for the database administrator user mxadmin (please replace mxpass with your password):
$ psql -c "alter role mxadmin with password 'mxpass'" -h localhost -p 5432 mxdbAfter completing these modifications, you need to execute the following command to reload the new settings of pg_hba.conf:
$ mxstop -uSSH log in to the server and switch to YMatrix administrator user mxadmin:
$ sudo su - mxadminThe start, stop, restart and status viewing of YMatrix can be completed by the following commands:
$ mxstart -a
$ mxstop -af
$ mxstop -arf
$ mxstate -s| Command | Purpose |
|---|---|
| mxstop -a | Stop the cluster. (In this mode, if there is a session link, closing the database will be stuck) |
| mxstop -af | Quickly shut down the cluster |
| mxstop -ar | Restart the cluster. Wait for the currently executing SQL statement to end (in this mode, if there is a session link, closing the database will be stuck) |
| mxstate -s | View cluster status |
YMatrix can be installed on low-end devices, as follows:
| Minimum configuration |
|---|
| 1GHZ Dual-Core Processor |
| 2GB memory |
| 2GB disk space |
| RAID 1 (mirror) |
If installed on a memory device below 2G, you can add swap according to the following commands before installation to ensure that the device has no less than 2G swap space.
Create and enable a 2G SWAP area:
sudo dd if=/dev/zero of=/opt/swapfile count=2048 bs=1MiB
sudo chmod 600 /opt/swapfile

sudo mkswap /opt/swapfile
sudo swapon /opt/swapfile

swapon -s
free -m
Edit /etc/fstab Add the following line to persist the swap area:
/opt/swapfile swap swap sw 0 0YMatrix is compatible with PostgreSQL 12 protocol. Many of PostgreSQL 12's commercial and open source client tools (such as DBeaver, pgAdmin, etc.) can be used with YMatrix, so you can easily access YMatrix from a laptop and other personal computers. For details, see Client Access.
YMatrix's command line tool psql can also be used remotely on Windows or Mac systems. Mac users can directly use brew to install:
$ brew install libpq
$ brew link --force libpq ail
Windows users, please click here to download and install.
After psql is installed, you can connect to the YMatrix server through -h specified host name and -p specified port. Other common parameters of psql are as follows:
psql -h [hostname or IP] -p [port] -U [username] -W -d [database name]For example:
$ psql -h 127.0.0.1 -p 5432 -U mxadmin -W -d mxdbI wish you a pleasant experience!