This document describes the method to automatically downgrade data to object storage (such as AWS S3) in YMatrix, thus achieving fully automated hot and cold grading.
Notes!
This feature only supports MARS3 tables.
Internet of Things scenarios will generate massive data storage. While YMatrix recognizes the importance of hot data (real-time data), it also takes into account the mind of cold data (historical data) storage performance and ease of use. For example: the number of transaction orders visited by e-commerce platforms within 7 days will be higher, and after the time of unreasonable return and exchange is exceeded, the frequency of order data being accessed will gradually decrease, but expired order data occur a lot of storage space... At this time, how to minimize the storage cost of this part becomes a question worth thinking about.
To solve the storage problem of cold data, YMatrix has developed a downgrade storage function. It supports storage hot and cold data on different media: hot storage is kept as standard storage, performance storage, local SSD disk or local HDD disk, and cold data is actively dumped to capacity storage, such as Object Storage. The price of capacity storage is only 20% of standard storage, which greatly reduces storage costs. Successfully dumped data will also be seamlessly connected to YMatrix's powerful massively parallel computing (MPP) dock to complete data grading and storage optimization.
In addition to the cost savings of the storage environment itself, the process of degrading data storage also does not require manual intervention, which minimizes the cost of manual management and usage.
Currently, most of the mainstream downgraded storage solutions are based on FDW (Foreign Data Wrapper). Unlike the FDW-based solution, YMatrix regards object storage as a storage medium equivalent to the local file system and seamlessly connects it to the MARS3 storage engine. Its ability to be applicable to ordinary file systems is also applicable to data in downgraded storage.
This means that downgrading storage in MARS3 will have more possibilities:
| Features | YMatrix (MARS3 downgrade storage) | FDW related solutions |
|---|---|---|
| Support Transactions | Yes | No |
| Supports automatic cold data dumping | Yes | No |
| Management complexity | No manual access required | Complex operation and maintenance support required |
In this section, we will enable you to actively and quickly experience the process and results of downgrading storage through complete process testing.
This article takes AWS S3 as an example.
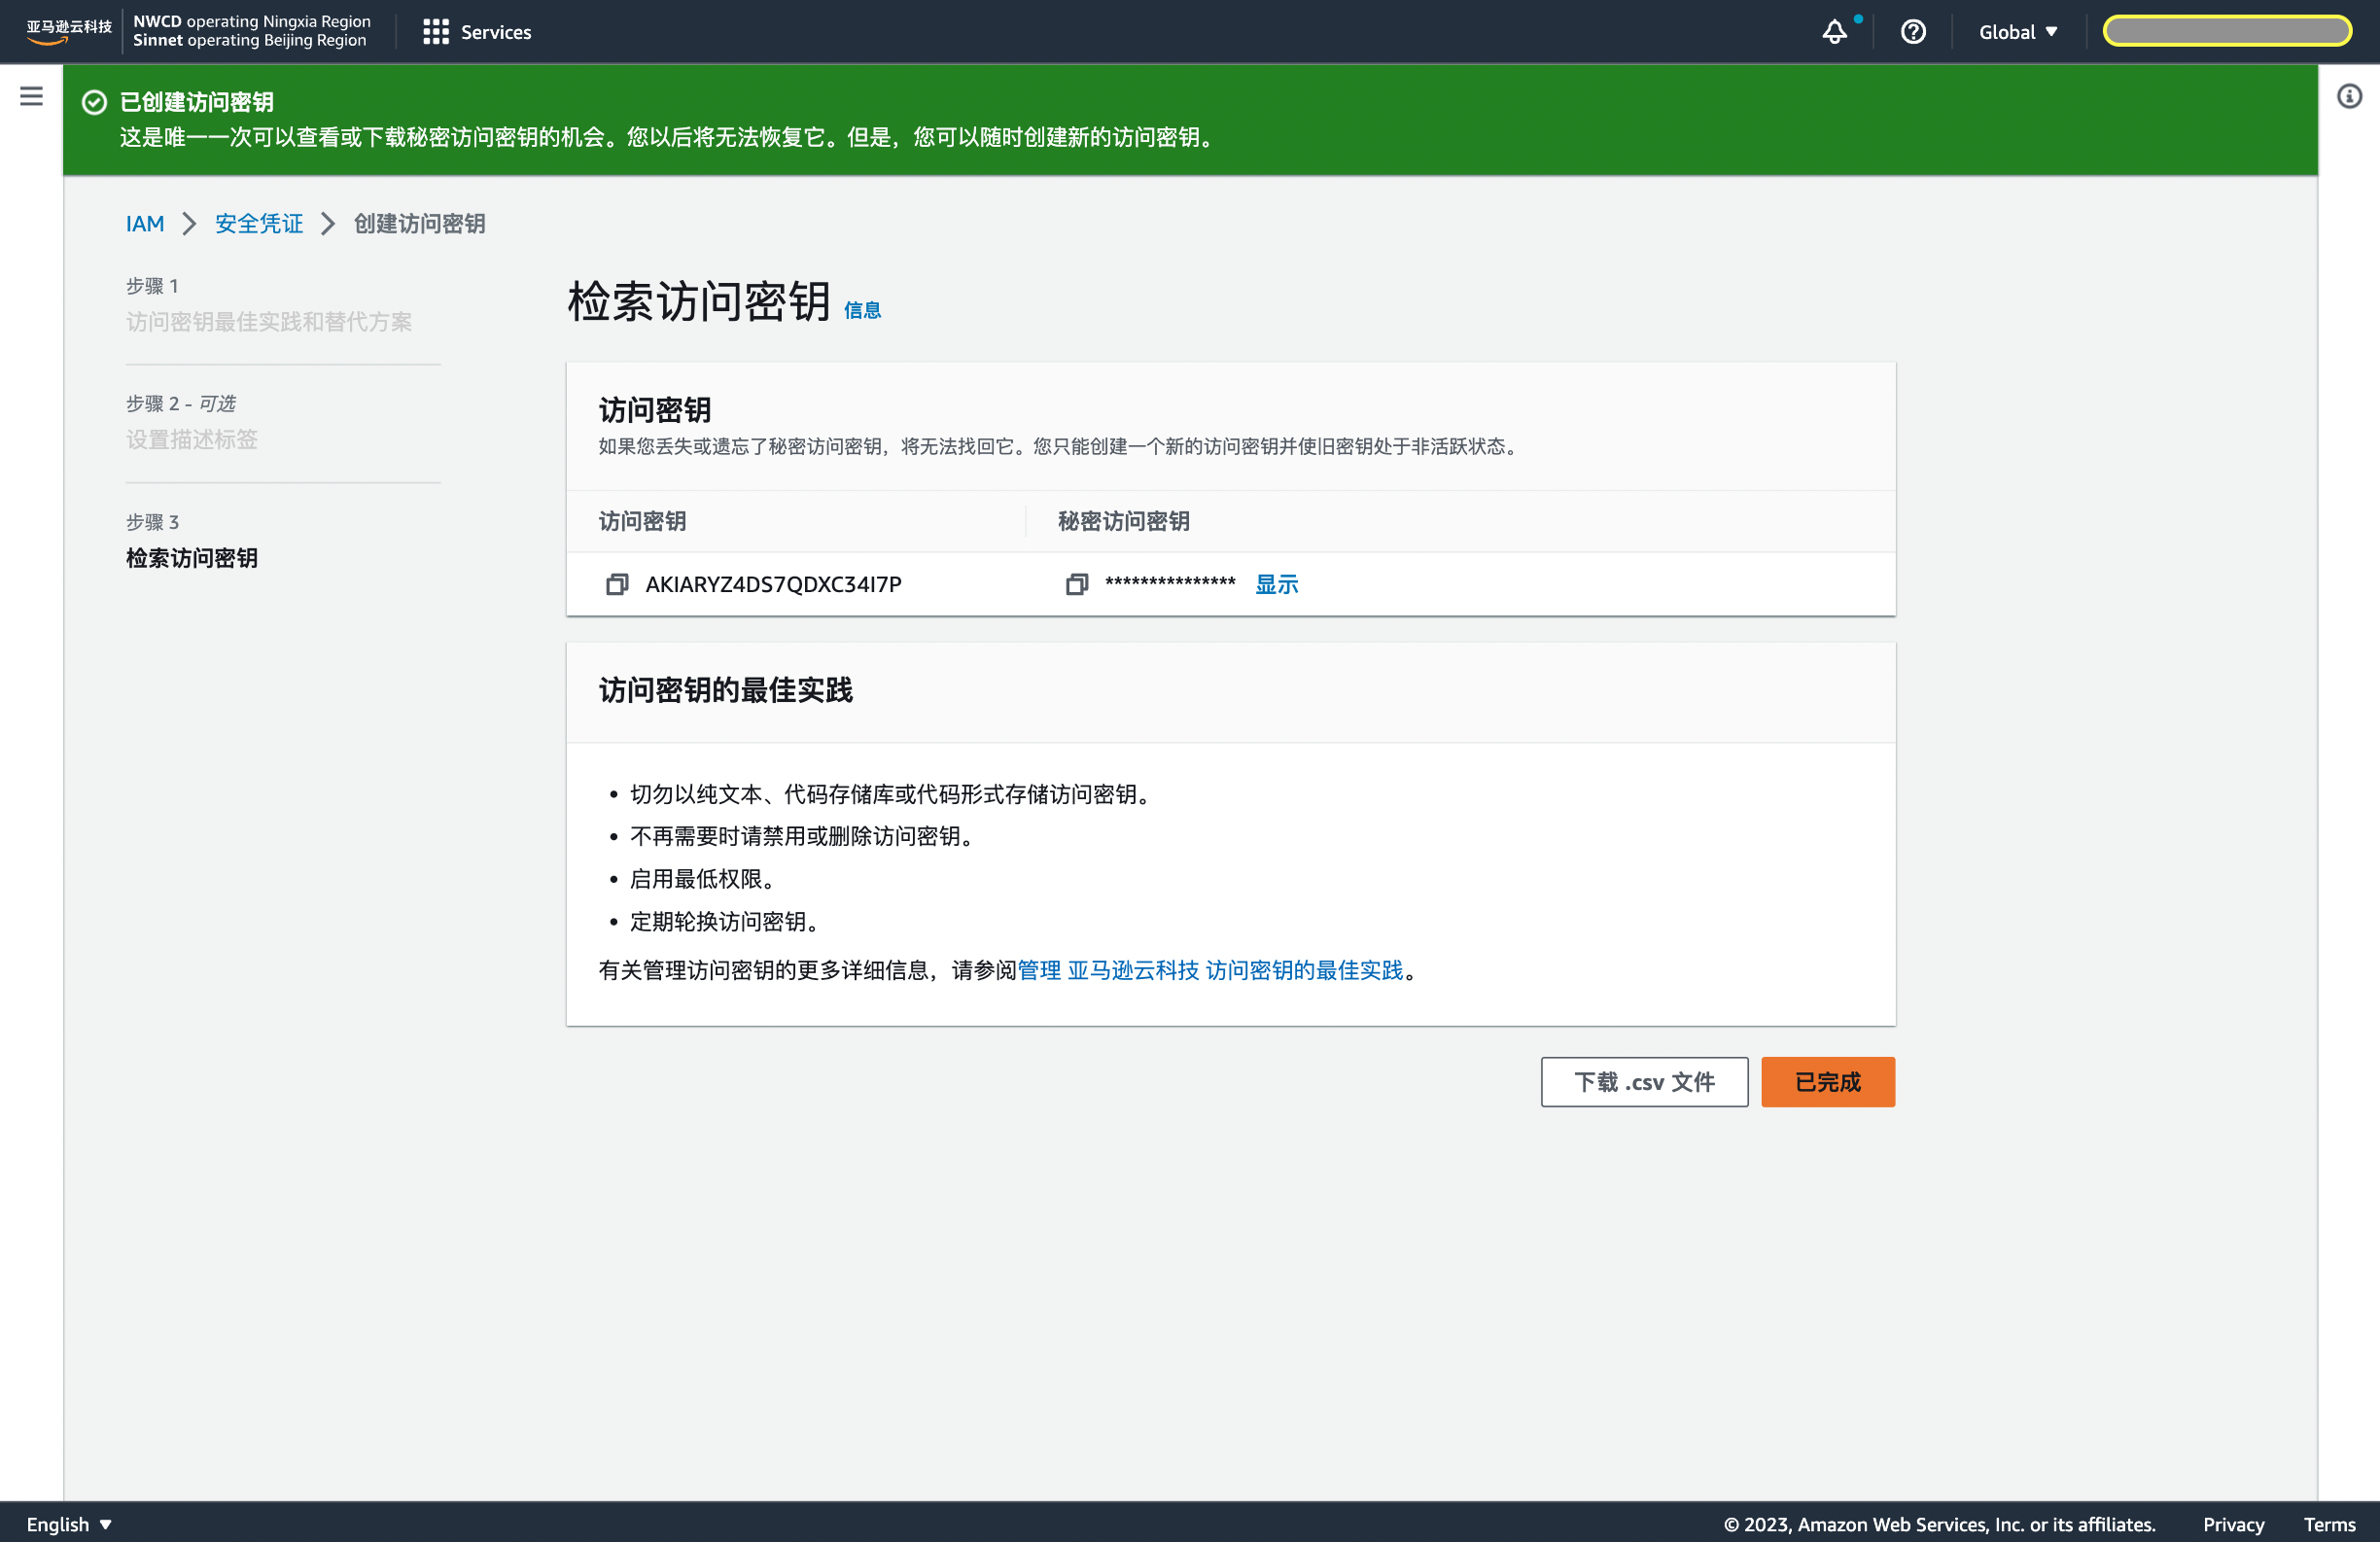
First log in to AWS, click the button in the username in the upper right corner, select Security credentials, and slide down to select Create access key.
_1689323577.png)
Because we need to sort cold data from YMatrix and dump it into an AWS S3 object bucket, we need to choose an application that runs outside Amazon Cloud Technology.

Created successfully.
After successfully creating the object bucket, you can get the following information:
Create a tablespace directory on the Master and Segments servers of the test cluster.
$ mkdir -p <tablespace_dir,eg:'/home/mxadmin/test'>First, use the vi quick.sql command to create the quick.sql file and save the following:
-- Create matrixts extensions
CREATE EXTENSION IF NOT EXISTS matrixts;

-- Configure relevant system configuration parameters
\!gpconfig -c mars3.enable_objectstore -v ON --skipvalidation
\!gpconfig -c mars3.degrade_min_run_size -v 0 --skipvalidation
\!gpconfig -c mars3.degrade_probe_interval -v 300 --skipvalidation

-- Create tablespace your_tbs
DROP TABLESPACE IF EXISTS your_tbs;

CREATE TABLESPACE your_tbs LOCATION :tablespace_dir
WITH(
        oss_accessid=:oss_accessid,
        oss_secretkey=:oss_secretkey,
        oss_endpoint=:oss_endpoint,
        oss_region=:oss_region,
        oss_bucket=:oss_bucket
);
Replace the configuration information in < > below (including < >) and execute this command to quickly initialize the downgrade storage:
$ psql -be -d <your_database>
                  -v tablespace_dir="'<your_tablespace_dir>'" \
                  -v oss_accessid="'<your_oss_accessid>'" \
                  -v oss_secretkey="'<your_oss_secretkey>'" \
                  -v oss_endpoint="'<your_oss_endpoint>'" \
                  -v oss_region="'<your_oss_region>'" \
                  -v oss_bucket="'<your_oss_bucket>'" \
                  -f quick.sql
Reload the configuration file:
$ mxstop -uUse the vi quick2.sql command to create the quick2.sql file and save the following:
\set tname t1
\set tnamestr '''t1'''

-- Create a test table and set up dumping data from 7 days ago to object storage
DROP TABLE IF EXISTS :tname;
CREATE TABLE IF NOT EXISTS
:tname(
   key int,
   value int,
   c3 date)
USING mars3
WITH(ttl_interval='7 d', ttl_space='your_tbs')
DISTRIBUTED BY (key)
ORDER BY (key, value);

-- Insert a batch of test data into the test table
INSERT INTO :tname SELECT i, i, current_date FROM generate_series(1, 12000000) i;
Execute the quick2.sql file:
$ psql -be -d <your_database> -f quick2.sqlThrough built-in tool functions, all data in this table is manually dumped to object storage:
$ psql <your_database>
=# SELECT matrixts_internal.mars3_degrade('t1'::regclass, -1);After successfully executing the above command, all the data of t1 has been dumped on your object store, and there is only one "shell" in the cluster to access this data. You can use the following command to verify whether the data access is normal:
=# \set tname t1

SELECT * FROM :tname LIMIT 10;
DELETE FROM :tname WHERE key < 50;
SELECT * FROM :tname WHERE key < 50;
Finally, you can directly enter the object storage management platform and see that the data already exists in the bucket you created. You can delete all the successfully dumped object storage test data and access it from the cluster, for example:
=# SELECT * FROM :tname WHERE key < 50;You will find that the database error key not exist, which means the test is successful: the data you access has completely become object data in the object store.
| Functions | Introduction | Configuration Parameters |
|---|---|---|
| Access to different authentication modes | YMatrix supports access to object storage using two authentication modes, select one of them: Static AccessId/SecretKey Dynamics based on Security Token Service(STS) AccessId/SecretKey |
Related configuration parameters when creating tablespaces System parameters mars3.degrade_credential_update_interval |
| Dump Policy Management | Manage Dump Policy. Including the basis for judging historical data, the time interval for data background tasks, etc. | ttl_interval/ttl_space/mars3.enable_objectstore/mars3.degrade_probe_interval |
| Data Query Cache | Cache improves query performance by reducing direct interaction with object storage | matrixts.enable_object_cache/mars3.enable_object_prefetch/oss_cache_size |
| Operation and maintenance tools | Data link inspection tool: The system checks whether the current environment has met the dependency conditions required for downgrading the storage function Garbage scanning tool: find the residual data in the object storage and clean it manually |
_1689752363.png)
YMatrix supports access to object storage using two authentication modes. Select one of them:
=# CREATE TABLESPACE <your_tablespace> LOCATION '<your_tablespace_dir>'
WITH(
 oss_accessid='<your_accessid>',
 oss_secretkey='<your_secretkey>',
 oss_endpoint='<your_address>',
 oss_bucket='<your_bucket>'
);
-- Create a tablespace
CREATE TABLESPACE <your_tablespace> LOCATION '<your_tablespace_dir>'
WITH(
     oss_endpoint='<your_address>',
     oss_bucket='<your_bucket>'
);
-- Implement timing tasks that can update the oss_sessiontoken/oss_accessid/oss_secretkey configuration items in the tablespace. The reference script is as follows
DB="postgres"
SPACE="tbs"
RES=$(aws sts get-session-token) if [ $? != 0 ] then echo "get credentials fail!" exit 1 fi
ak=$(echo "${RES}"|jq -r .Credentials.AccessKeyId) sk=$(echo "${RES}"|jq -r .Credentials.SecretAccessKey) token=$(echo "${RES}"|jq -r .Credentials.SessionToken)
if [ "${ak}" == "" ] then echo "AccessKeyId is empty!" exit 1 fi
if [ "${sk}" == "" ] then echo "SecretAccessKey is empty!" exit 1 fi
if [ "${token}" == "" ] then echo "SessionToken is empty!" exit 1 fi
echo $ak echo $sk echo $token
psql -d "${DB}" -c "ALTER TABLESPACE ${SPACE} SET (oss_accessid='${ak}', oss_secretkey='${sk}', oss_sessiontoken='${token}');" if [ $? != 0 ] then echo "alter tablespace fail!" exit 1 fi
To regularly update authorization information for accessing object storage, configure the following parameters:
- [mars3.degrade_credential_update_interval](/doc/reference/configuration_parameters/database_table_parameters#degradation)

>***Notes!***
For the configuration parameters related to this tablespace, please refer to [CREATE TABLESPACE](/doc/latest/sql_ref/create_tablespace)

### 3.2 Dump Policy Management

The prerequisite for using a dump policy is to enable the data dump function, configured with the following parameters:
- [mars3.enable_objectstore](/doc/latest/reference/configuration_parameters/database_table_parameters#degradation)
- [mars3.degrade_probe_interval](/doc/latest/reference/configuration_parameters/database_table_parameters#degradation)

For example:
$ gpconfig -c mars3.enable_objectstore -v ON --skipvalidation $ gpconfig -c mars3.degrade_probe_interval -v 300 --skipvalidation $ mxstop -u
The specific dump strategy is usually set using the `ttl_interval` and `ttl_space` parameters when creating tables. The syntax is as follows:=# CREATE TABLE
You can also modify the policy on existing tables, as shown below:=# ALTER TABLE
### 3.3 Data query cache

When a query needs to use cold data in object storage, turning on cache can greatly reduce the overhead of database operation I/O, thereby improving query performance. The cache is controlled by the following parameters:
- [matrixts.enable_object_cache](/doc/latest/reference/configuration_parameters/database_table_parameters#degradation)
- [mars3.enable_object_prefetch](/doc/latest/reference/configuration_parameters/database_table_parameters#degradation)
- [oss_cache_size](/doc/latest/sql_ref/create_tablespace#degradation)

Examples are as follows. When creating a table, the file cache space in the specified table space is 10000MB:
=# CREATE TABLESPACE
Then turn on the cache in the query session (if you need to turn off the cache, it must also be completed within the session):=# SET matrixts.enable_object_cache to ON; =# SET mars3.enable_object_prefetch to ON;
>***Notes!***
File cache and memory cache are required to occur 64MB of memory space on each background process. If a query requires 10 background processes to be started, then an additional memory space is expected to be 640MB x 2 (assuming both caches are open). Generally, for the best query performance, it is recommended to enable the above two caches at the same time.

### 3.4 Operation and maintenance tools

#### 3.4.1 Data link check

If you want to access the downgraded storage function on your existing production cluster, please first use the data link check tool to check whether the current cluster environment allows full functions to run.

After the link check tool oscheck is installed, it is in the `$GPHOME/bin` directory.

The steps for use are as follows:

1. Generate configuration file templates
$ osscheck -g conf
2. Execute the `vi conf` command to write the configuration file

illustration:
- Required `oss_accessid`, `oss_secretkey`, `oss_endpoint`, `oss_bucket`;
- If you use STS authentication method, you also need to fill in `oss_sessiontoken`;
- If you need a prefix, you must also fill in `oss_keyprefix`.

The template is as follows, please replace the configuration information in `< >` (including `< >`) below:
oss_accessid='
3. Link Check

Run the following command to perform link check based on the filled-in configuration file. If the verification is successful, a green `success` prompt will appear:
$ osscheck -t conf put object success get object success list object success delete object success
If the detection fails, the failed detection item will be prompted with red `fail`:$ osscheck -t conf.template ERROR: InvalidAccessKeyId: The Access Key Id you provided does not exist in our records. put object fail
#### 3.4.2 Garbage Scan Tool

The garbage scan tool checks whether there is any garbage data on the object storage service that does not meet expectations.

There may be several reasons for the generation of junk data:
- Delete object data failed when deleting object table. The table has been deleted, but the object data is still there and cannot be recycled;
- The object table was not deleted, the database was deleted directly, or the cluster was deleted directly. Because deleting object data is triggered when deleting object tables, deleting the database and cluster directly will not delete the object data of the included object tables;
- Human reasons, such as if some test data were put into place and forgetten to delete it.

Pay attention to using garbage scanning tools:

- The garbage scanning tool carries out work by calling the `matrixts_internal.oss_junkobjects()` function to query the database directory;
- Garbage scan requires the configuration information of object storage, which is currently stored in the tablespace. Therefore, garbage scanning can only scan the garbage objects under the current object storage configuration, that is, the garbage objects under the current `oss_bucket/oss_keyprefix/` directory. So make sure that the directory is only used by the current cluster.

How to use it is as follows:49948/2/52751/4/0 | 2023-10-19 16:00:14+08 | 38964 49948/2/53021/1/0 | 2023-10-19 16:04:55+08 | 38964 16384/2/158581/3/0 | 2023-09-03 13:16:26+08 | 4080 16384/2/158581/p2 | 2023-09-03 15:18:36+08 | 5 16384/2/202151/3/0 | 2023-09-21 16:22:09+08 | 80 49948/1/52751/4/0 | 2023-10-19 16:00:14+08 | 40620 49948/1/52861/1/0 | 2023-10-19 16:01:34+08 | 240000 49948/1/53021/1/0 | 2023-10-19 16:04:55+08 | 40620 49948/1/53038/1/0 | 2023-10-19 16:05:10+08 | 120000 16384/1/158581/3/0 | 2023-09-03 13:16:26+08 | 3864 16384/1/202151/3/0 | 2023-09-21 16:22:09+08 | 20 49948/0/52751/4/0 | 2023-10-19 16:00:14+08 | 40416 49948/0/53021/1/0 | 2023-10-19 16:04:55+08 | 40416 ......
in:
- key: garbage object key value
- lastmodify: The last time of garbage object modification
- size: garbage object size

***

## FAQ

1. Do you have to have time in the column that downgrades the stored?

Yes, and it implies that time must be a partition key. This time column can be of type `date` or `timestamp`, because the dump of cold data needs to be judged by time. Currently, if the time column cannot be found in the partition key, the downgrade storage function cannot be used.

>***Notes!***
Currently, the downgraded storage function does not support tables with multiple time columns in the partition key.

2. How long is the dump time period (how often is it checked)?

The default is 1 hour, which can be modified through the `mars3.degrade_probe_interval` parameter.

3. What should I do if I want to temporarily close it after turning on the automatic dump?

Set the following parameters and reload the configuration:
$ gpconfig -c mars3.enable_objectstore -v off --skipvalidation $ mxstop -u
4. How many tablespaces does a cluster support?

Logically, it supports any number of data, but the cache cannot support the use of data in multiple tablespaces at the same time. It is recommended that each cluster create only one object storage tablespace.

5. Is the object storage tablespace exclusive to a certain database or shared by multiple databases?

shared.

6. Can cache only be turned on in-memory cache or file cache?

It can be used alone, but for the best query performance, it is recommended to enable all of them.

7. Can the configuration items of the partition table be updated directly to the subtable?

No, the current version can automatically inherit the configuration items of the parent table only when a new partition table is created or a new partition is expanded. If it is a parent table that already exists, the parent table directly cannot be automatically inherited to the child table.

8. Degrading the extra memory used by storage

Extra memory as described in this question = Memory under default configuration + Turn on automatic dump + Concurrent queries + Turn on memory cache and file cache

>***Notes!***
This result estimates a theoretical worst scenario.

The specific calculation formula is as follows:
Extra memory overhead = Number of concurrent client queries Number of Segment instances per single node Average number of tables scanned per query (Number of parallel Workers + 1) (64MB + 64MB + 10M) + Number of partitioned tables Number of Segment instances per single node 64MB