MatrixDB supports kafka seamless connection function, which can continuously and automatically import kafka data into MatrixDB tables and supports graphical operations.
The accessed data formats include CSV and JSON. This section will use the simplest example to introduce how to use the MatrixDB management platform to access Kafka data.
Suppose we start the Kafka service on the local port 9092 and create a test Topic through the following command:
bin/kafka-topics.sh --create --topic csv_test --bootstrap-server localhost:9092Then write a few test data:
bin/kafka-console-producer.sh --topic csv_test --bootstrap-server localhost:9092
>1,1,1.0,abc
>2,2,2.0,bcd
>1,1,1.0,abc
>2,2,2.0,bcd
>^C
Through the above command, 4 pieces of data were written to the newly created csv_test, which were 4 comma-segmented CSV lines.
Connect to the database test:
[mxadmin@mdw ~]$ psql test
psql (12)
Type "help" for help.

test=#
Create a test table:
CREATE TABLE dest (
  c1 INT,
  c2 FLOAT8,
  c3 TEXT
) DISTRIBUTED BY(c1);After the preparation work is completed, the following shows how to use the graphical interface for access.
Enter the ip of the machine where MatrixGate is located (default is mdw's ip), port and datastream suffix in the browser:
http://<IP>:8240/datastreamGo to the following page and click "Next":
From the navigation bar on the top of the page, you can see that the entire process is divided into 6 steps: connection, selection, analysis, configuration, mapping, and submission.
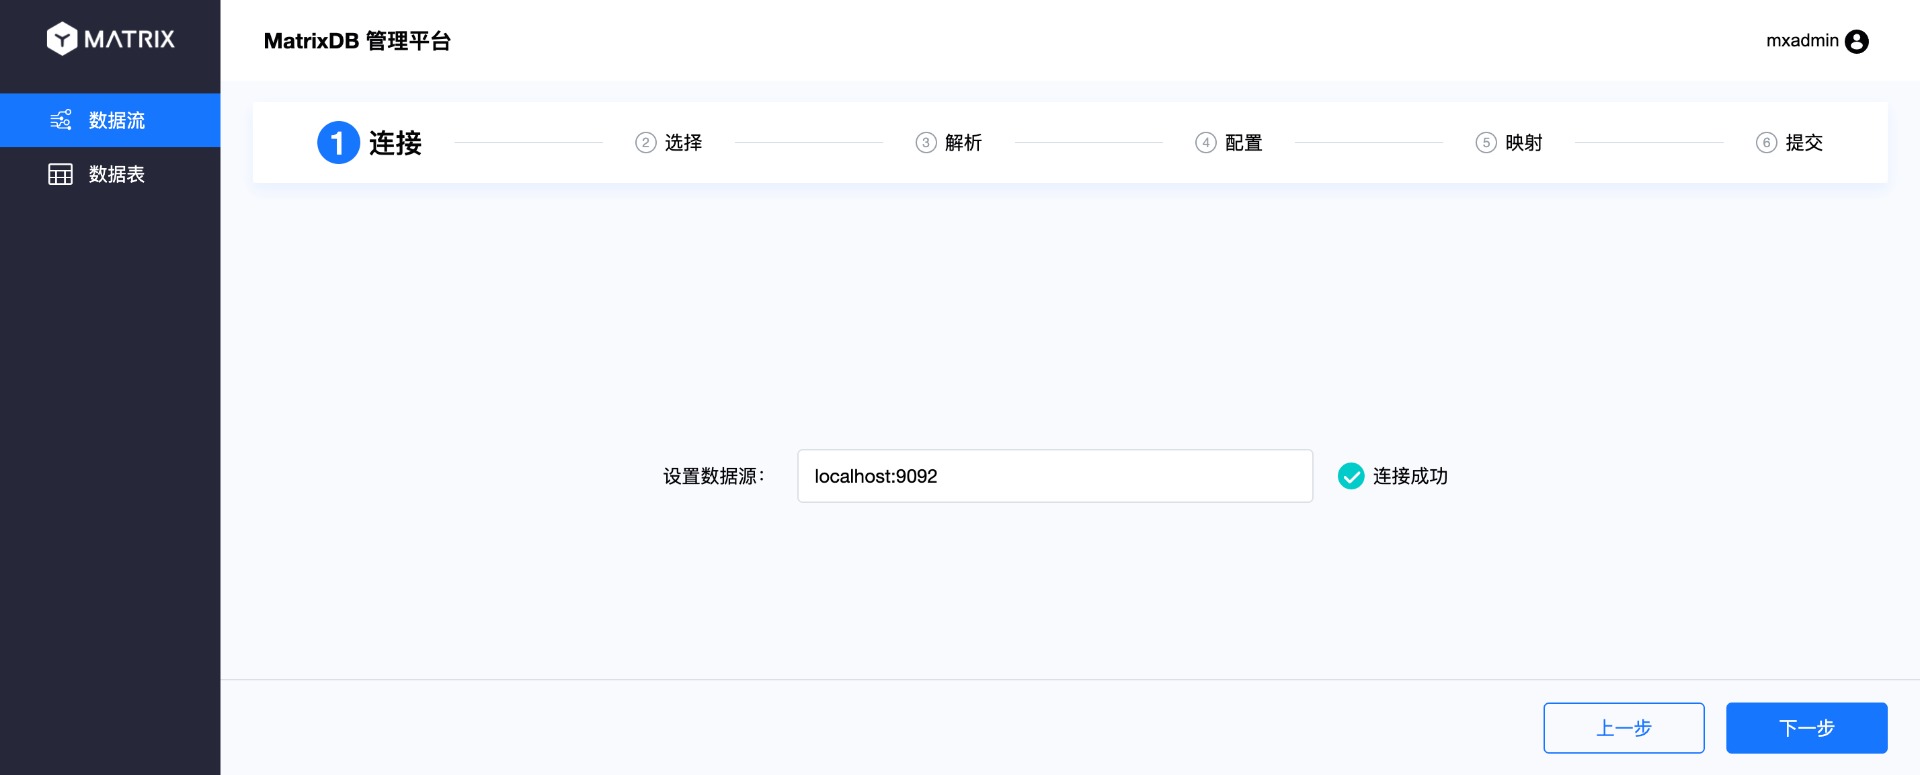
The first step is currently being carried out: Connect. Enter the Kafka server address in the data source and click "Next".
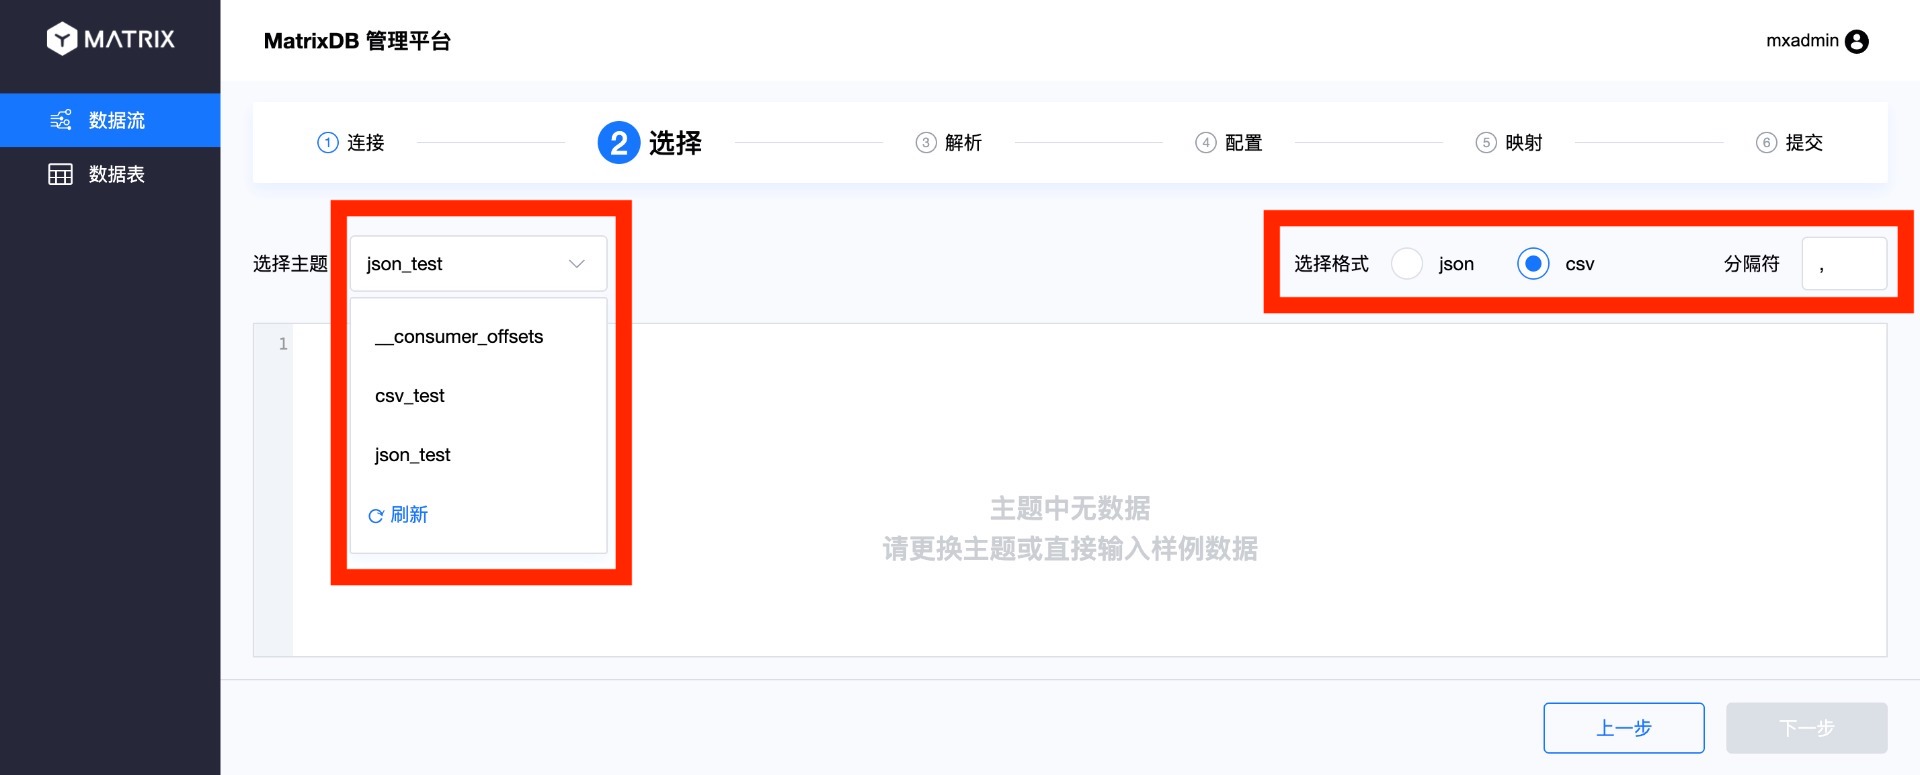
Select the Topic of Kafka on the selection interface, here select the csv_test Topic you just created. At the same time, select the format corresponding to Topic on the right, and the CSV format also needs to specify a separator.
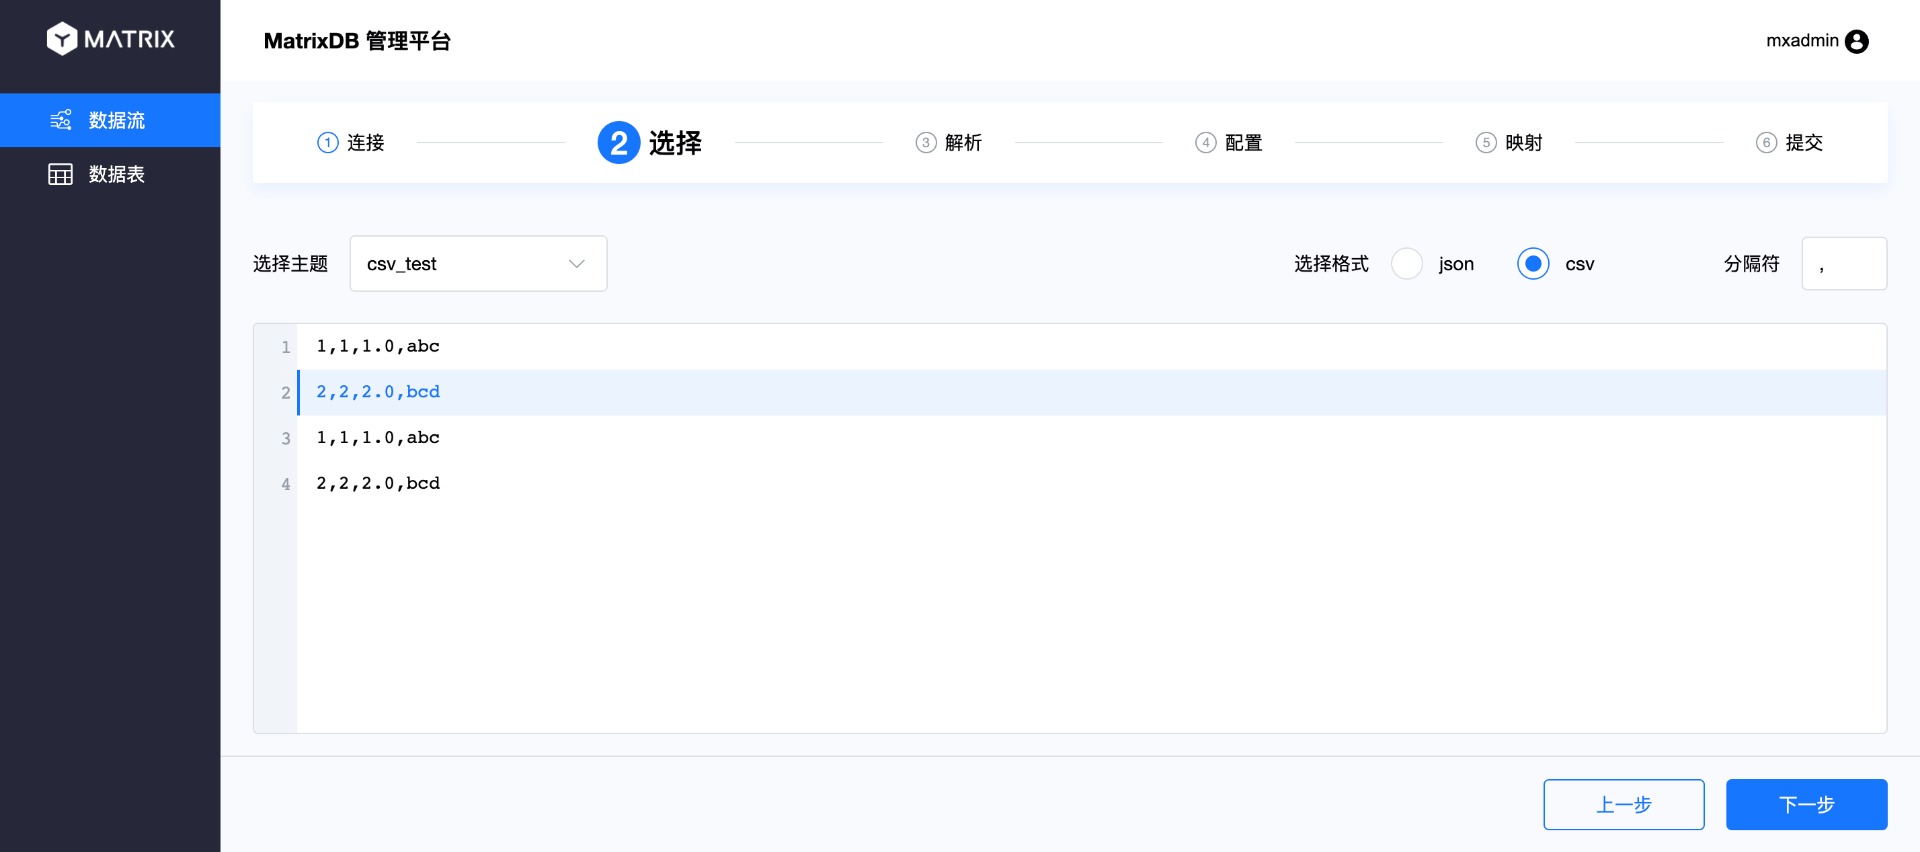
After selecting Topic, you will see the data in Topic. By default, the first 10 items will be selected as examples. Because we only write 4 pieces into the Topic, we can see all 4 pieces of data here. Select one of them for the subsequent parsing and mapping.
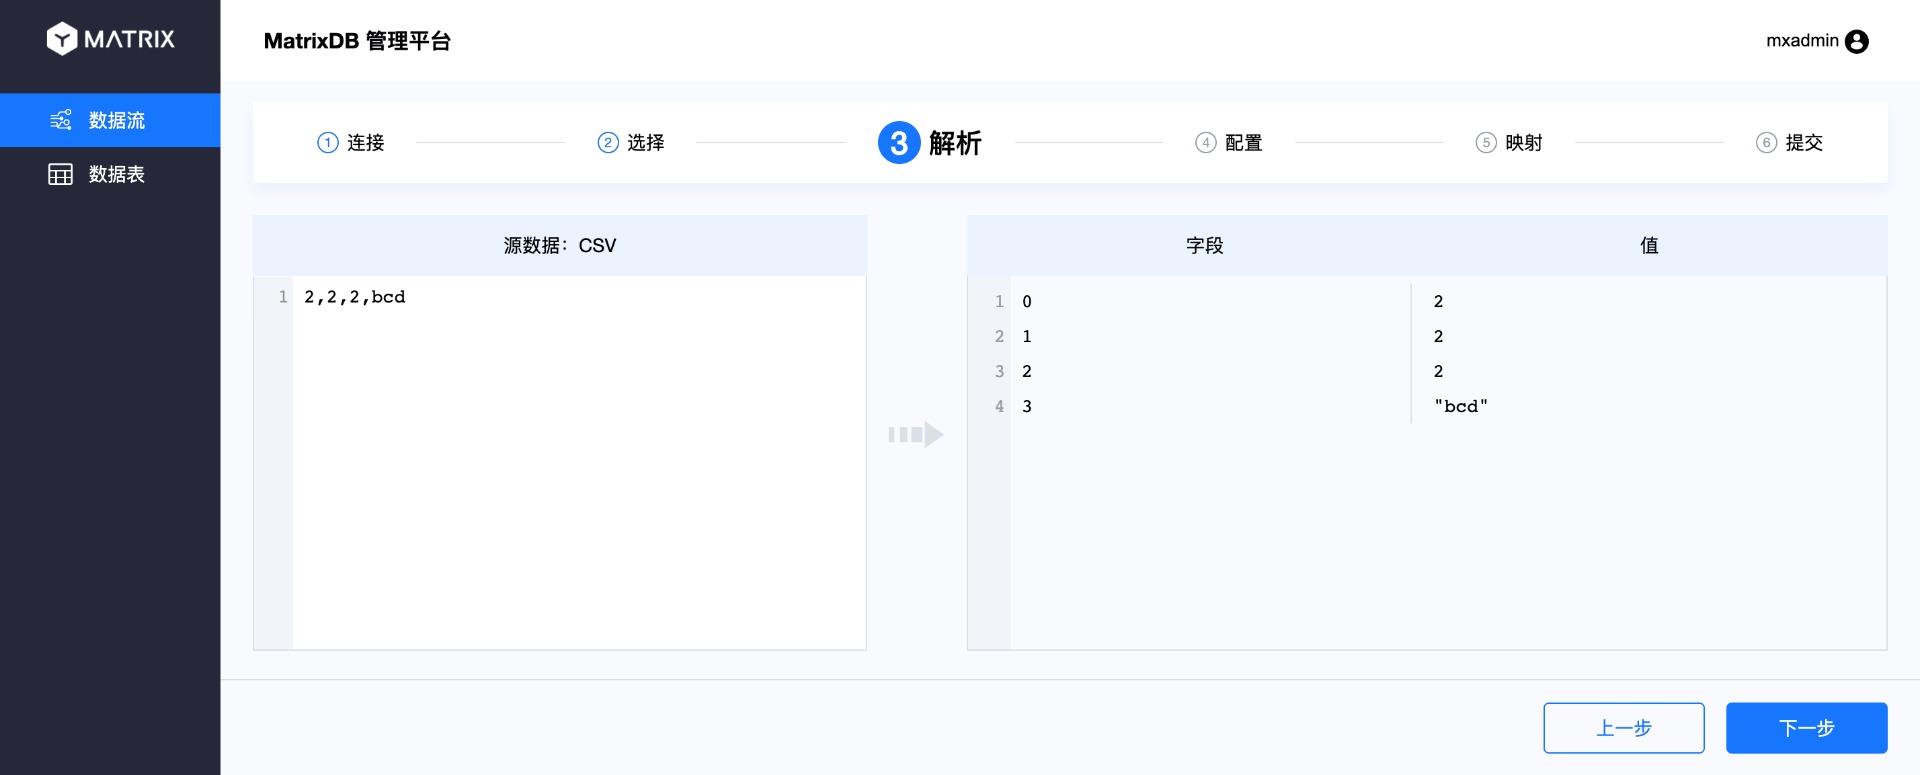
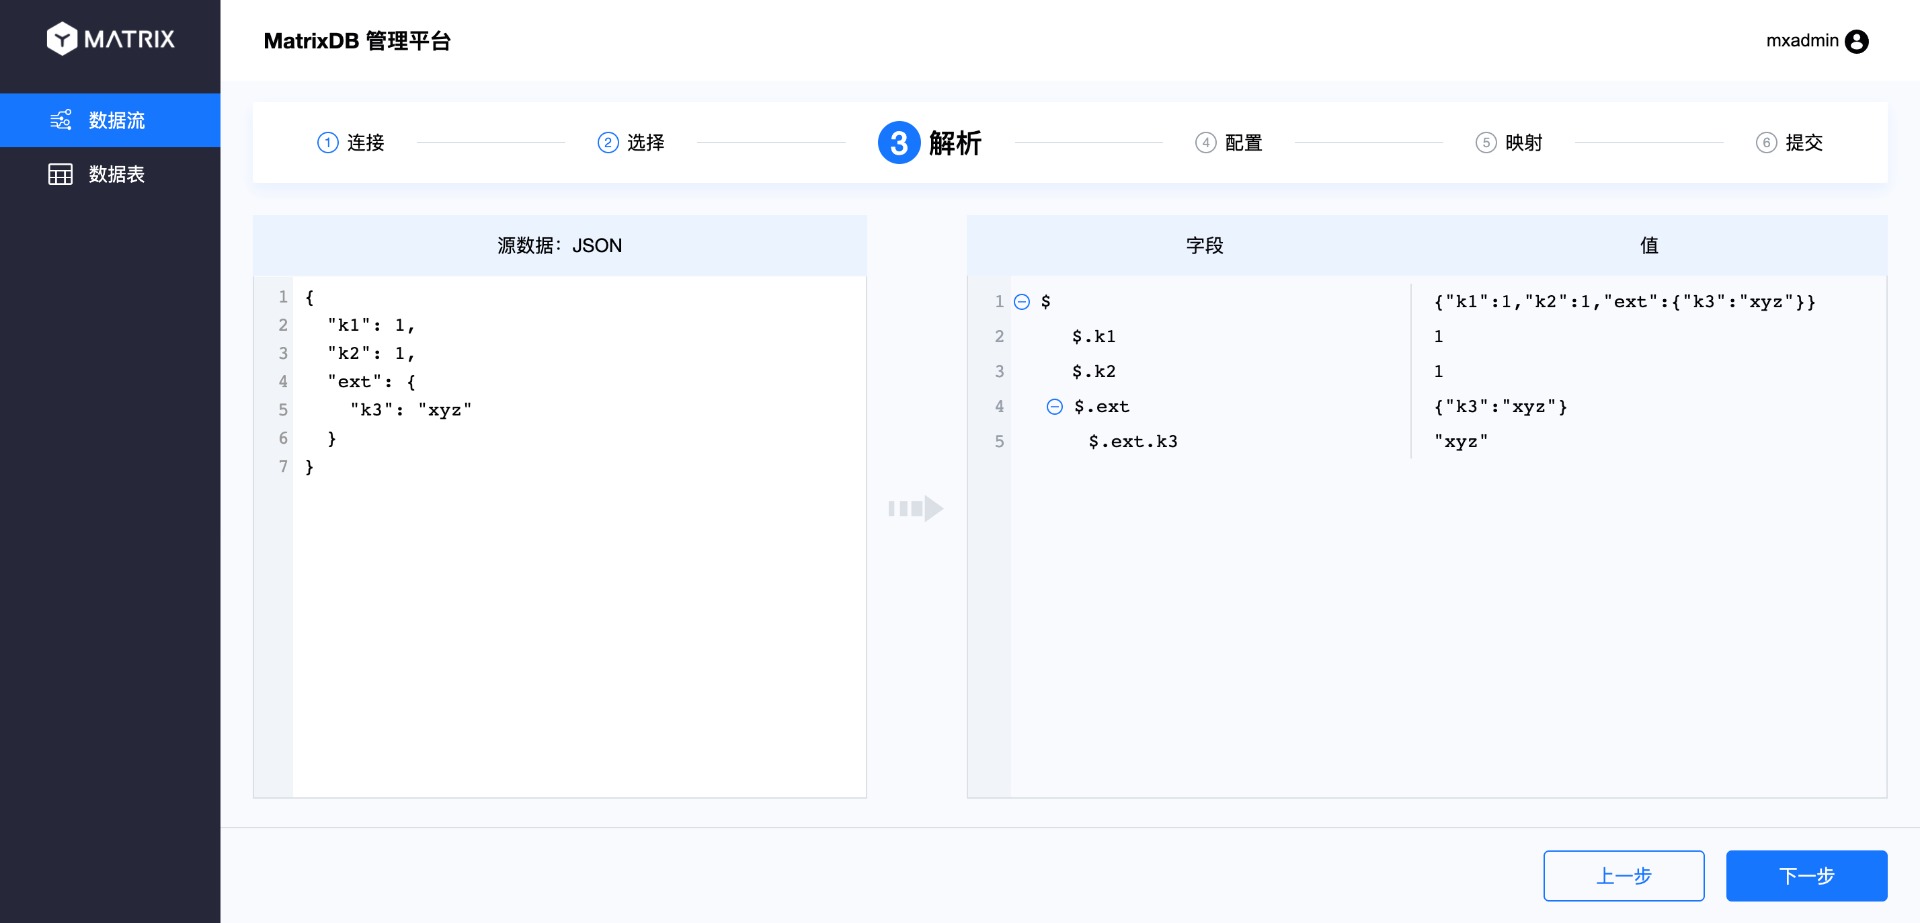
The parsing page will parse the sample data you just selected, and on the right you will see the index number and corresponding value divided by the separator. After confirming that, click "Next":
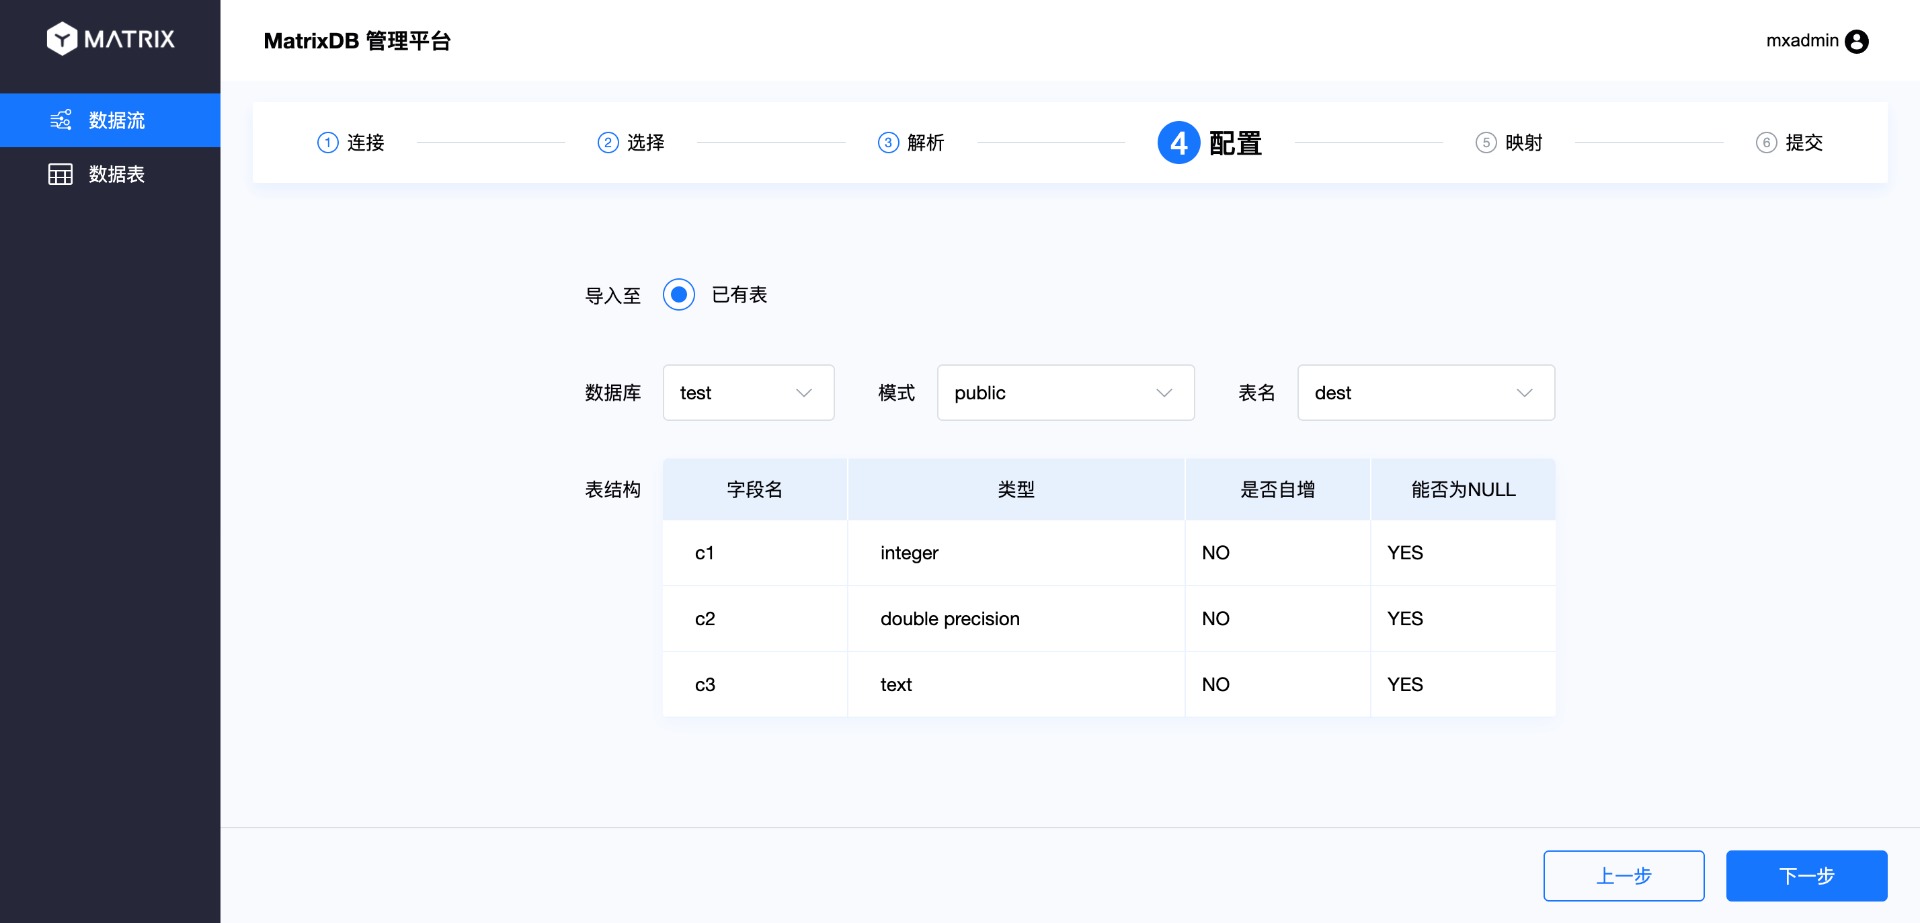
In the configuration page, select which target table the Topic data is connected to, and after selecting the database, schema and table by yourself, the table structure will be displayed.
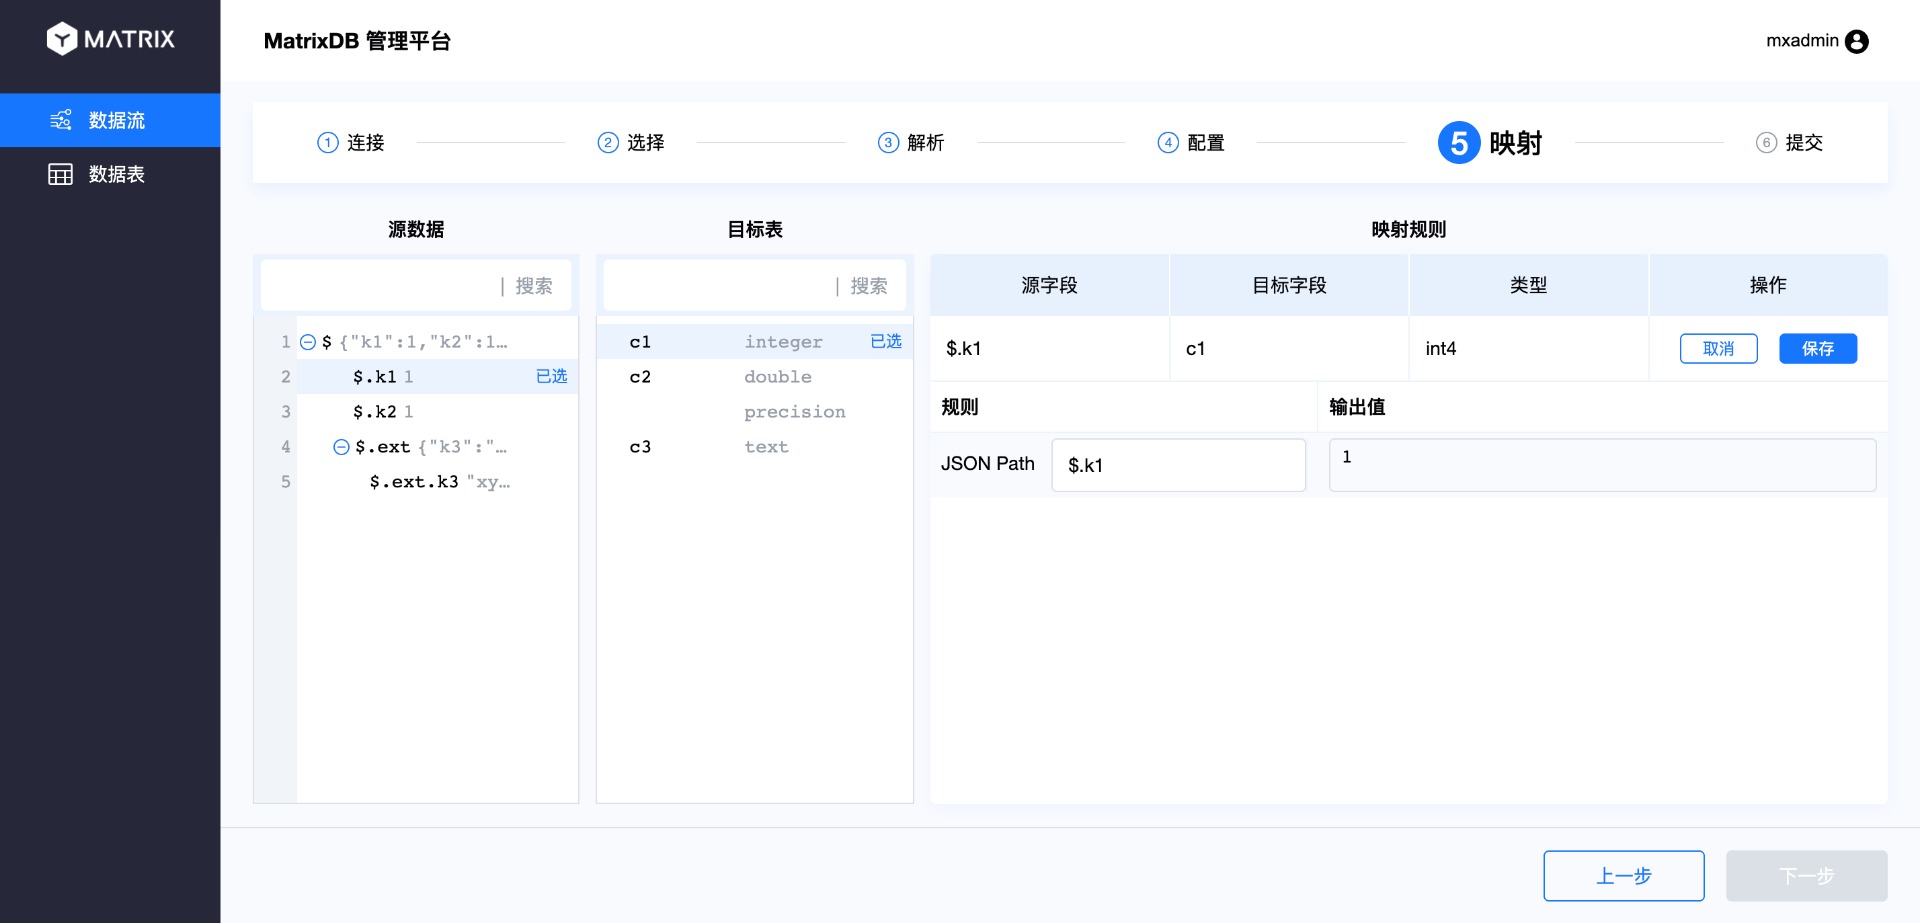
The mapping page maps the source data and the target table, that is, the mapping of CSV columns and database table columns. The operation is to select a column from the source data and then select the mapped column in the target table. In this way, a new mapping rule will appear in the mapping rule on the right. After confirming, click Save.
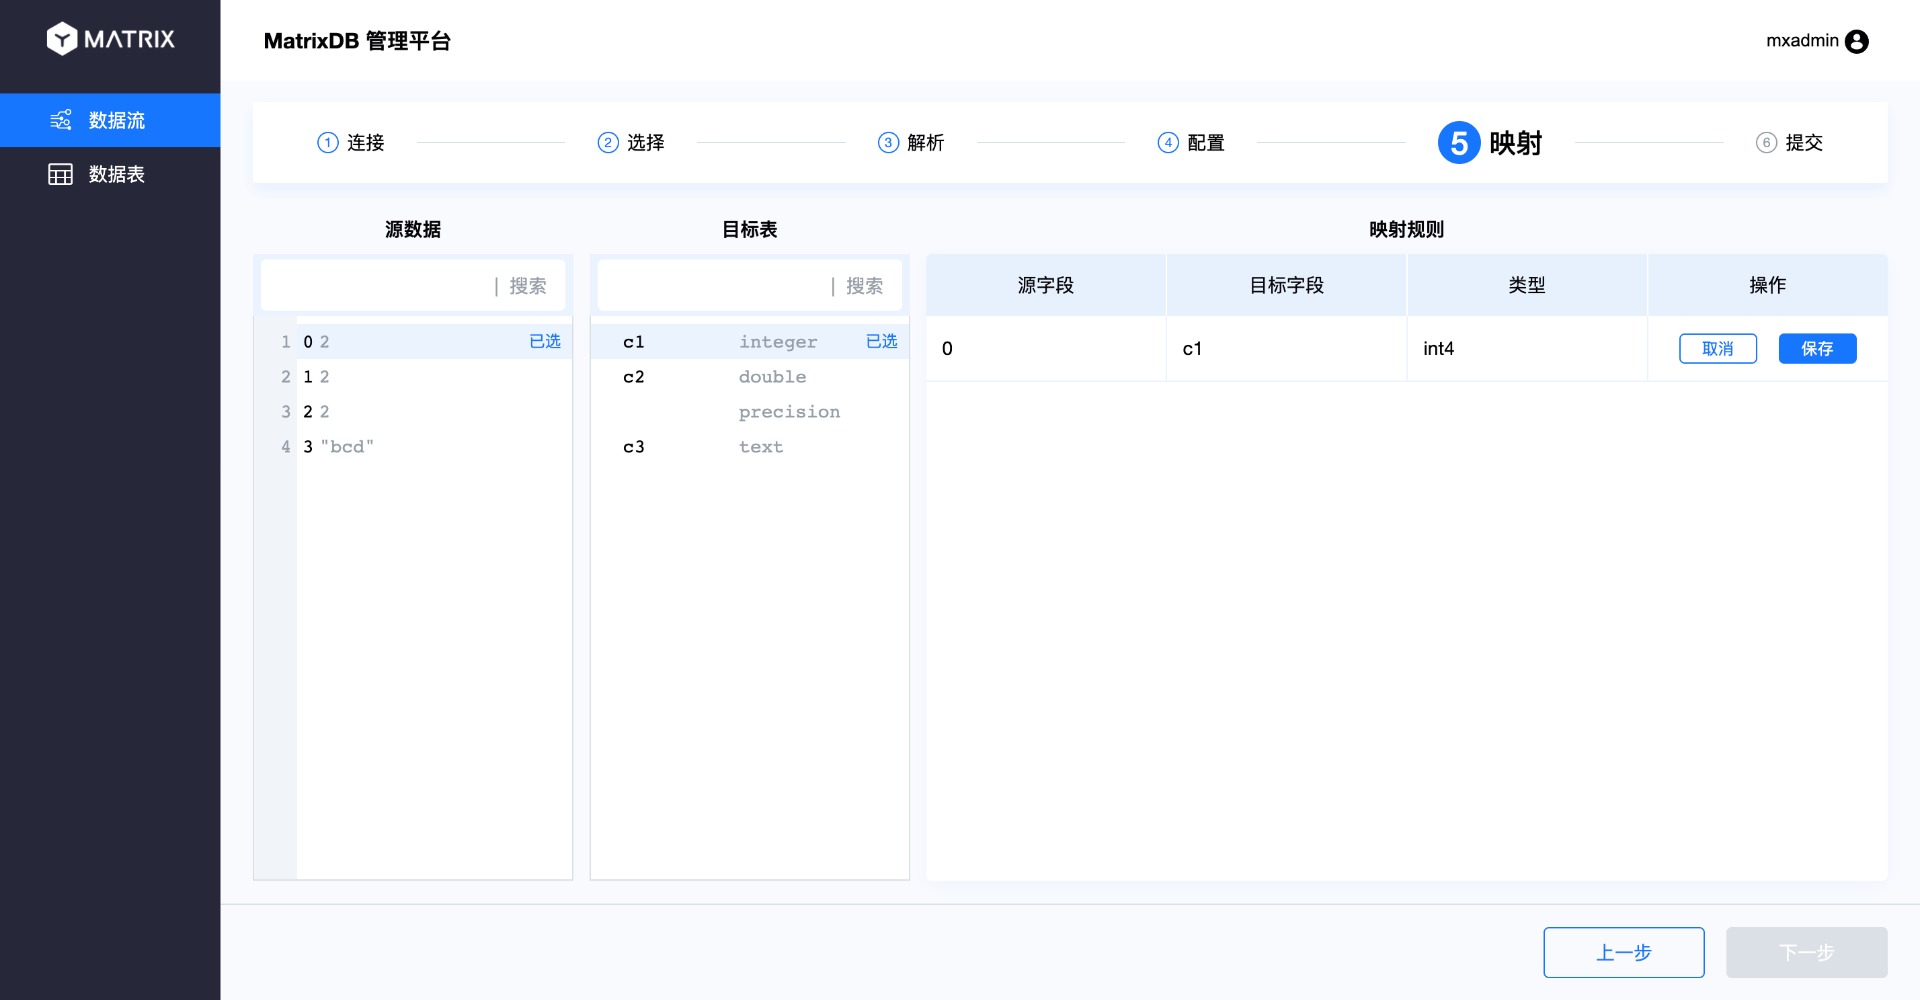
Follow this step to map all columns.
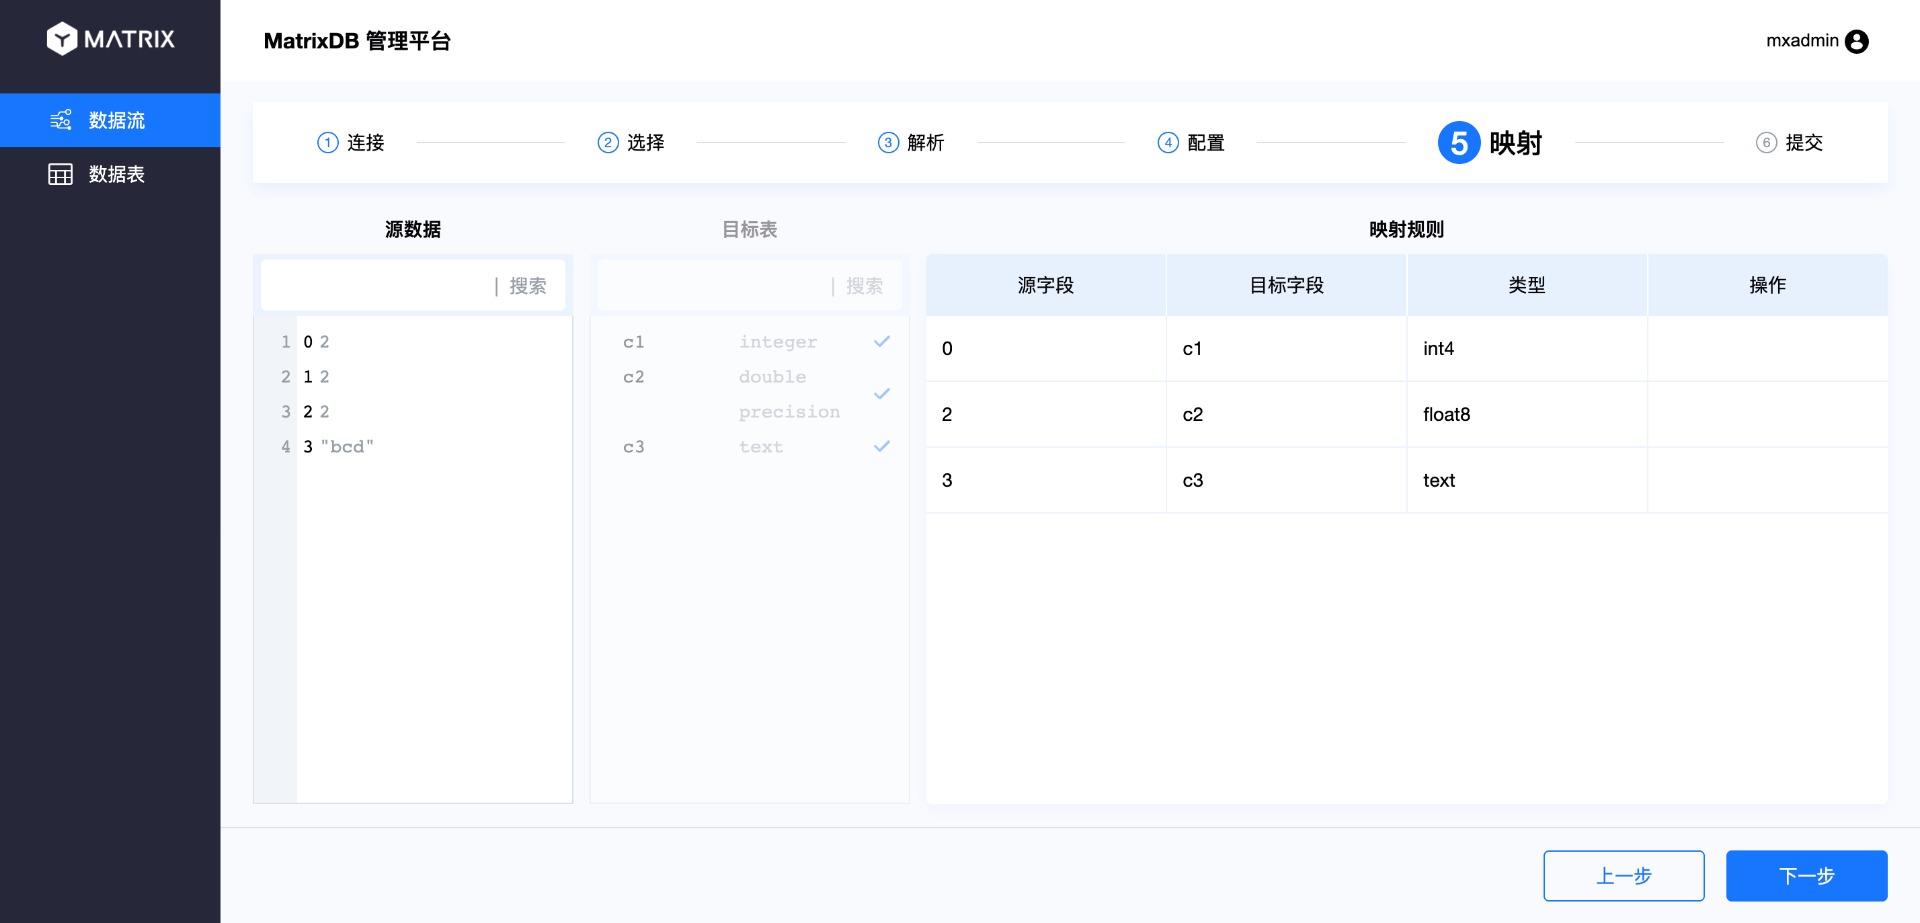
Two points to note here:
The column mapping types must be the same, otherwise the following error will be prompted:
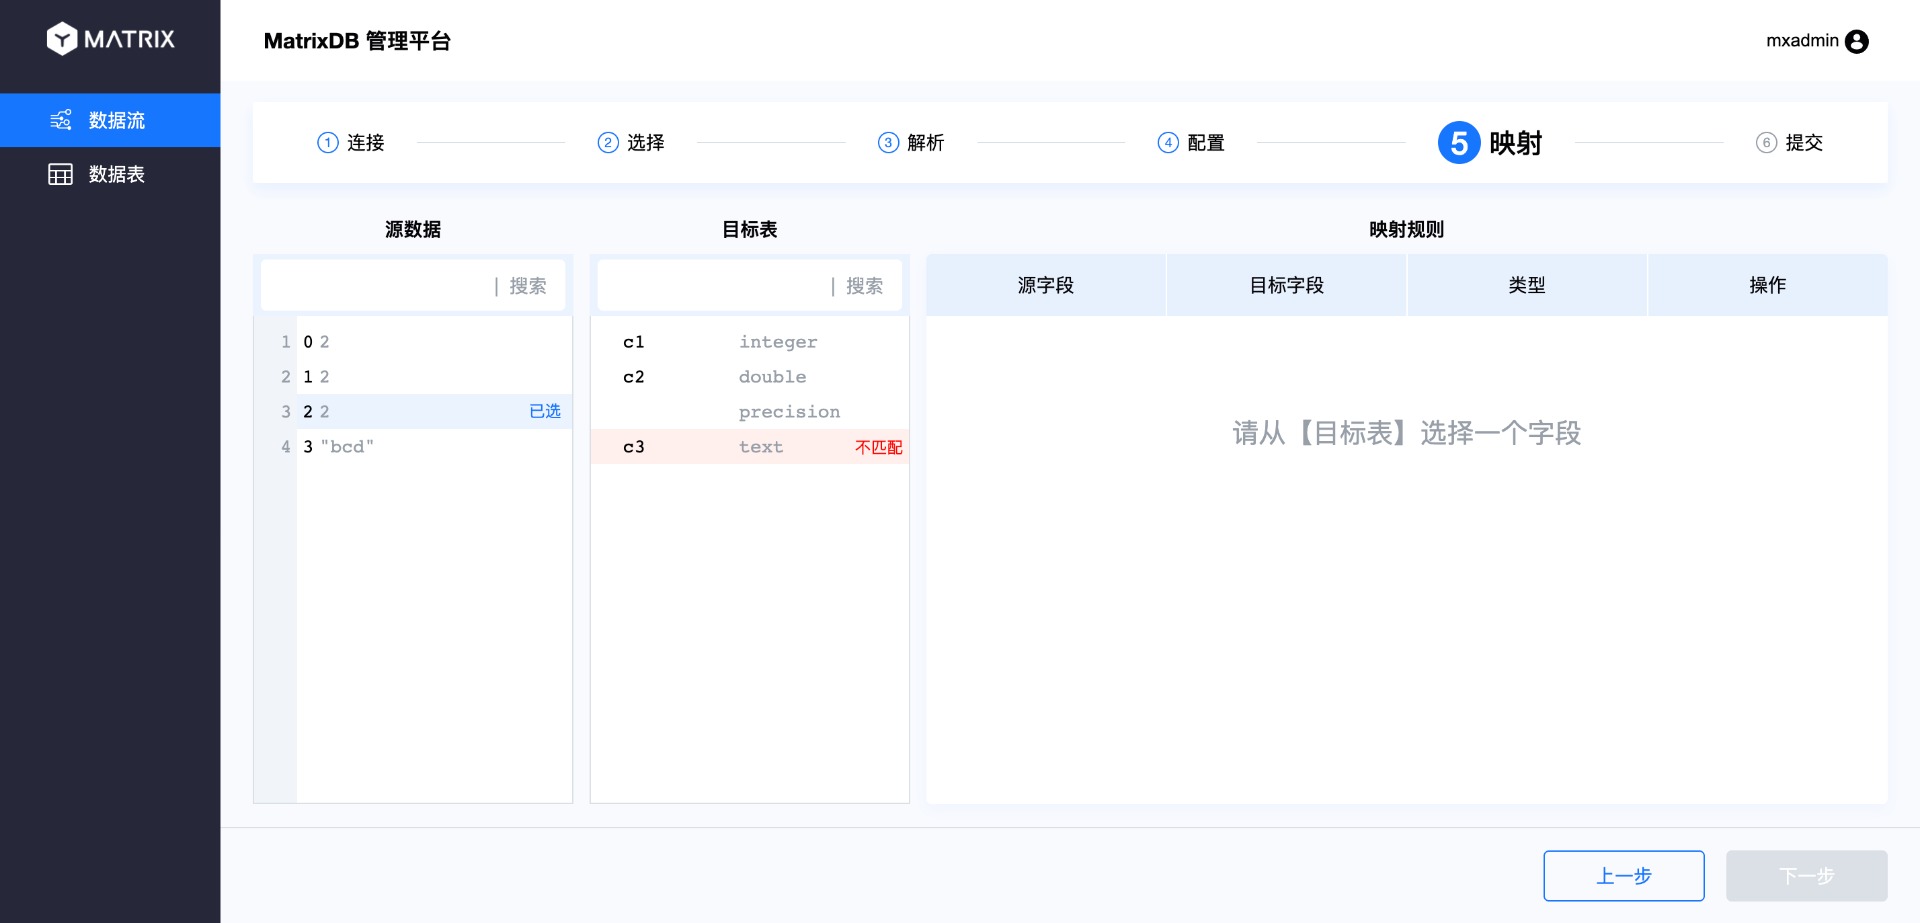
If the number of CSV columns is inconsistent with the number of database table columns, or cannot correspond one by one, unmapped source data columns and database table columns are allowed. Unmapped source data columns will be discarded; unmapped target table columns will be populated with NULL or default values according to the table building rules.

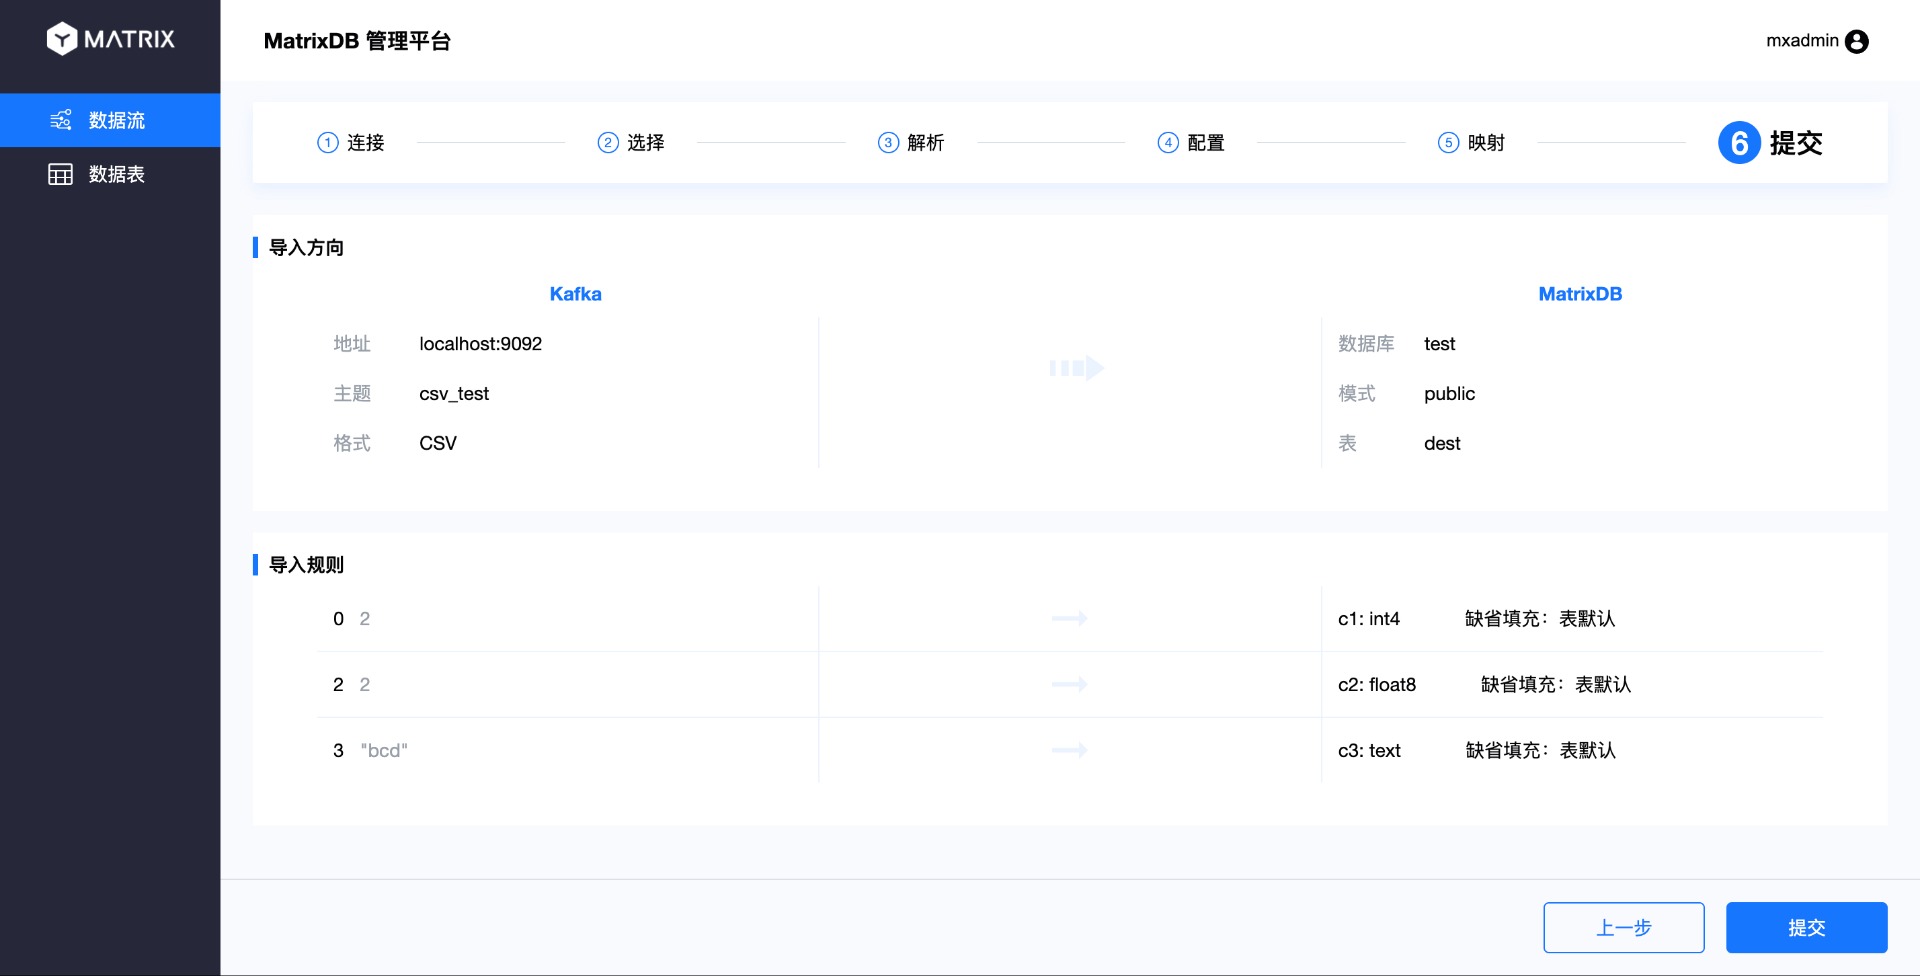
After completing the mapping, enter the last page "Submit". This page summarizes all the results you just selected. After confirming that it is correct, click "Submit".
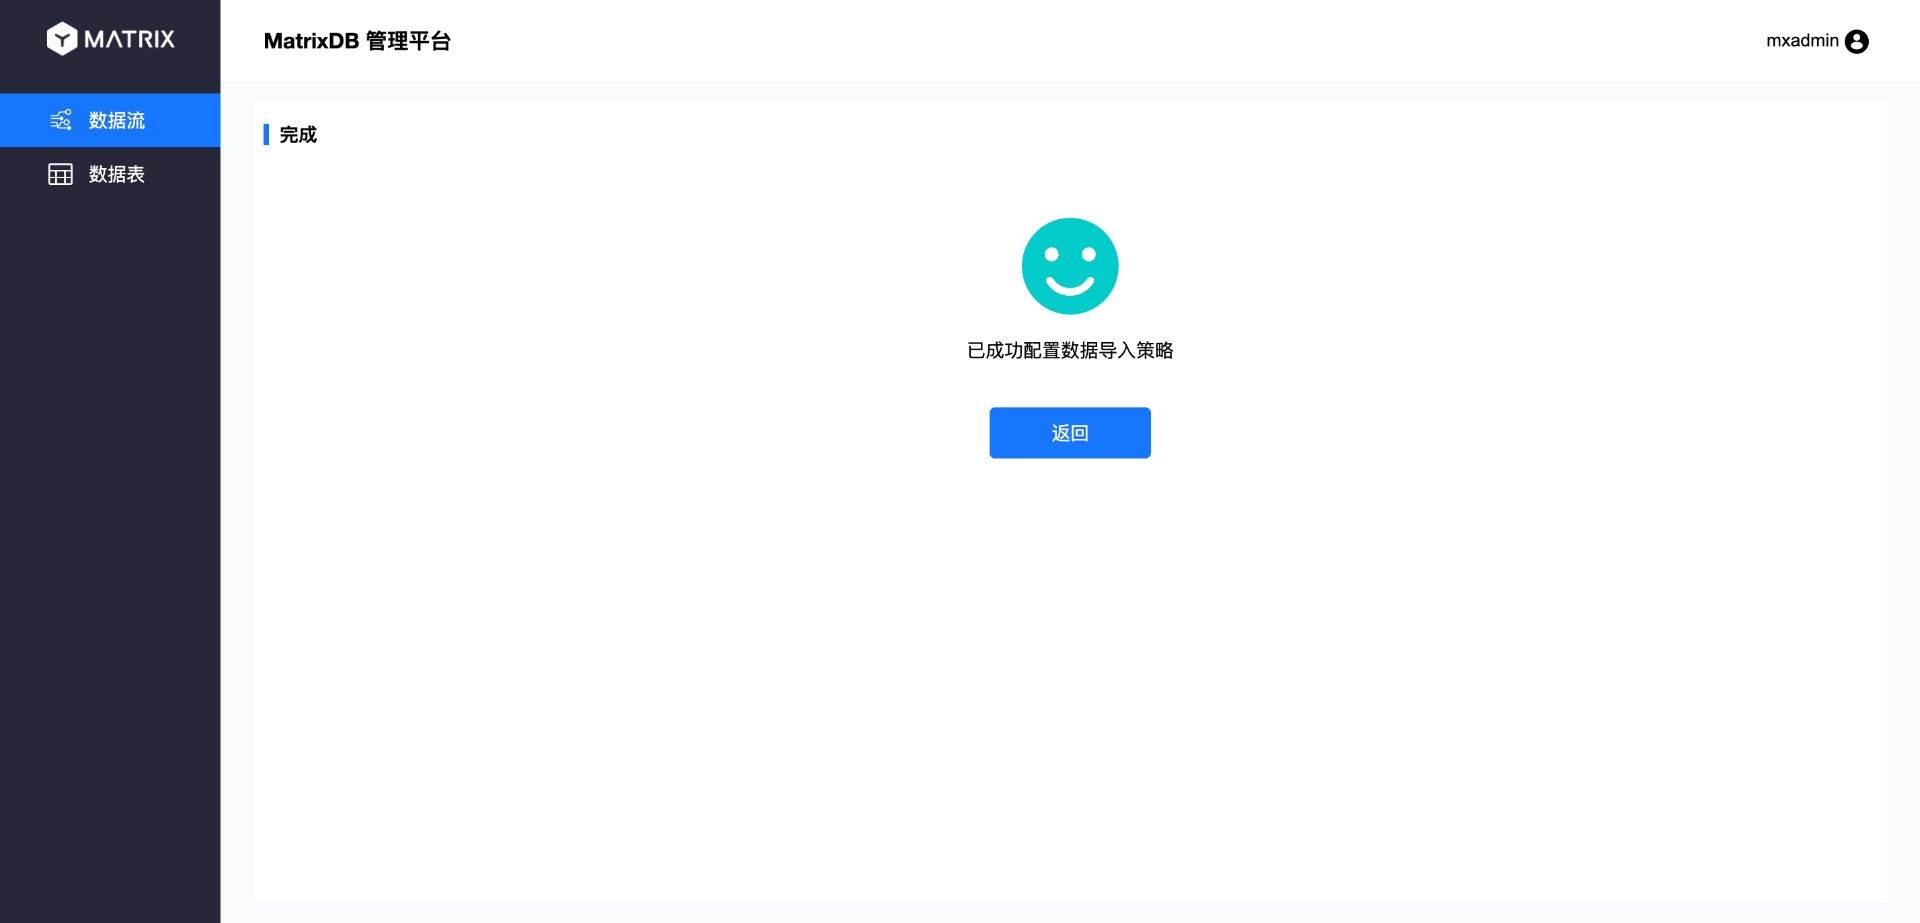
Finally, enter the completion page:
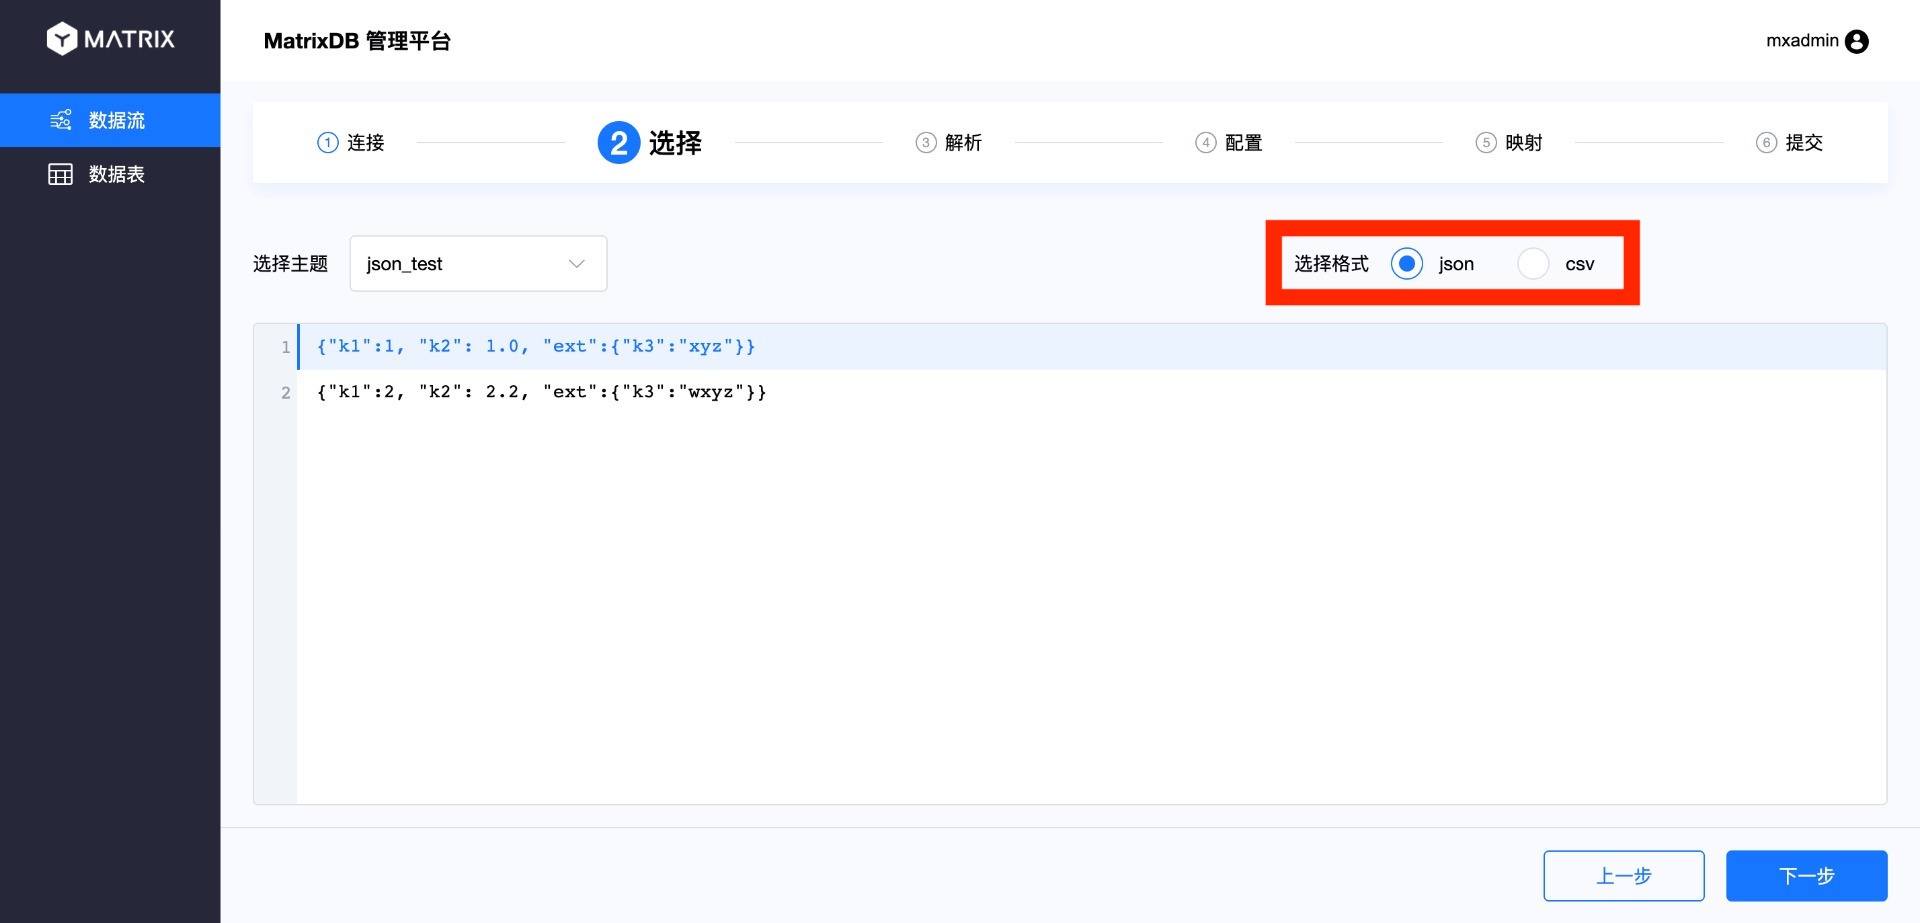
Currently, Kafka data access supports two data formats: CSV and JSON. I just demonstrated the access to CSV format. Let’s compare the differences between JSON format during access.
Select the page and select JSON in the format.
As you can see from the parsing page, the index of the JSON column starts with the $ symbol and the . plus the column name to index.
Because JSON supports multiple levels, columns under different levels can be selected in the mapping page:
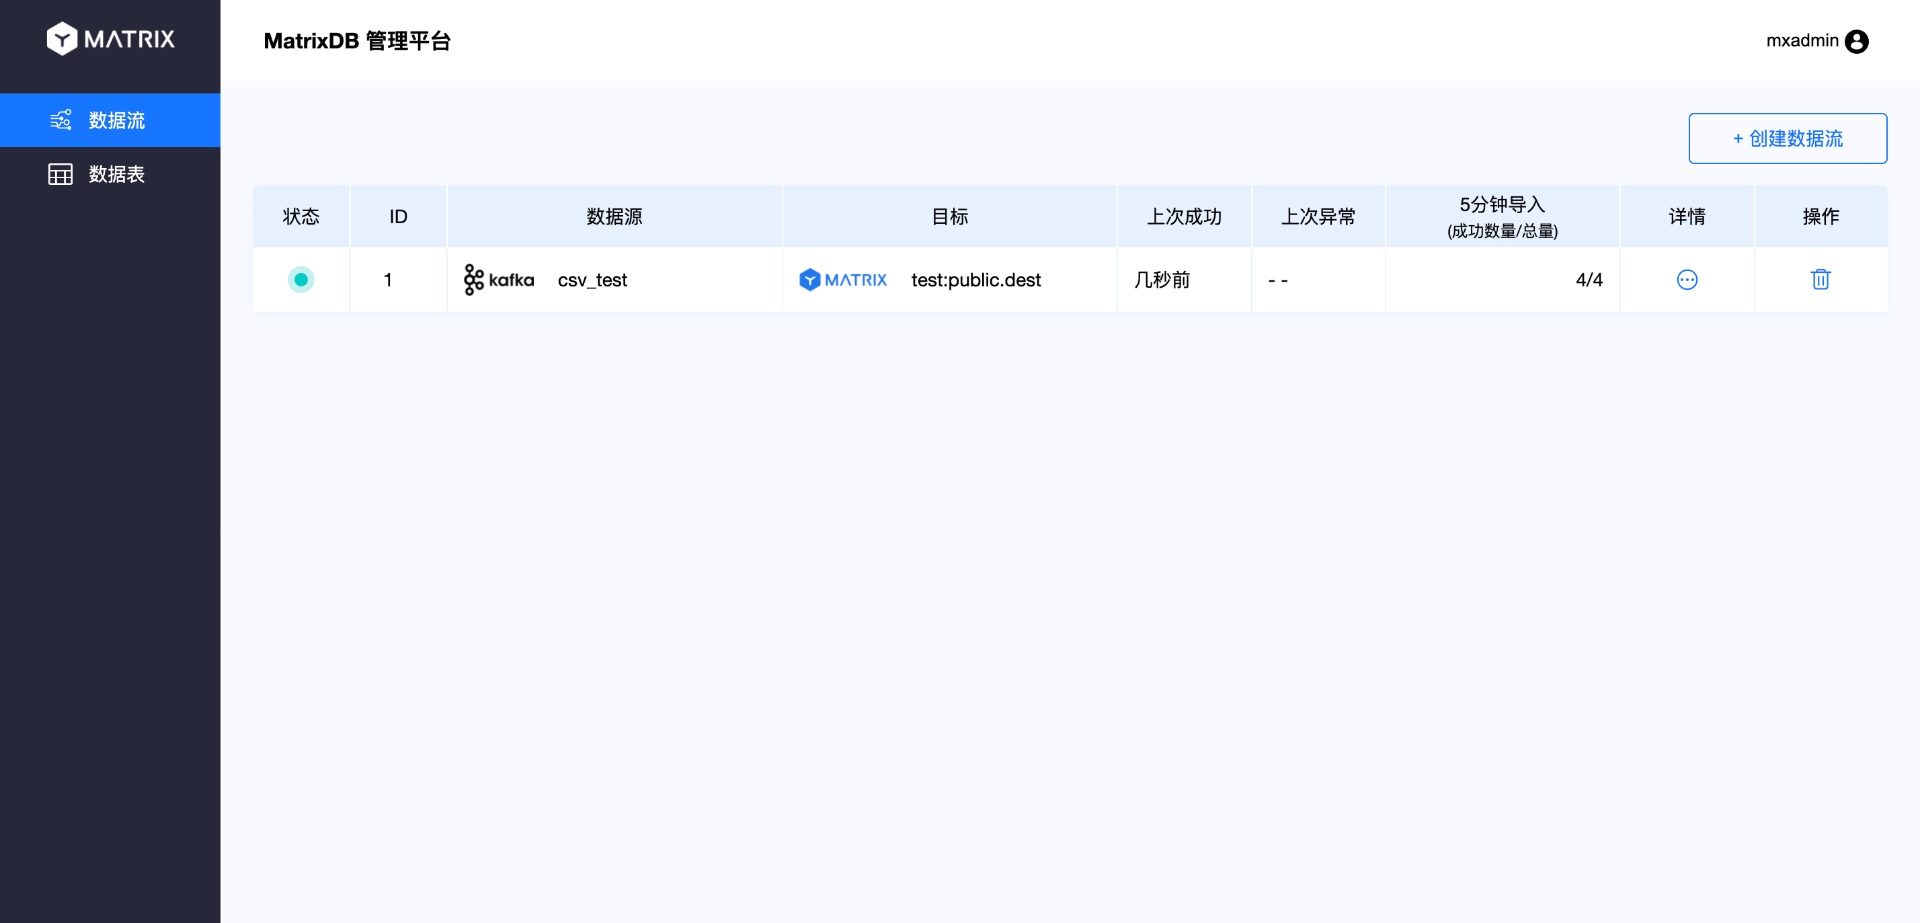
After creating the access process according to the above process, the data access process is completed. The data written to the Topic and the newly accessed data will flow to the target table. Returning to the main interface, you will see the data flow information you just created:
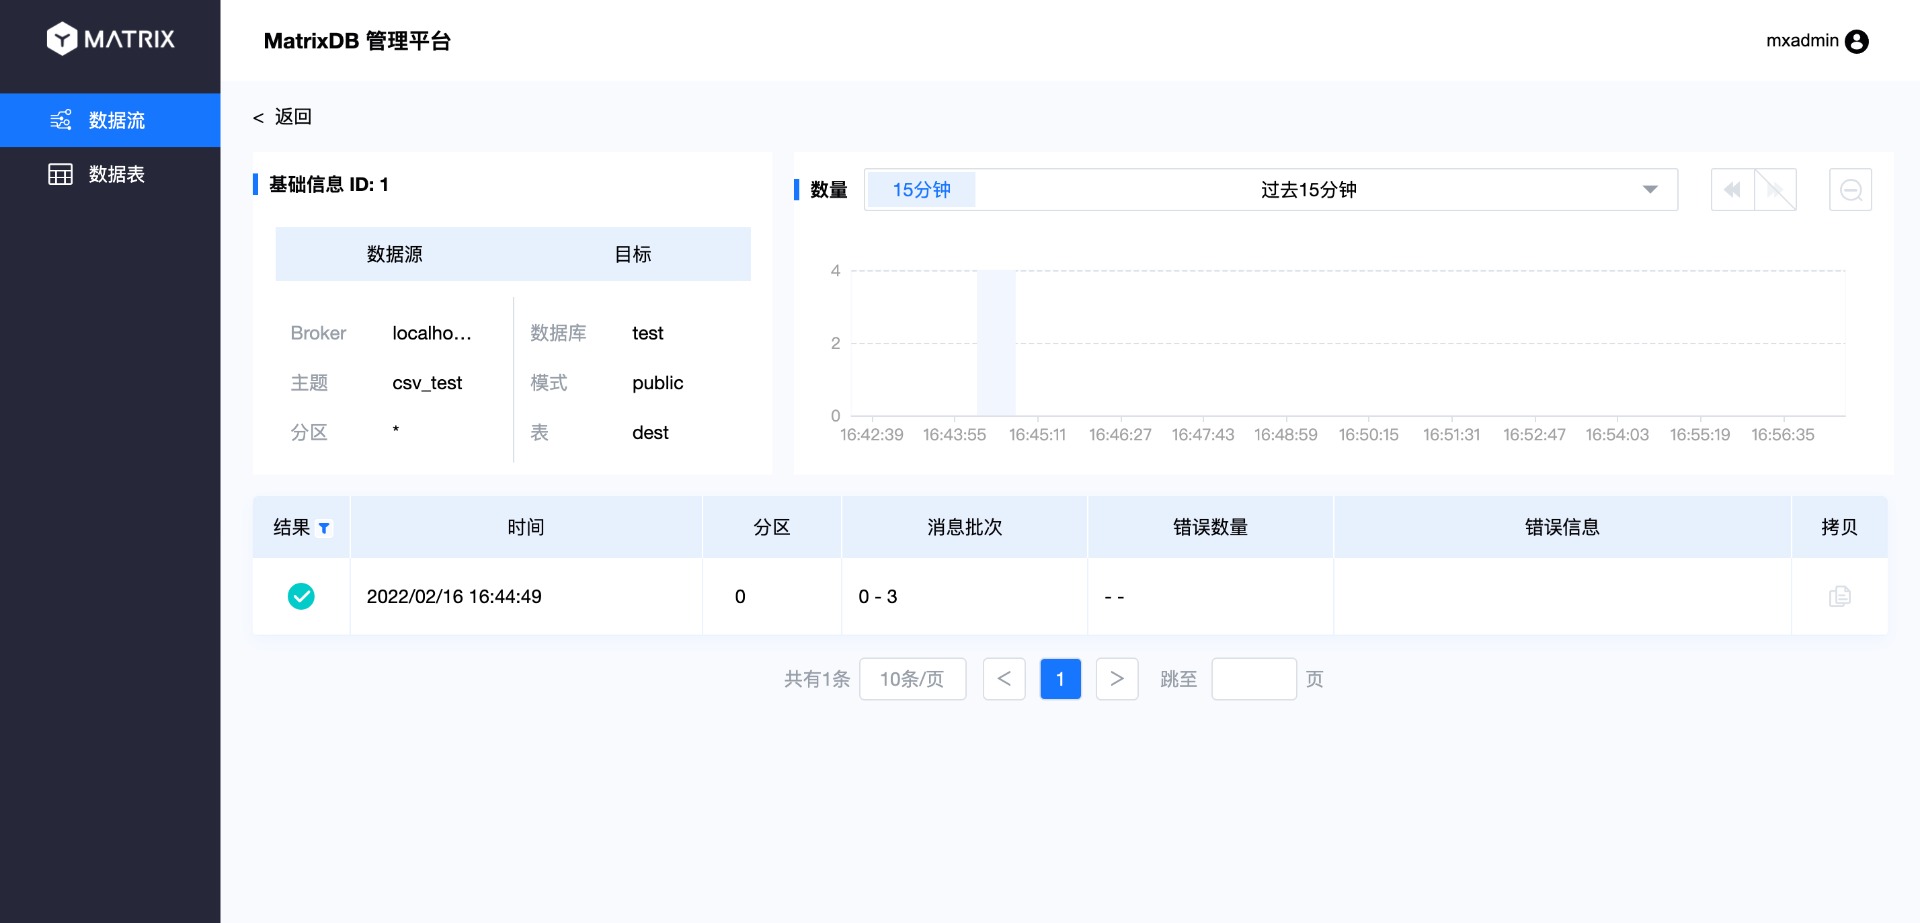
Click on the details and you will enter the details page:
The following login database is verified that the data has been correctly accessed:
test=# select * from dest;
 c1 | c2 | c3
----+----+-----
  1 |  1 | abc
  2 |  2 | bcd
  1 |  1 | abc
  2 |  2 | bcd
(4 rows)