Cluster Deployment
Data Model
Data Writing
Data Query
SQL Reference
Maintenance and Monitoring
Tool Guide
Troubleshooting
MatrixDB 4.1.0 has added kafka seamless connection function, which can continuously and automatically import kafka data into MatrixDB tables and supports graphical operations.
This section will use the simplest example to access single strings to introduce how to use the MatrixDB management platform to access Kafka data.
Suppose we start the Kafka service on the local port 9092 and create a test Topic through the following command:
bin/kafka-topics.sh --create --topic test-topic --bootstrap-server localhost:9092Then write a few test data:
bin/kafka-console-producer.sh --topic test-topic --bootstrap-server localhost:9092
>test1
>test2
>test3
>^C
Through the above command, 3 pieces of data were written to the newly created test-topic, namely: test1, test2, test3.
Create a test table for accessing data. For convenience, only create a table containing a string field: Connect to database mxadmin
[mxadmin@mdw ~]$ psql mxadmin
psql (12)
Type "help" for help.

mxadmin=#
Create a test table
CREATE TABLE dest_test (c1 TEXT);Enter the ip of the machine where MatrixGate is located (default is mdw's ip), port and datastream suffix in the browser:
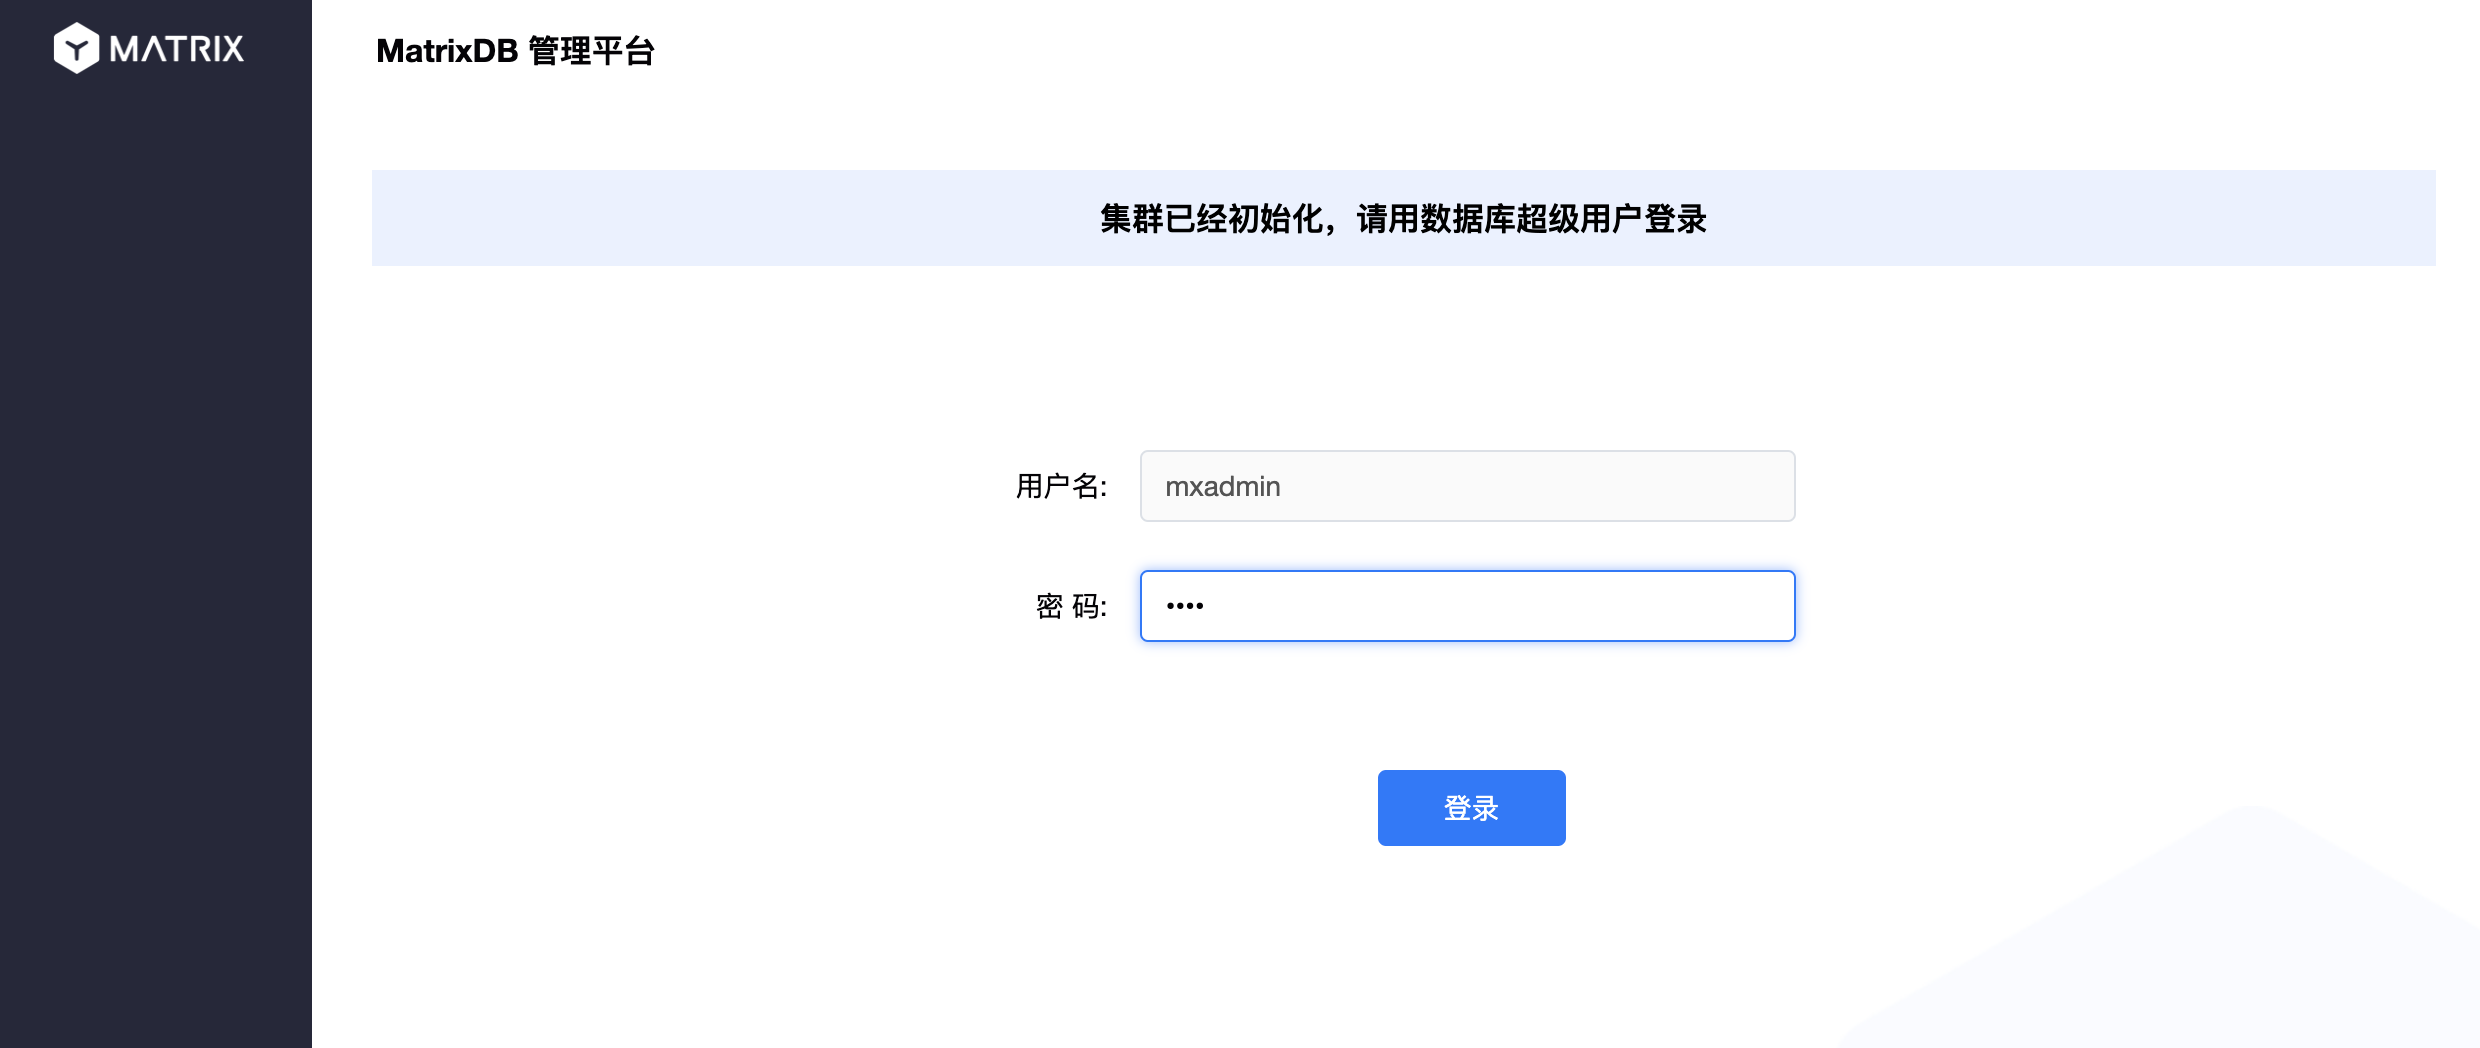
http://<IP>:8240/datastreamSee the login page, enter your password, and click to log in:
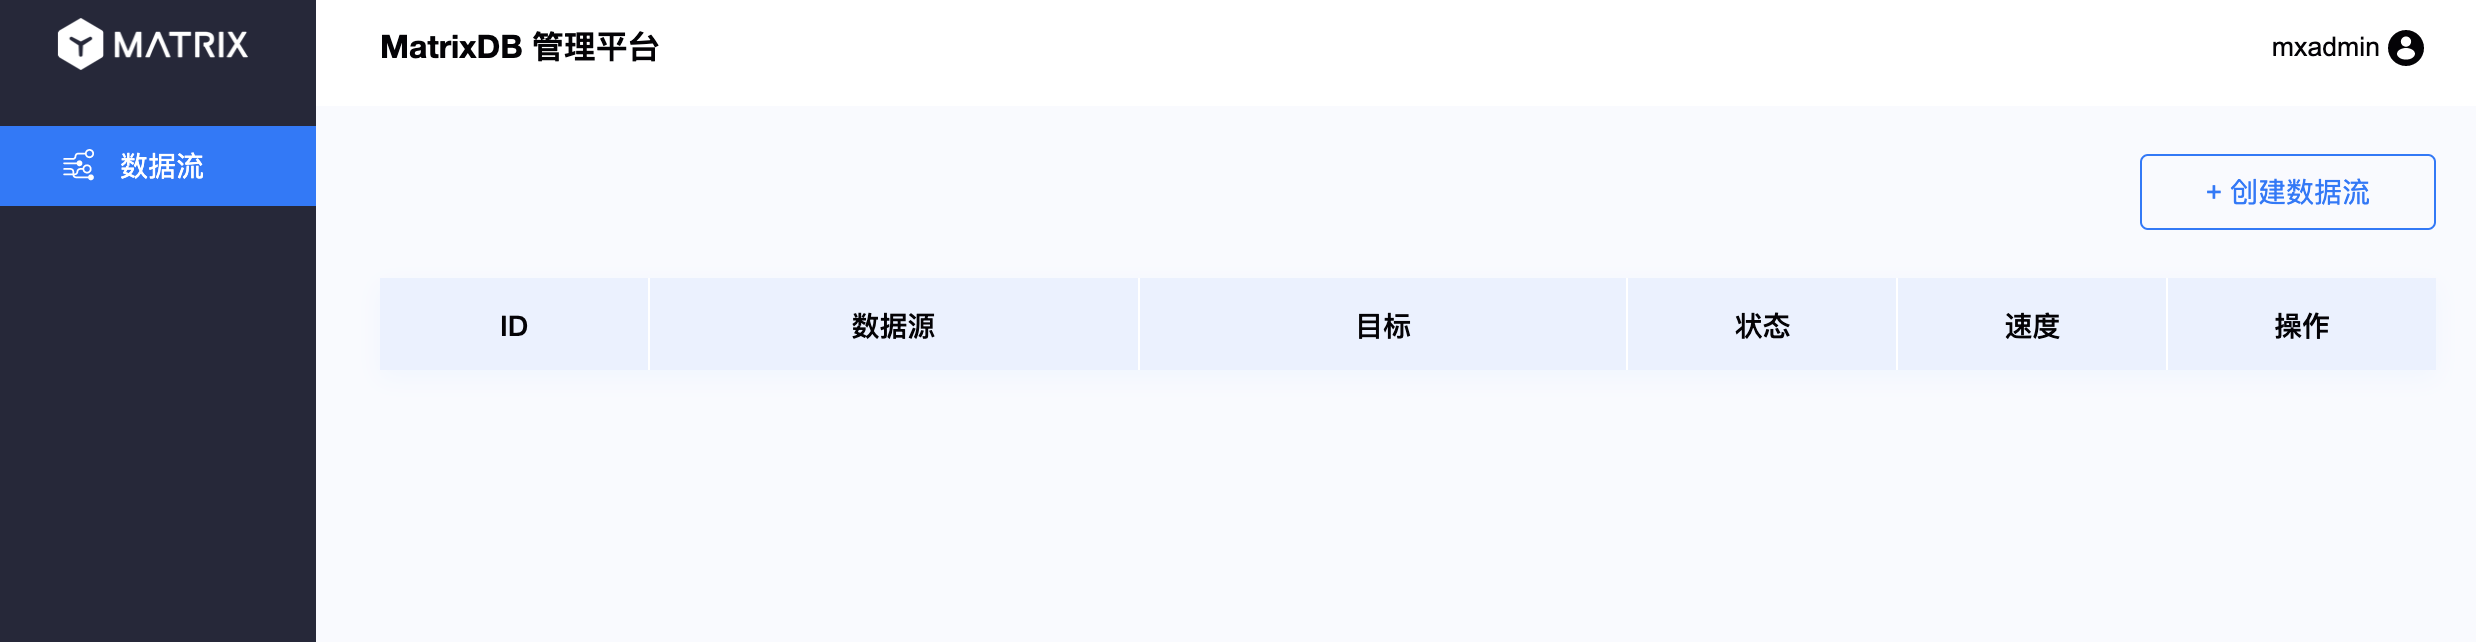
Then, enter the main interface of the management platform. Click the upper right corner to create a data stream:
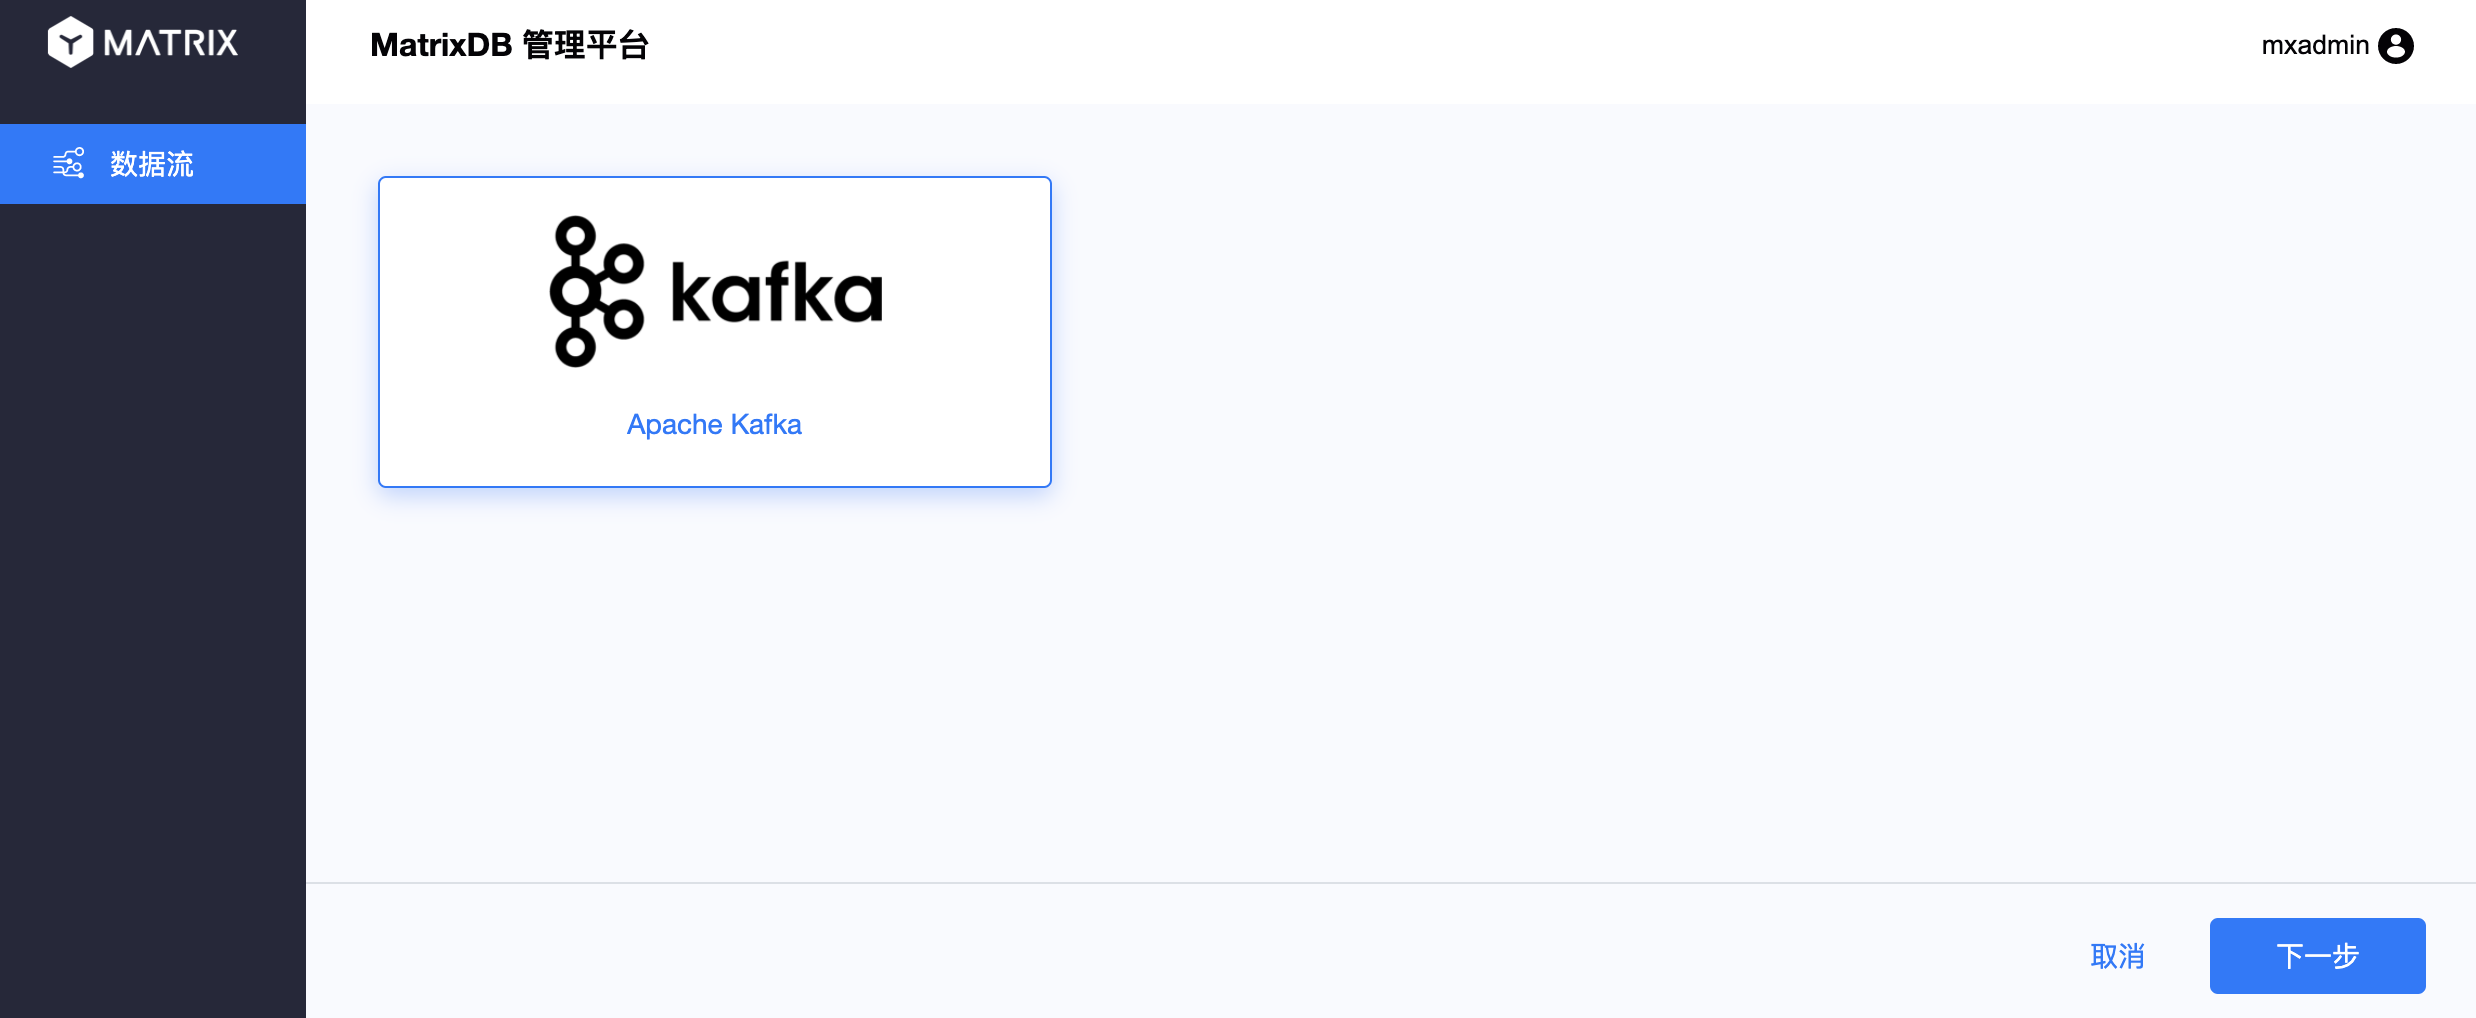
Apache Kafka will be selected by default, click Next:
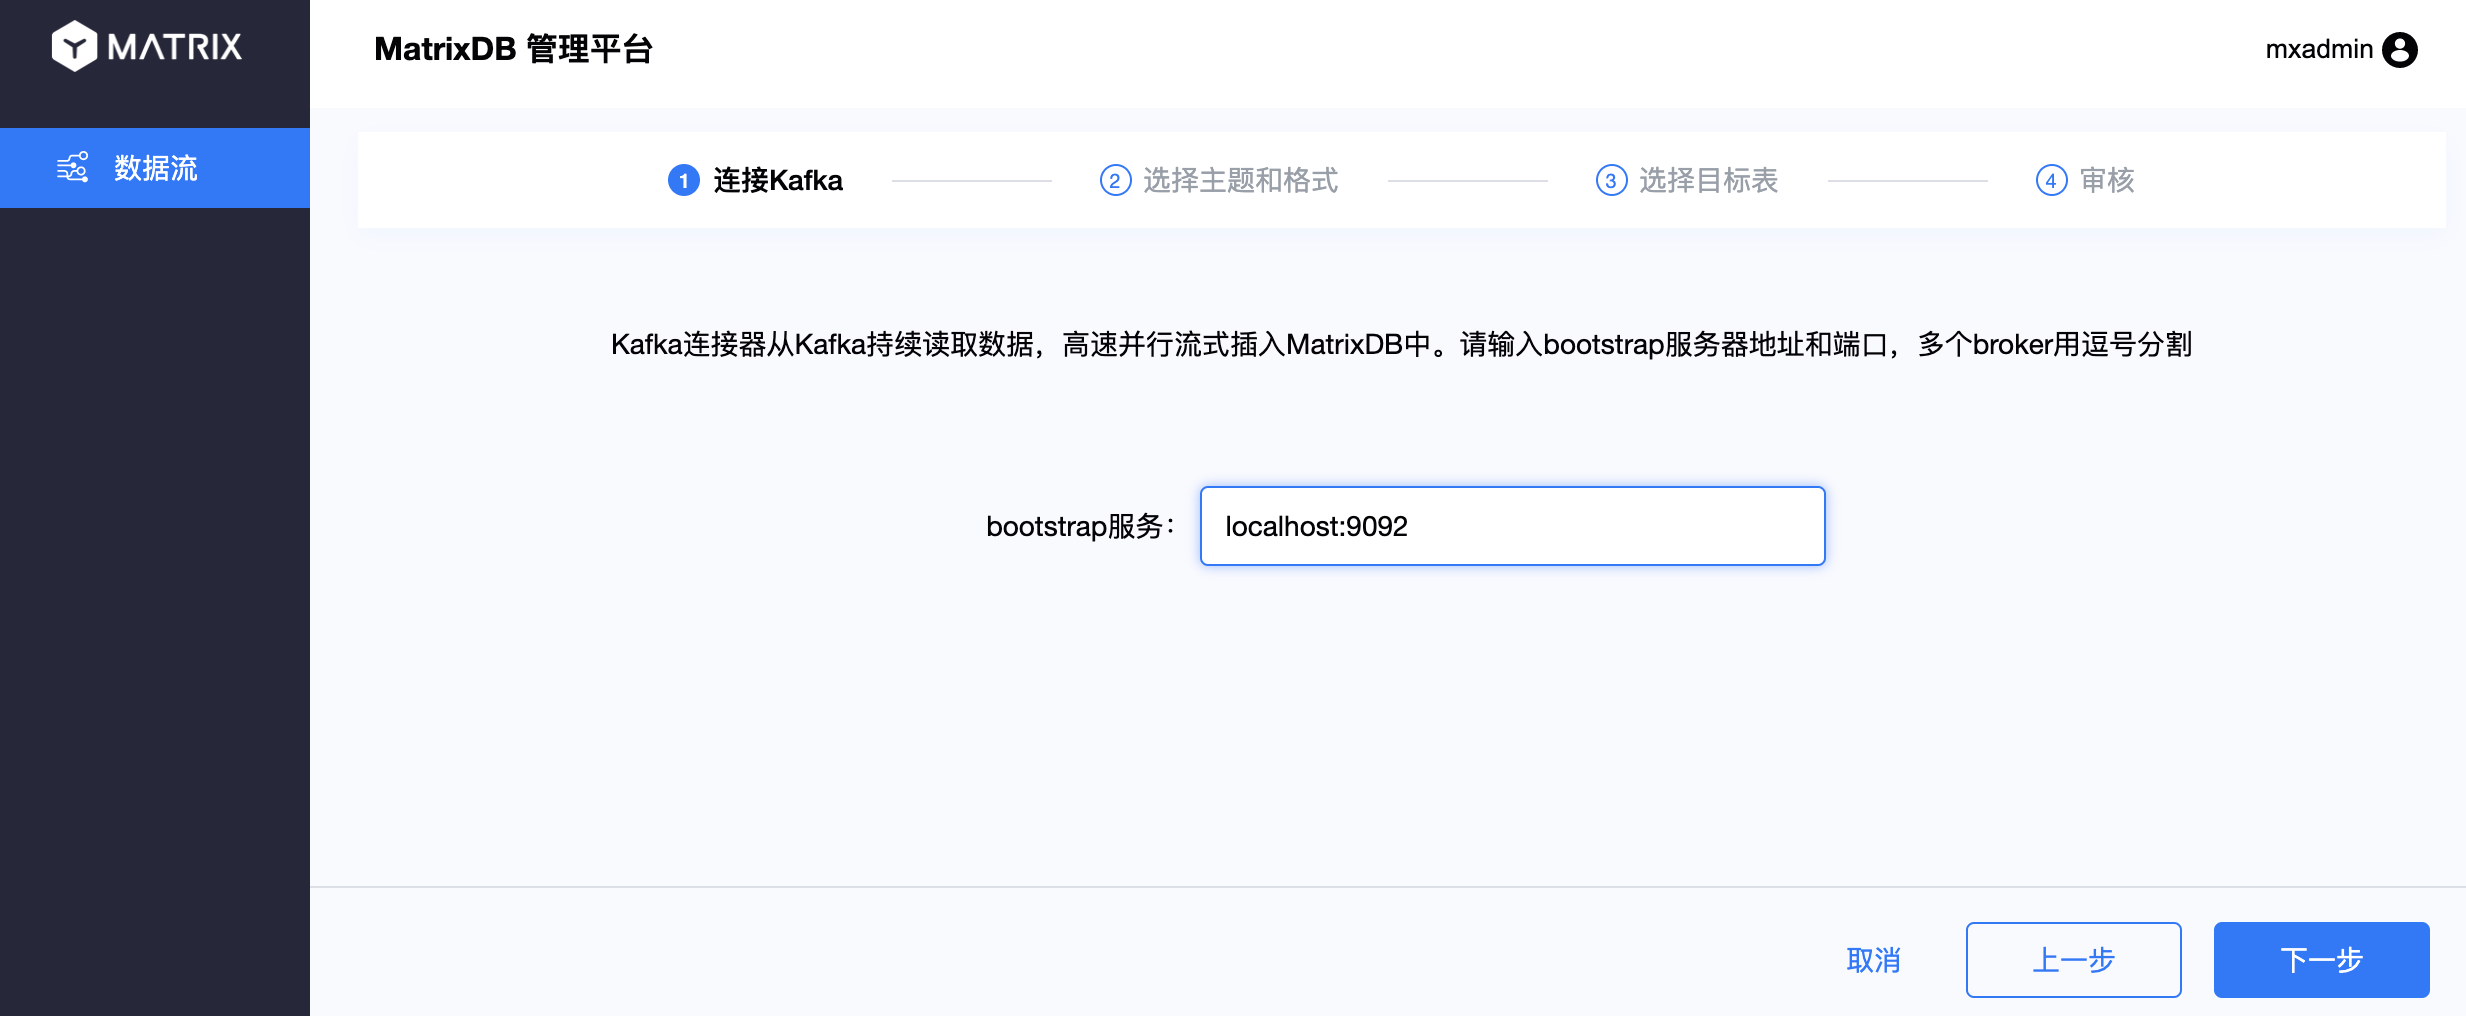
Go to the first step and connect to Kafka. Enter the address of the Kafka service in the input box. Click Next:
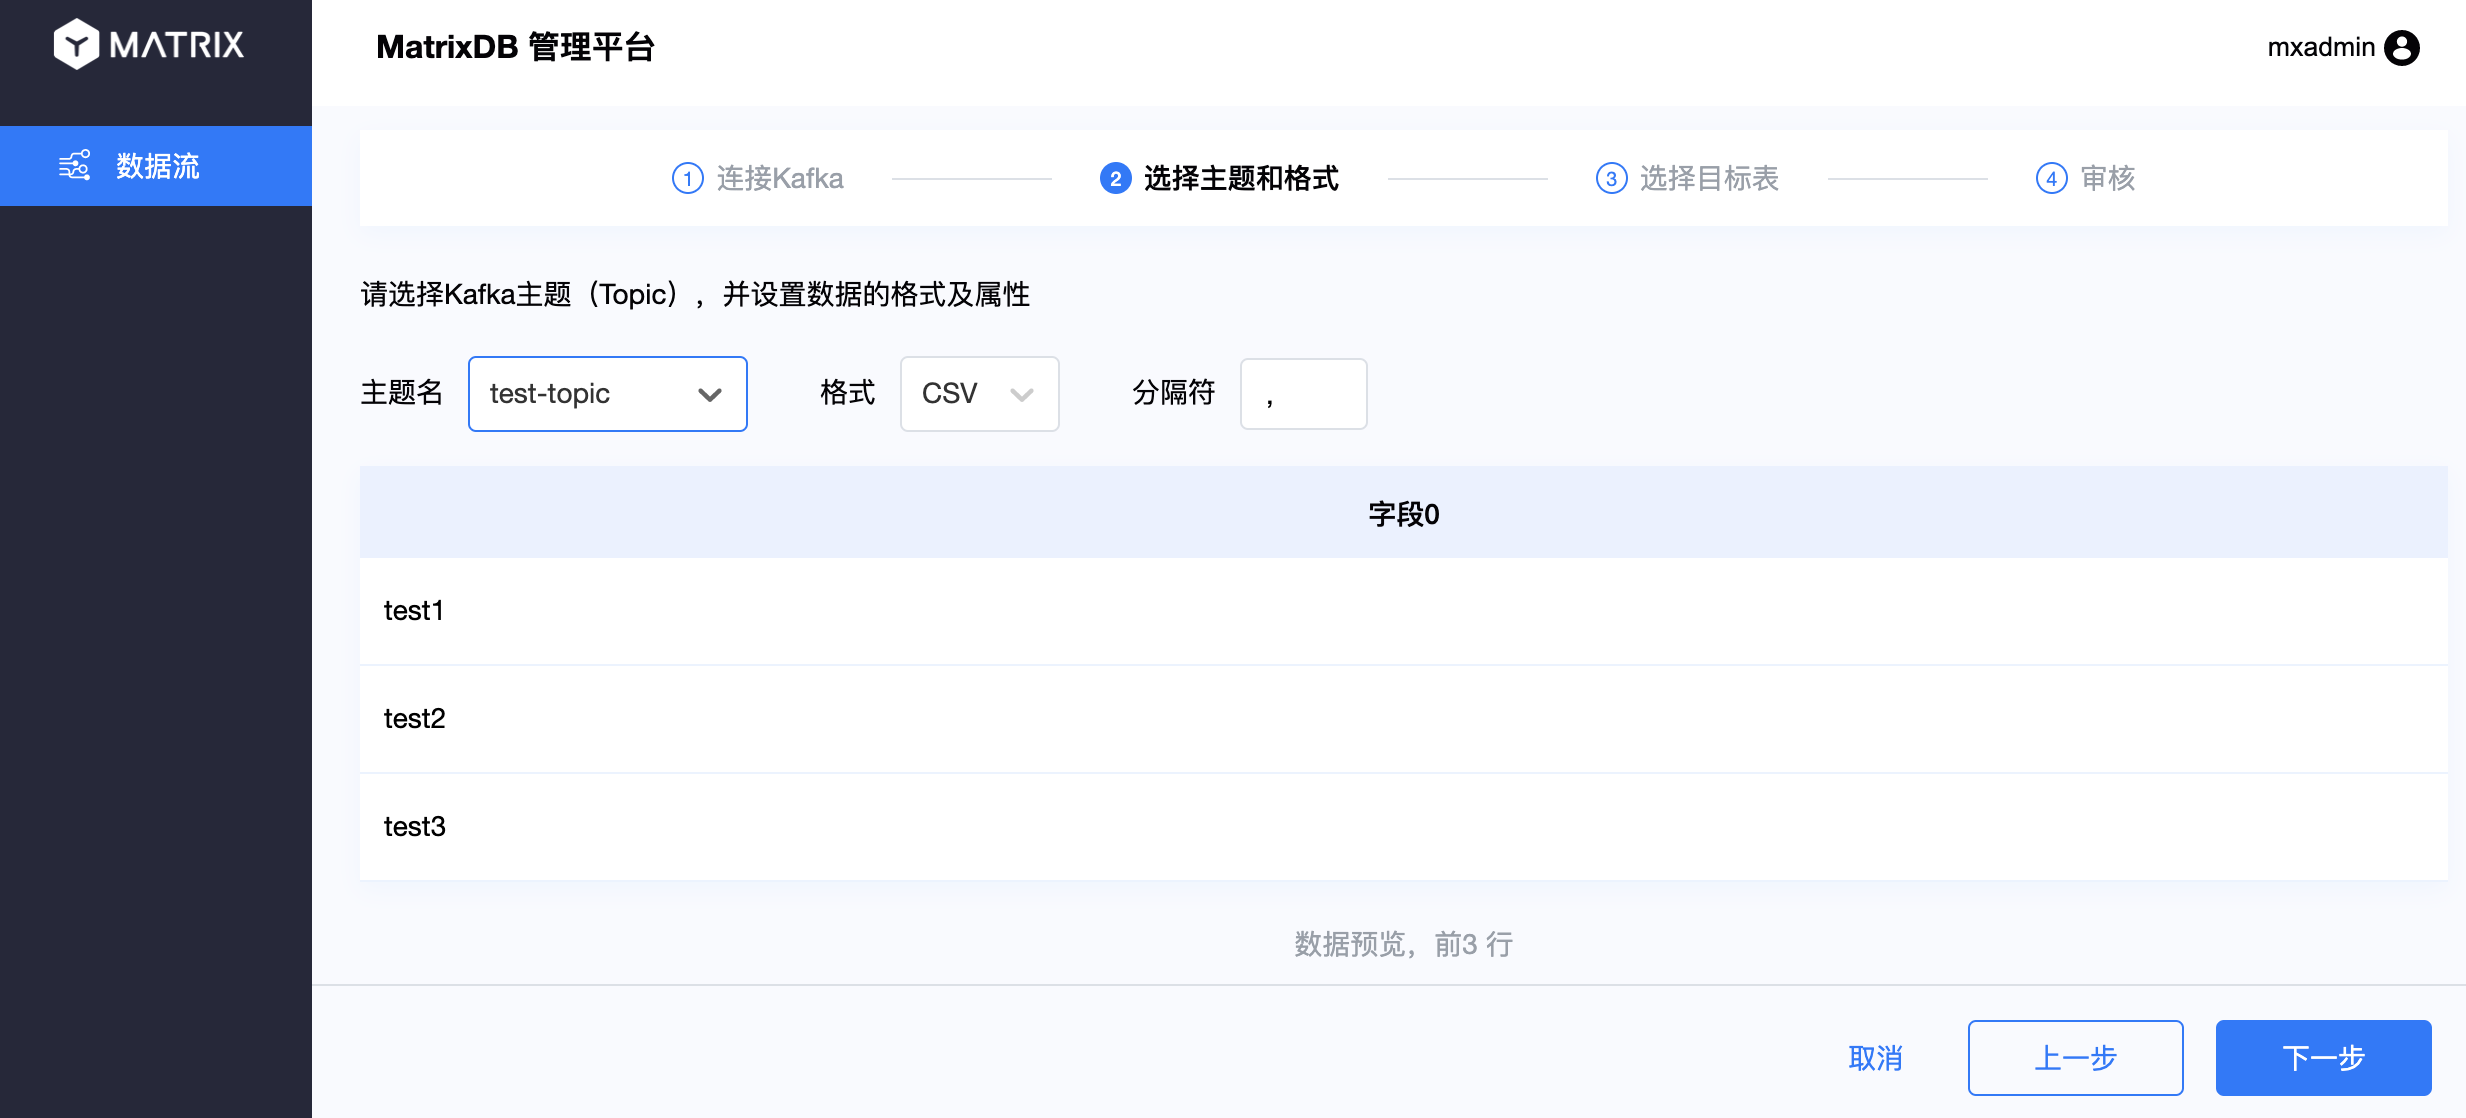
Step 2: Select the theme and format. Select the test-topic you just created in the topic name, and the format and separator are default, and then you will see several test data just written below. Click Next:
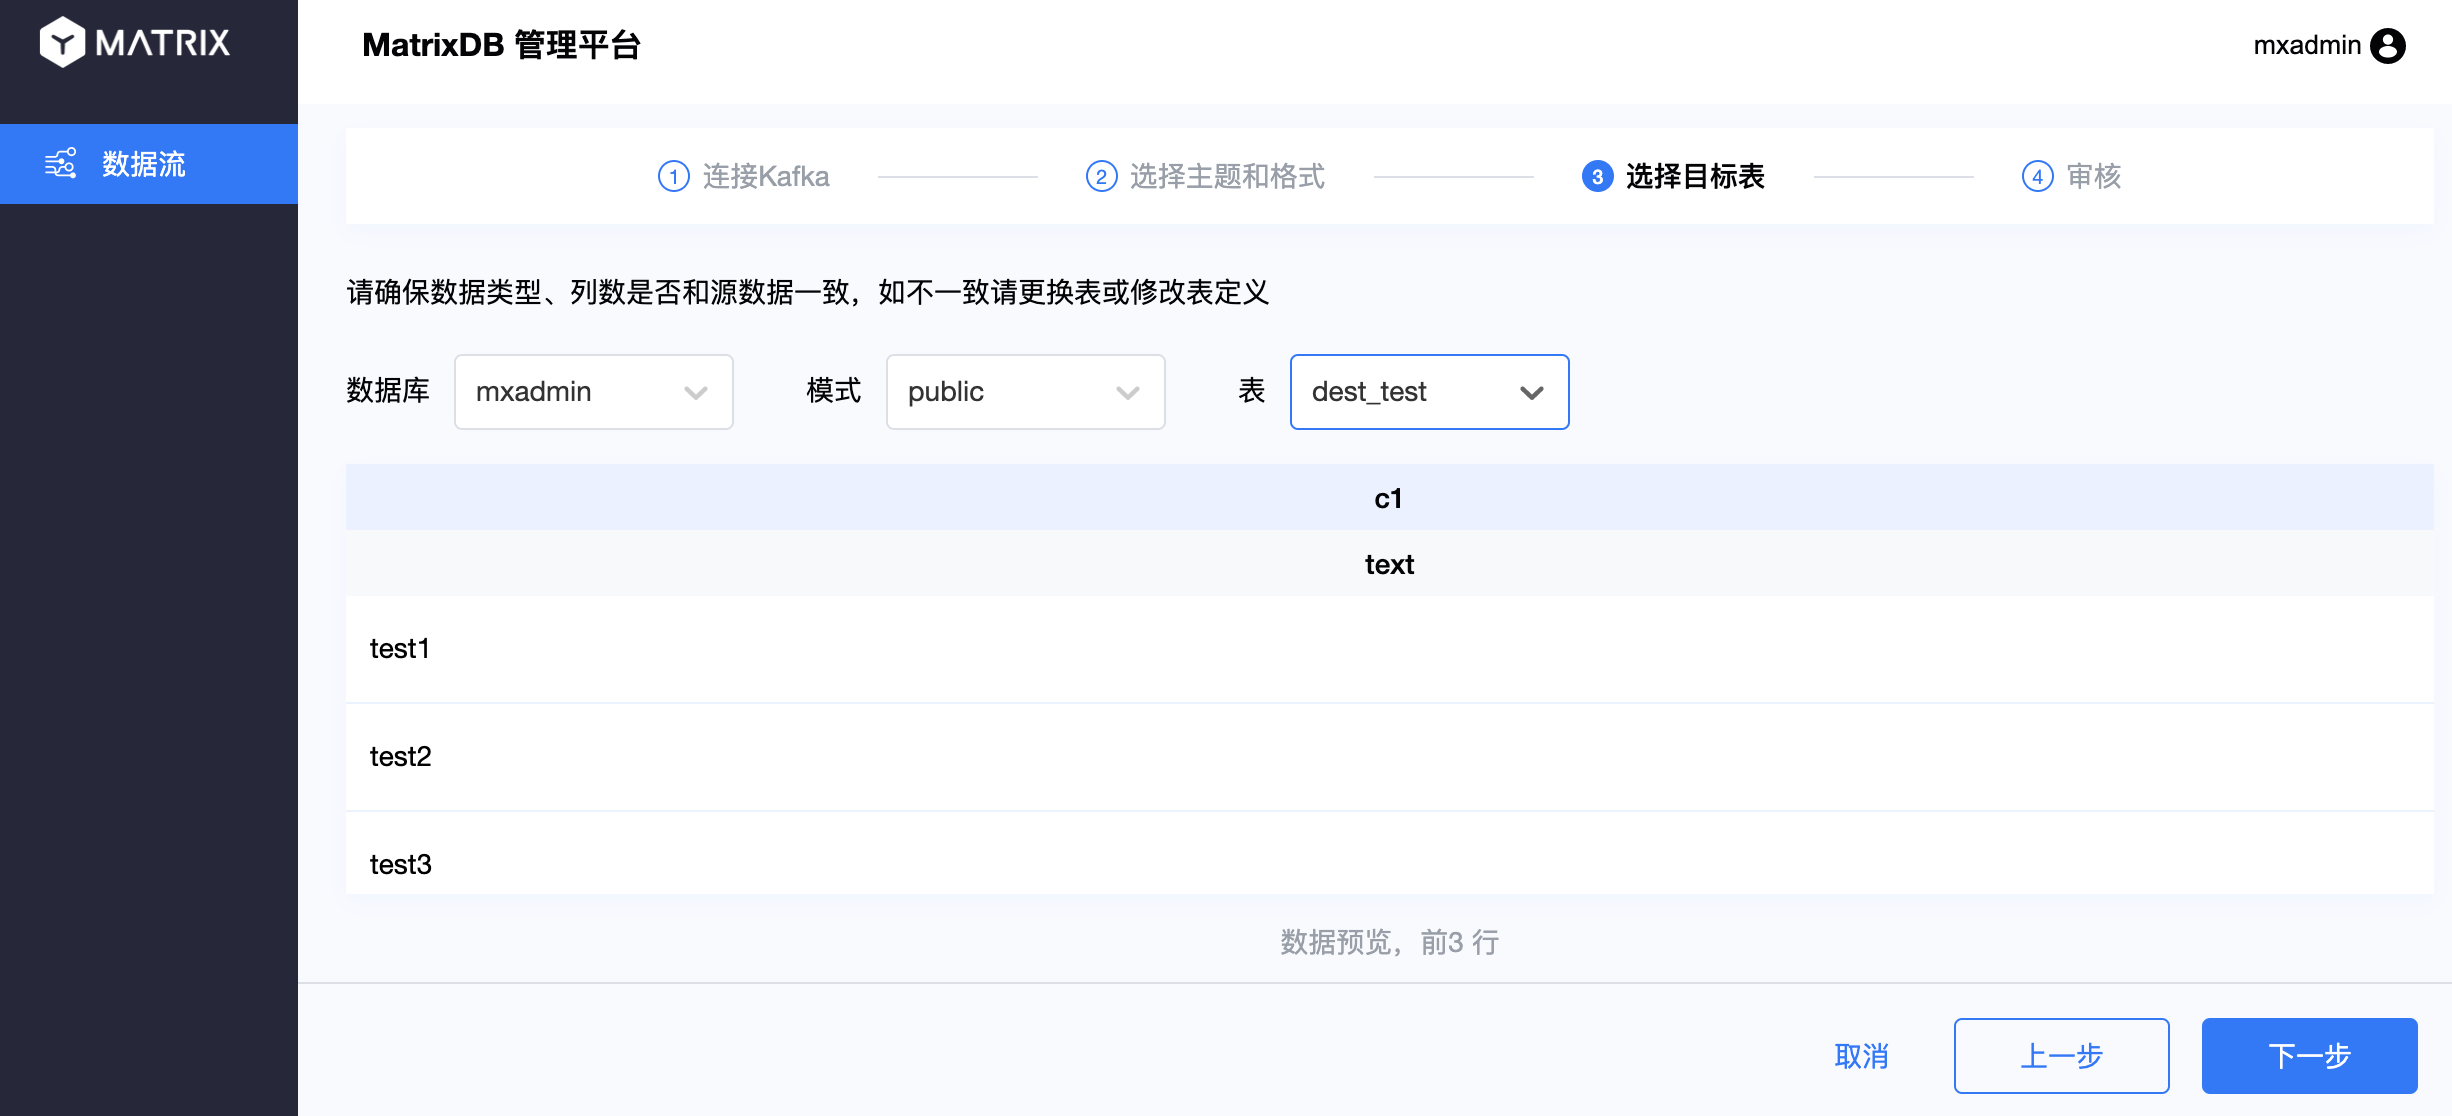
Step 3: Select the target table. Select the target table for data access, including: database, schema and table. Click Next:
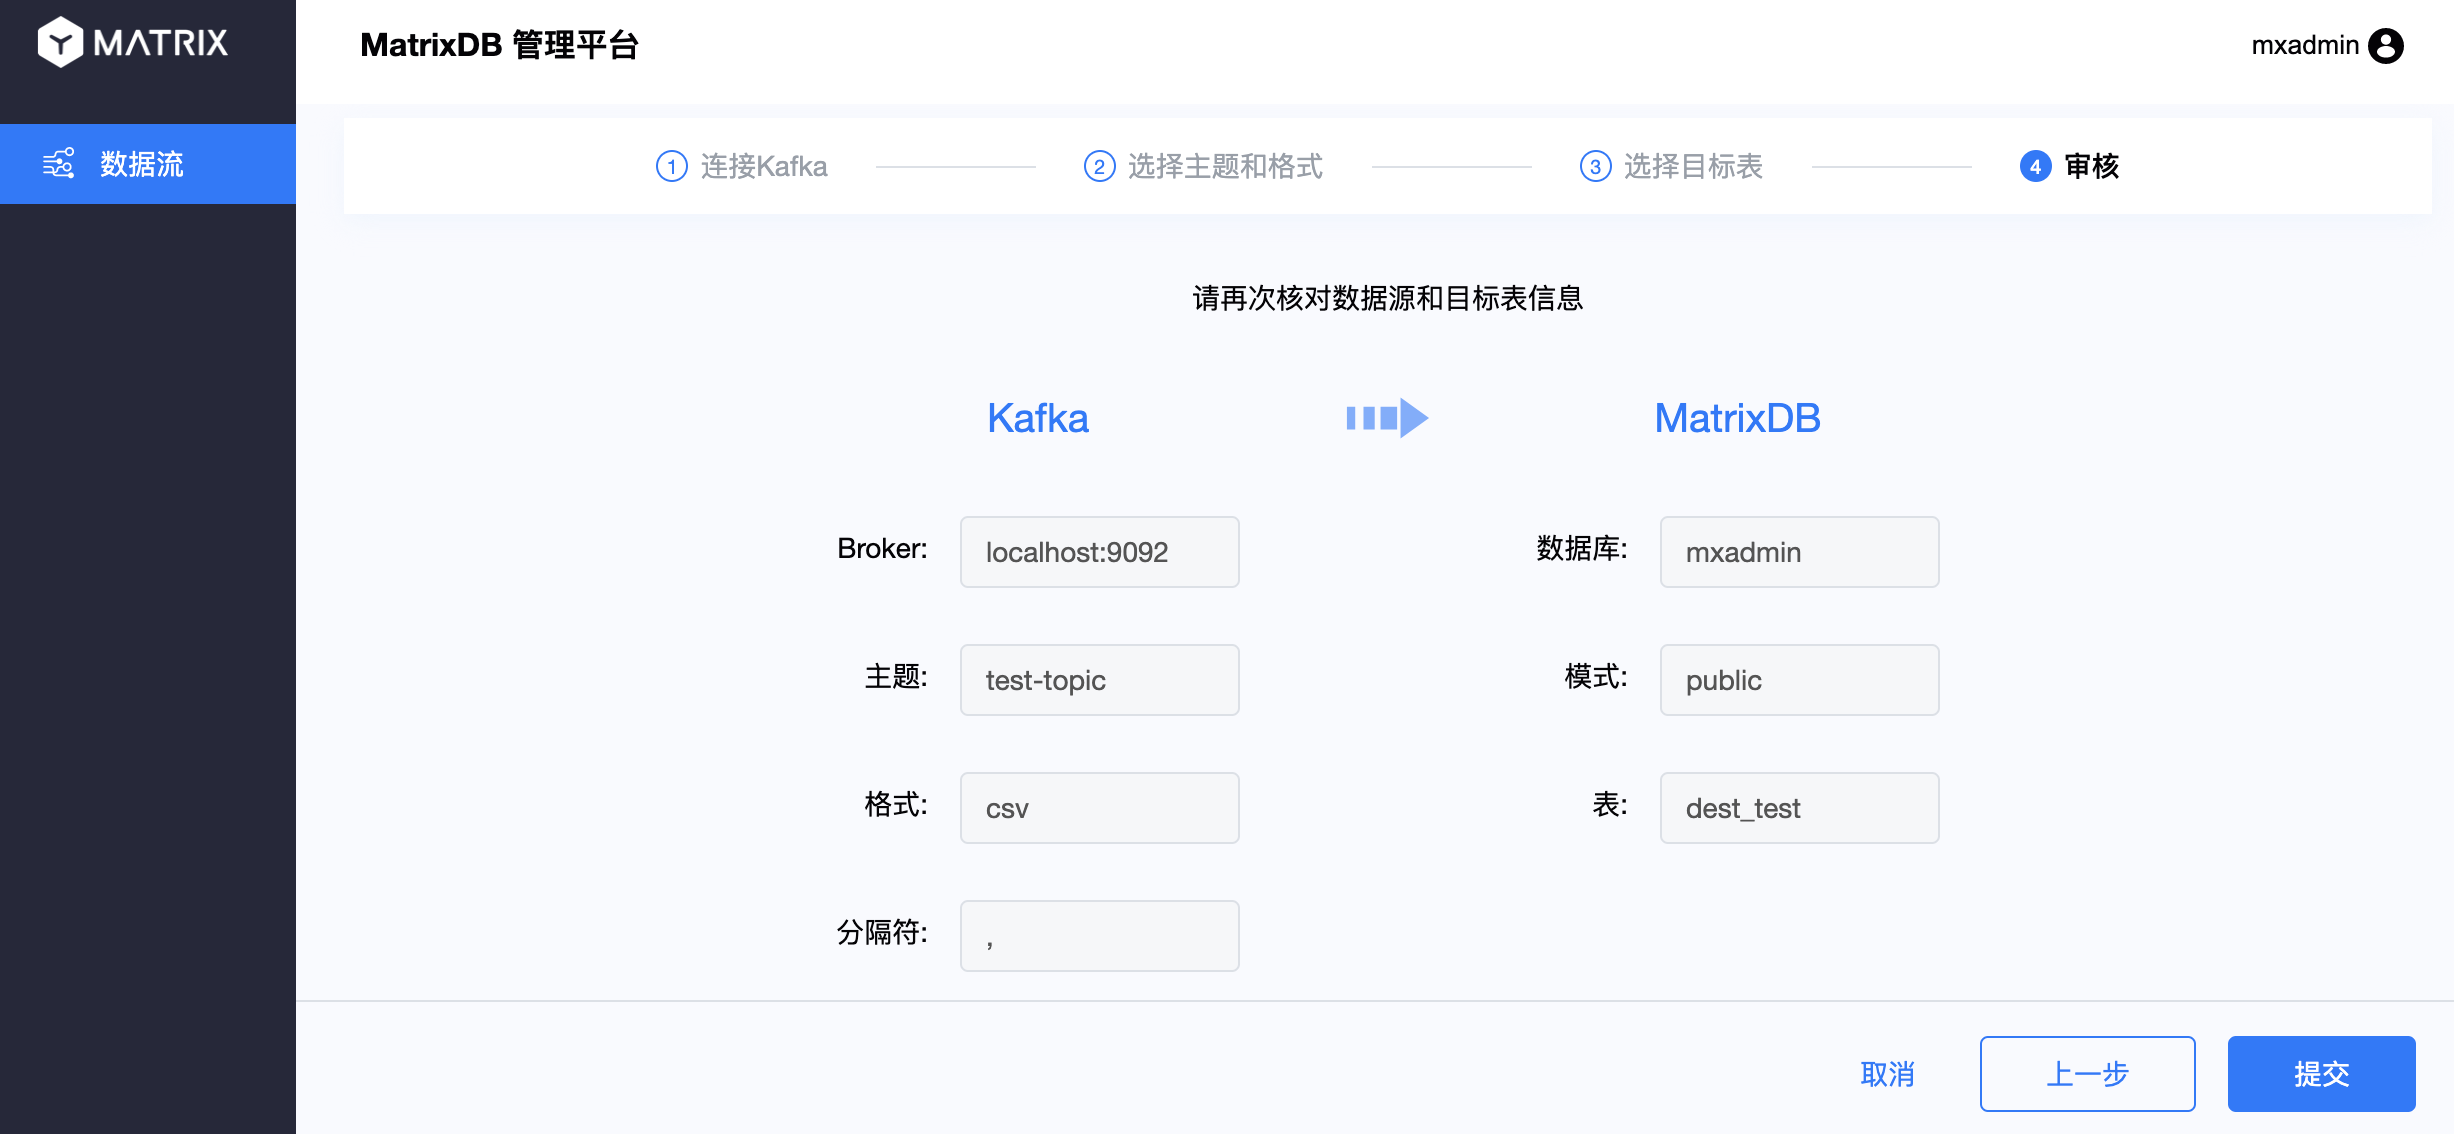
Step 4: Review. Confirm the selection just now and click Submit:
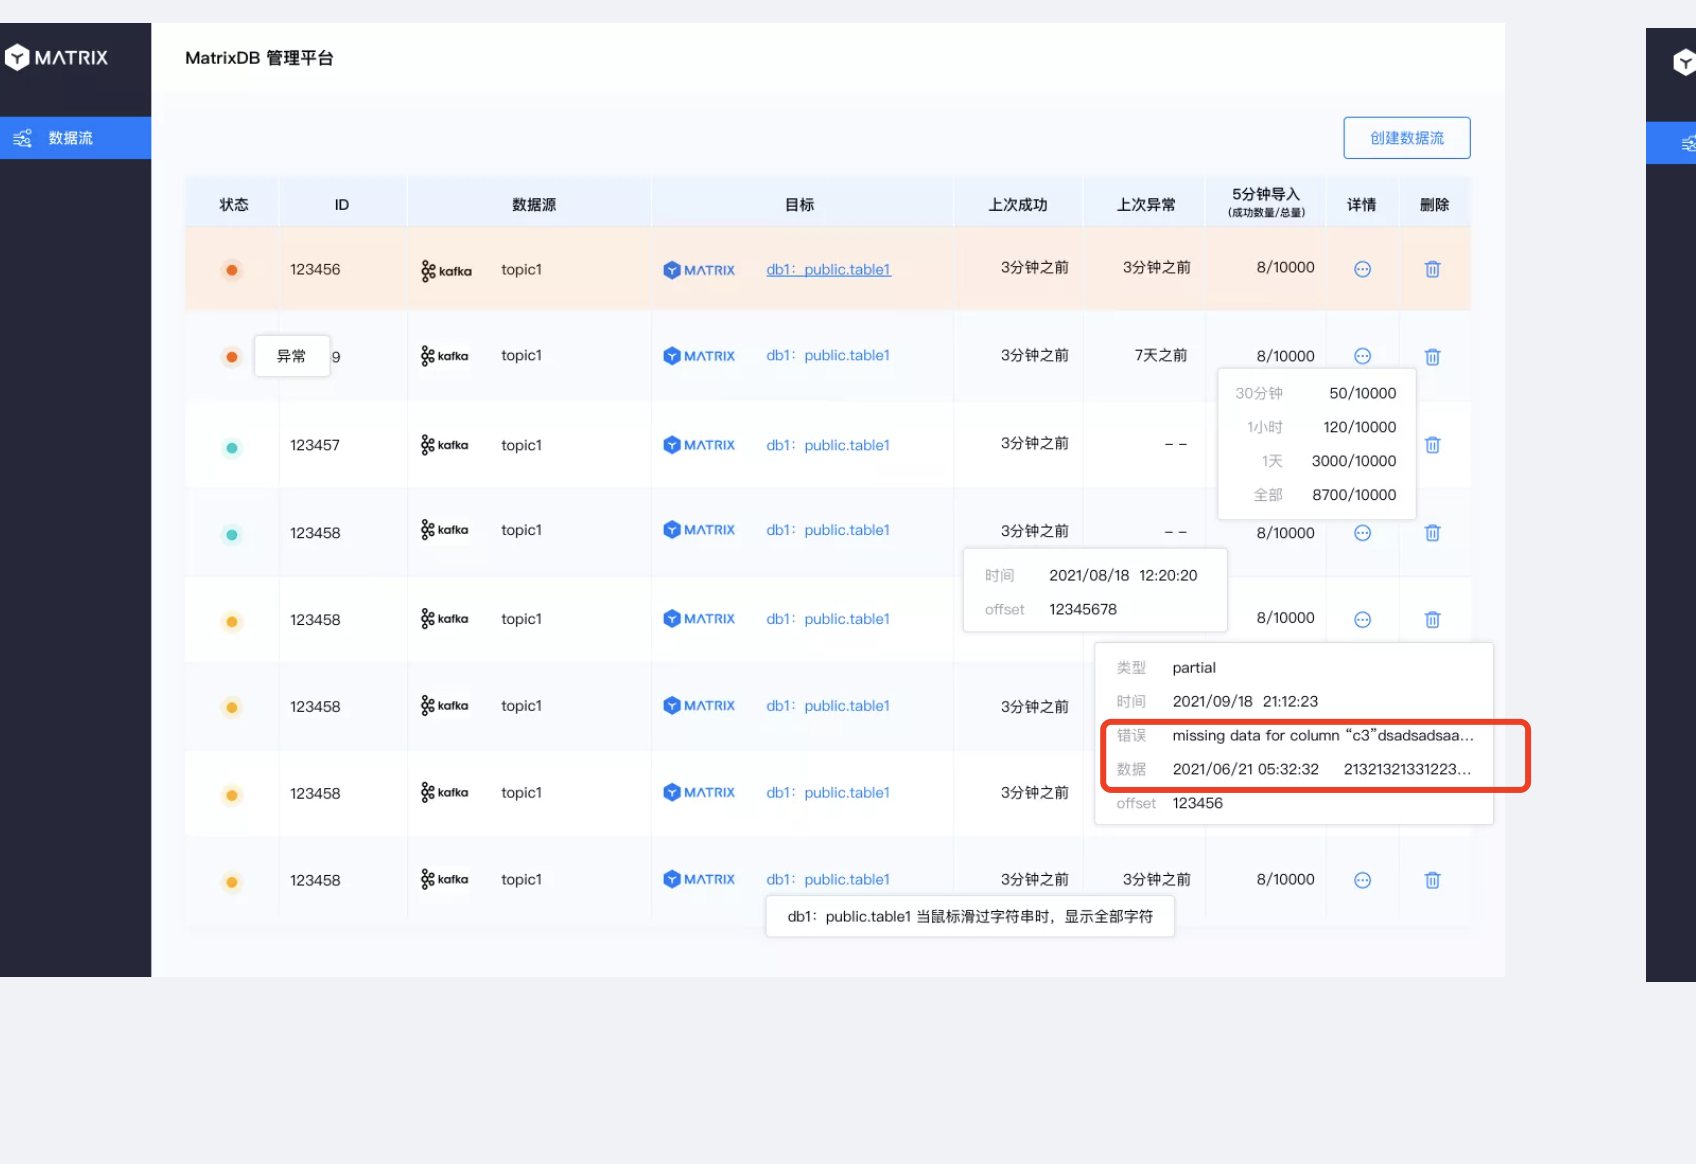
Finally, you will see that the data stream list contains the relevant information and status of the data stream you just created:
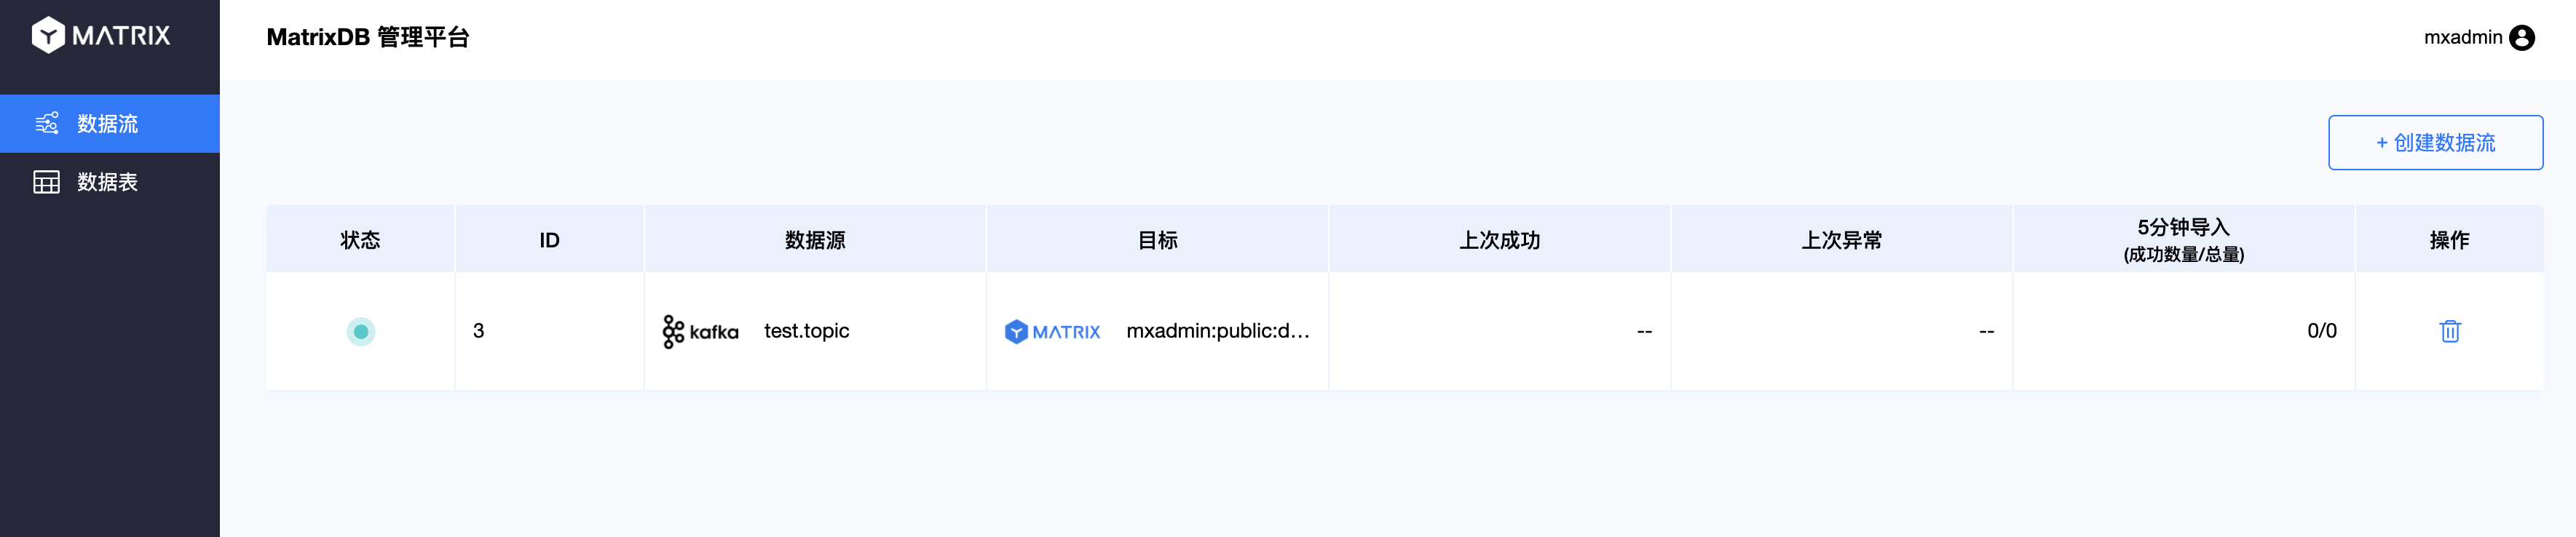
The status page contains a lot of information. Hovering on different positions will show different information, including detailed statistics, error time, etc. The schematic diagram is as follows:
After creating the access process according to the above process, the data access process is completed. The data written to Topic and the newly accessed data will flow to the dest_test table. You can see through query:
mxadmin=# select * from dest_test;
  c1
-------
 test1
 test2
 test3
(3 rows)